Related Articles


Transform Your Space: Install DIY Soundproofing Panels for Enhanced Acoustics
🛒 Shopping List
- Acoustic foam panels (€30–€100)
- Wooden frames (€10–€30)
- Adhesive spray or mounting tape (€5–€20)
- Fabric or upholstery material (€5–€30)
- Soundproofing caulk (€5–€10)
✅ Outcome
- Professional finish with safe anchoring.
- Beginner-friendly, clean tools list.
Are you tired of echoing sounds or disruptive noise in your home? Installing effective soundproofing panels can significantly enhance your living environment, creating a more peaceful and enjoyable atmosphere. This DIY project not only improves your home’s acoustics but also adds a touch of style to your decor. With just a few materials and tools, you can achieve professional-level soundproofing without breaking the bank.
Overview
Soundproofing panels are designed to absorb sound waves and reduce noise transmission between rooms or from outside. They are particularly useful in home studios, theaters, or any space where sound clarity is essential. While traditional insulation methods can be effective, soundproofing panels are specifically designed for optimal sound absorption, making them a perfect solution for anyone looking to improve their acoustics. Alternatives might include heavy curtains or carpets, but these do not provide the same level of acoustic treatment as dedicated panels. The goal is to create a quieter, more serene environment that fosters concentration and relaxation.
Materials
- Acoustic foam panels (various thicknesses)
- Wooden frames (optional, for mounting)
- Adhesive spray or mounting tape
- Fabric or upholstery material (for aesthetic covering)
- Soundproofing caulk (for sealing gaps)
Tools Needed
- Measuring tape
- Utility knife or foam cutter
- Level
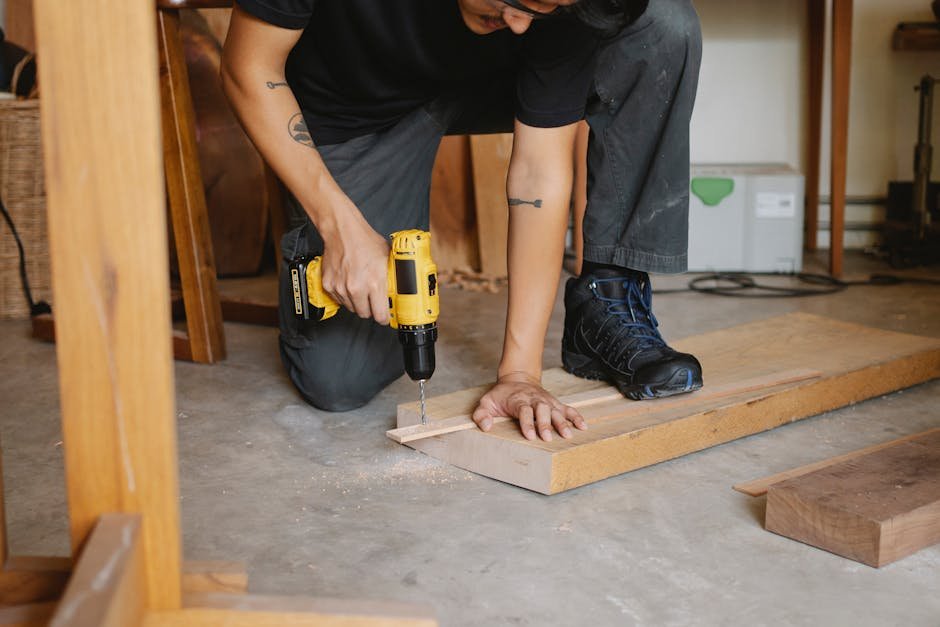
- Drill with bits (if using frames)
- Staple gun (if using fabric)
- Scissors
Preparation
Before diving into your soundproofing project, it’s crucial to assess the space where you plan to install the panels. Begin by identifying the noise sources—these could be external sounds coming from outside or internal disturbances between rooms. Next, evaluate the wall surfaces; ensure they are clean, dry, and smooth for optimal adhesion. If you plan to use wooden frames for mounting, make sure to measure the space accurately to determine how many panels you’ll need and the best layout for effective sound absorption. Lastly, consider the design and color of the panels, as they will be a part of your home decor.
Step-by-Step Instructions
- Measure your walls. Start by using a measuring tape to determine the dimensions of the walls where you’ll be installing the soundproofing panels. Take note of the height and width, and mark these measurements down. This will help you figure out how many panels you need and how to arrange them for maximum effect, ensuring even coverage and aesthetic appeal.
- Choose your panel type. Depending on your budget and the level of sound absorption you want to achieve, select the appropriate acoustic foam panels. Thicker panels generally provide better sound absorption. Consider experimenting with different shapes, such as wedge or pyramid designs, as they can also impact sound diffusion within the room.
- Cut the panels (if necessary). If you have chosen larger panels than needed, carefully cut them to size using a utility knife or foam cutter. Always wear protective gloves and a mask while cutting to avoid inhaling dust particles. If the edges are rough, trim them gently to create a clean look that will adhere better to the wall.
- Prepare the wall. Clean the wall surface with a damp cloth to remove any dust or debris. Allow it to dry completely. For optimal adhesion, you may want to lightly sand the area where the panels will be placed. This creates a better grip for the adhesive, enhancing the longevity of your installation.
- Apply adhesive. Depending on your preference, use adhesive spray or double-sided mounting tape. If you’re using frames, attach the panels to the frames first, then use caulk to seal any gaps between the frame and the wall. Make sure to follow the manufacturer’s instructions for the adhesive for the best results.
- Position the panels. Start placing the panels on the wall according to your planned layout. Use a level to ensure they are straight and evenly spaced. It’s helpful to work from the bottom up or from one corner to avoid misalignment as you go. If you’re not using frames, press firmly to ensure the adhesive bonds well with the wall.
- Secure with additional methods if needed. For added security, especially in high-traffic areas, consider using screws or nails to fasten the panels further. If you are using fabric to cover the panels, secure it tightly using a staple gun on the back, and ensure it is pulled taut to maintain a neat appearance.
- Finish the edges. If any edges of the panels are exposed or if you used fabric, make sure to tuck or trim these neatly. A clean finish makes the installation look professional and integrated into your home’s design.
- Test the soundproofing. After the installation is complete, test the effectiveness of your soundproofing panels. Spend some time in the room and listen for improvements. You can also use a speaker to play music and determine how well the sound is absorbed. Make adjustments if necessary, by moving or adding more panels.
- Enjoy your new acoustics! Once everything is set up, take a moment to appreciate the transformation. Whether you’re using the space for work, relaxation, or entertainment, the difference in sound quality will be noticeable and rewarding.
Tips & Techniques
Common Mistakes
- Not measuring properly before purchasing panels, leading to excess waste or insufficient coverage.
- Using inadequate adhesive that doesn’t hold the panels securely.
- Overlooking the importance of aesthetics; the panels should blend with your room’s decor.
Safety Advice
- Always wear protective gloves and a mask when cutting foam to avoid injuries and inhalation of particles.
- Ensure your workspace is well-ventilated, especially when using adhesive sprays.
- Keep tools and materials out of reach of children and pets to prevent accidents.
FAQ
Q? How effective are DIY soundproofing panels compared to professional installations?
A. While professional installations may offer superior results, well-made DIY panels can significantly reduce noise and improve sound quality at a fraction of the cost.
Q? Can I wash or clean the soundproofing panels?
A. Most acoustic foam panels can be cleaned with a damp cloth. However, avoid soaking them, as this can damage the material.

