
Related Articles


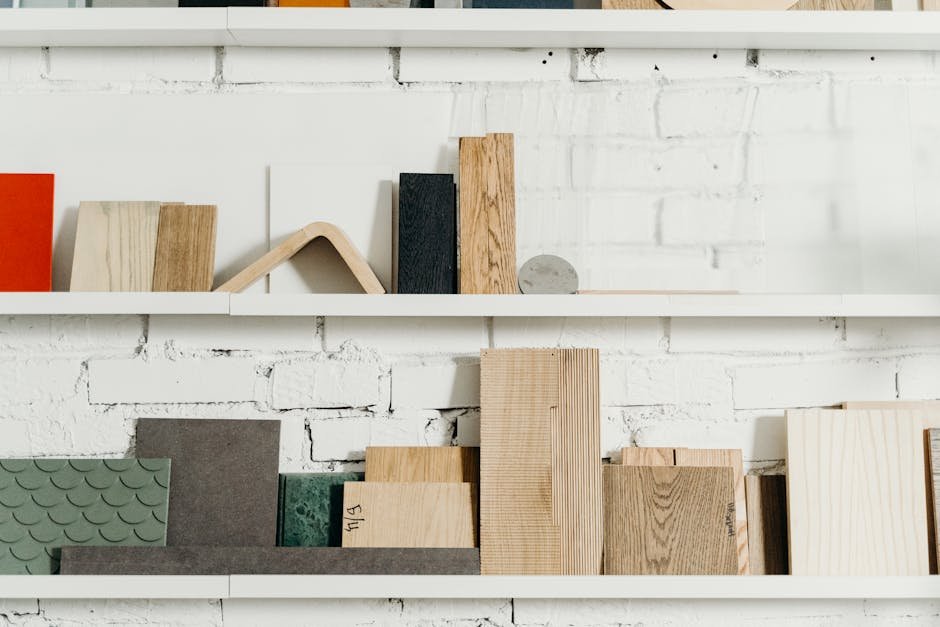
Transform Your Space: A Comprehensive Guide to Installing Floating Shelves
🛒 Shopping List
- floating shelf kit (€20–€80)
- wall anchors (€5–€15)
- wood filler (€5–€10)
- paint or stain (€5–€20)
✅ Outcome
- Professional finish with safe anchoring.
- Beginner-friendly, clean tools list.
Floating shelves are a fantastic way to add functionality and style to any room in your home. Whether you’re looking to display cherished family photos, organize books, or just add a decorative touch, floating shelves can do it all while taking up minimal space. This guide will walk you through the entire process of installing floating shelves, ensuring that you achieve a professional look with ease.
Overview
Floating shelves are shelves that appear to ‘float’ on the wall without visible brackets or supports. This minimalist design offers a sleek and modern aesthetic that can complement various interior styles. The benefits of installing floating shelves extend beyond just aesthetics; they also provide practical storage solutions in rooms where space is limited. Alternatives to floating shelves include traditional bookshelves or corner shelves, but these often take up more floor space and can be less visually appealing. Installing floating shelves can transform any room into a stylish and organized haven.
Materials
- Floating shelf kit (shelf and mounting hardware)
- Wall anchors (if necessary)
- Wood filler (for any wall imperfections)
- Paint or stain (for finishing the shelves, if desired)
Tools Needed
- Drill
- Screwdriver
- Level
- Stud finder
- Tape measure
- Pencil
Preparation
Before diving into the installation process, take some time to prepare. First, determine the best location for your floating shelves. Consider factors like height, visibility, and what you plan to place on them. It’s also crucial to check for any electrical wiring or plumbing in the wall where you intend to drill. Using a stud finder, locate the studs in the wall to ensure you can securely mount the shelves. If you can’t align the shelves with the studs, you’ll need to use wall anchors to support the weight.
Step-by-Step Instructions
- Choose the right location Start by deciding where you want your floating shelf. Use a tape measure to find the ideal height, typically around 1.5 meters from the floor for living spaces. Mark the wall lightly with a pencil to indicate the top edge of the shelf. Ensure that the shelf will not obstruct any outlets or light switches.
- Find the studs Use a stud finder to locate the studs in the wall. Mark these locations with a pencil. If there are no studs where you want to install the shelf, you will need to use wall anchors to secure the shelf brackets. Measure the distance between the marks to ensure your shelf will have adequate support.
- Mark the bracket locations Depending on the floating shelf design, you may have brackets that need to be secured to the wall. Measure and mark the position of the brackets according to the instructions provided with your floating shelf kit. Double-check the measurements to ensure everything is level.
- Drill pilot holes Using a drill, create pilot holes at the marked locations. A pilot hole is essential because it helps prevent the wall from cracking when you insert screws. If using wall anchors, drill holes according to the anchor size and instructions.
- Install wall anchors If your shelf won’t be installed directly into wall studs, insert the wall anchors into the pilot holes. Following the package instructions, tap the anchors into place with a hammer, ensuring they are flush with the wall.
- Attach the brackets If your floating shelf uses brackets, align them with the installed wall anchors or studs. Use screws to secure the brackets firmly to the wall. Be sure to check that they are level before fully tightening them.
- Attach the shelf Carefully place the floating shelf onto the mounted brackets. If the shelf features a hidden mounting system, follow the manufacturer’s instructions to secure it in place. Make sure the shelf is level once it’s positioned.
- Check for stability Once the shelf is installed, give it a gentle shake to test for stability. If it feels loose, double-check the screws and wall anchors to ensure everything is secure. It’s essential that the shelf can bear the weight of the items you plan to display.
- Finishing touches If desired, fill any holes or imperfections in the wall with wood filler. Once dry, sand the area smooth, and touch up with paint or wall color. Consider staining or painting your floating shelf if it needs a finishing touch for aesthetic consistency.
- Style your shelf Now comes the fun part: decorating your floating shelf! Arrange books, plants, or decorative items in a visually appealing manner. Remember to balance items by varying heights and using groupings for a curated look.
Tips & Techniques
Common Mistakes
- Not checking for stud locations, which can lead to an unstable shelf.
- Failure to level the shelf during installation, resulting in an uneven appearance.
- Overloading the shelf with items beyond its weight capacity.
Safety Advice
- Always wear safety glasses when drilling to protect your eyes from dust and debris.
- Ensure your workspace is clear of any obstacles to prevent tripping hazards.
- Be cautious around electrical outlets and wiring; if unsure, consult a professional.
FAQ
Q? Can I install floating shelves on drywall without studs?

A.
Yes, you can, but it’s crucial to use heavy-duty wall anchors designed for drywall to ensure stability.
Q? How much weight can a floating shelf hold?
A.
It varies by design and installation method. Always refer to the manufacturer’s specifications, and when in doubt, err on the side of caution.