
Related Articles


Transform Your Shower Experience: A Step-by-Step Guide to Replacing Your Worn-Out Showerhead
🛒 Shopping List
- New showerhead (€20–€80)
- Plumber's tape (€2–€5)
- Cleaning cloths (€1–€10)
- Vinegar (€1–€5)
✅ Outcome
- Professional finish with safe anchoring.
- Beginner-friendly, clean tools list.
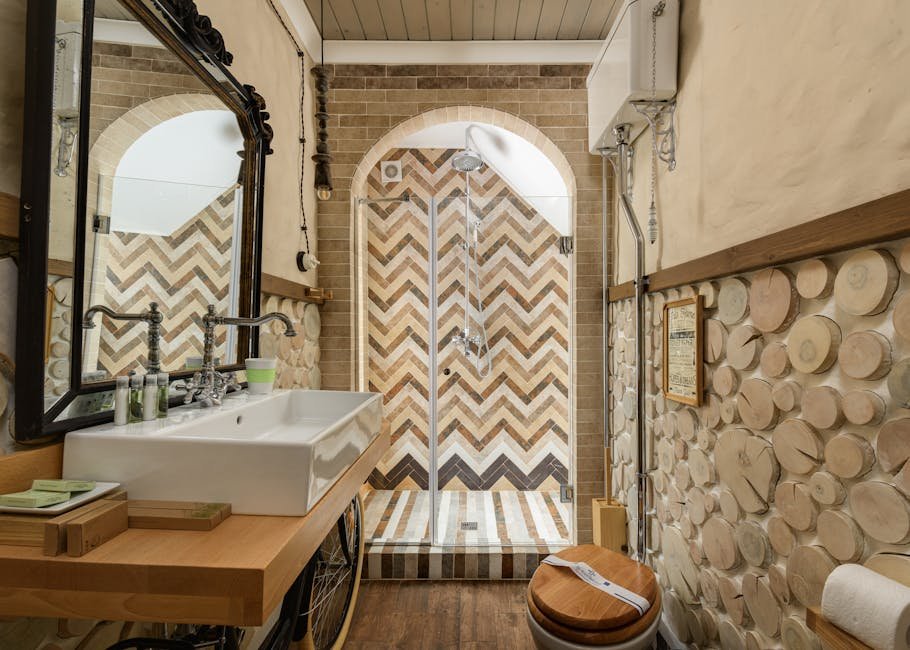
If you’ve ever stepped into the shower only to be greeted by a dribble of water from a worn-out showerhead, you know just how frustrating that can be. Not only does a malfunctioning showerhead ruin your morning routine, but it can also waste water and lead to higher bills. Fortunately, replacing a showerhead is a straightforward DIY task that can be completed in just a couple of hours. In this guide, I’ll walk you through everything you need to know to replace your showerhead easily and effectively, ensuring you can enjoy a refreshing shower once again.
Overview
Replacing a showerhead is not only a practical task but also an opportunity to enhance your shower experience. If your current showerhead is showing signs of wear, such as leaks or reduced water pressure, it’s time to consider a replacement. There are numerous options available, ranging from basic models to luxurious rain showerheads, so you can find one that perfectly fits your style and needs. While you could hire a plumber to do this job, it’s a simple enough DIY project that can save you money and give you a sense of accomplishment. Plus, it’s a great way to learn more about your home’s plumbing!
Materials
- New showerhead
- Plumber’s tape (Teflon tape)
- Cleaning cloths
- Vinegar (for cleaning)
Tools Needed
- Adjustable wrench
- Showerhead wrench (optional)
- Bucket (to catch any drips)
- Old toothbrush or scrub brush (for cleaning)
Preparation
Before you dive into the replacement process, it’s essential to check a few things first. Start by turning off the water supply to your shower. Usually, there’s a valve located near the shower or it can be turned off at the main water supply. Next, gather your materials and tools in one place to ensure you have everything you need at your fingertips. If your old showerhead is particularly grimy, you might want to soak it in a mixture of vinegar and water to help dissolve any mineral deposits. This will make the removal process easier and ensure a clean installation of the new showerhead.
Step-by-Step Instructions
- Remove the old showerhead – Using the adjustable wrench, grip the old showerhead and turn it counterclockwise to loosen it. If it’s stuck, you can use a showerhead wrench for better leverage. Be sure to hold the shower arm steady with your other hand to avoid damaging it. As you loosen the showerhead, some water may spill out, so keep your bucket handy to catch any drips. Once it’s completely loose, remove it from the shower arm and set it aside.
- Clean the shower arm – Take a cloth and wipe down the shower arm where the old showerhead was attached. If there’s any leftover plumber’s tape or debris, use an old toothbrush or scrub brush to clean the area thoroughly. This step ensures that the new showerhead has a clean surface to attach to, which will help prevent leaks.
- Wrap the threads with plumber’s tape – Take your plumber’s tape and wrap it around the threads of the shower arm. This tape helps to create a watertight seal when you install the new showerhead. Be sure to wrap it in the direction of the threads (usually clockwise) to avoid any complications while screwing on the new showerhead.
- Attach the new showerhead – Carefully screw the new showerhead onto the shower arm by turning it clockwise. Use your hand to tighten it initially. If it feels too loose, use the adjustable wrench to give it a slight turn. Be cautious not to overtighten, as this can damage the connections. A snug fit is all you need.
- Turn the water supply back on – Once your new showerhead is securely in place, turn the water supply back on. Gradually check for leaks by running the water and observing the connection between the shower arm and the showerhead. If you notice any dripping, gently tighten the showerhead further until the leak stops.
- Test your new showerhead – Now comes the fun part! Step into your shower and enjoy the new water pressure and spray pattern. Take a moment to appreciate your handiwork! If you’re feeling adventurous, you can even experiment with different settings if your new showerhead has them.
Tips & Techniques
Common Mistakes
- Forgetting to turn off the water supply before starting the replacement process.
- Not cleaning the shower arm properly, leading to potential leaks.
- Over-tightening the showerhead, which can damage the fittings.
Safety Advice
- Always ensure the water supply is turned off before beginning any plumbing work to avoid water damage and personal injury.
- Be cautious when using tools to avoid any slips that could cause injury.
- If you feel uncomfortable at any point, don’t hesitate to ask for help or consult a professional.
FAQ
Q: How do I know what size showerhead to buy? A: Most showerheads fit standard connections, which are typically 1/2 inch in diameter. However, it’s always a good idea to measure your existing shower arm for accuracy.

Q: Can I replace a showerhead without any tools? A: While some showerheads are designed for tool-free installation, having an adjustable wrench or a showerhead wrench makes the job significantly easier and more secure.