Related Articles


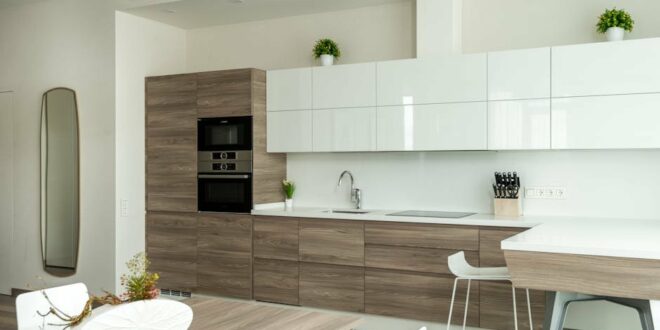
Transform Your Kitchen: How to Paint Cabinets Like a Pro
🛒 Shopping List
- Cabinet paint (€25–€70)
- Primer (€15–€40)
- Sanding block (€5–€15)
- Wood filler (€5–€15)
- Painter's tape (€3–€10)
- Drop cloths (€5–€20)
✅ Outcome
- Professional finish with safe anchoring.
- Beginner-friendly, clean tools list.
Are you tired of your old kitchen cabinets but don’t want to spend a fortune on new ones? Painting your cabinets can breathe new life into your kitchen without breaking the bank. This DIY tutorial will guide you through the process of painting kitchen cabinets step-by-step, helping you achieve a professional-looking finish with ease. With the right materials and techniques, you can create a beautiful, updated space that you will enjoy for years to come.
Overview
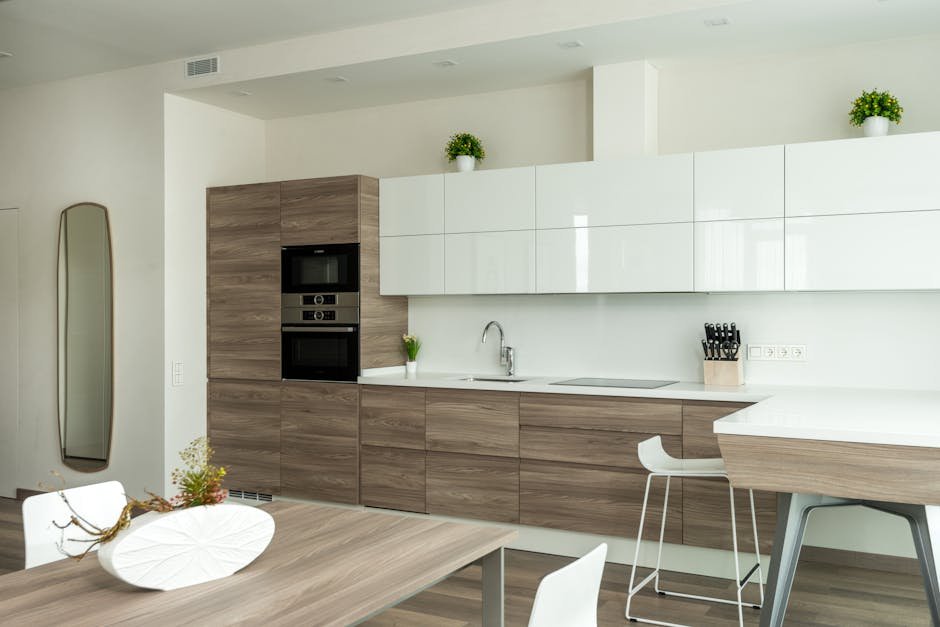
Painting kitchen cabinets is a fantastic way to refresh the look of your kitchen. It’s not just about aesthetics; it’s also a cost-effective solution compared to replacing cabinets entirely. You can choose colors that reflect your style, creating a cohesive and inviting space. Alternatives to painting include refinishing or replacing cabinets, but these options can be more expensive and time-consuming. This tutorial will demystify the painting process, making it accessible even for beginners.
Materials
- Cabinet paint (water-based or oil-based)
- Primer (if needed)
- Sanding block or sandpaper (120-220 grit)
- Wood filler (for any imperfections)
- Clean cloths
- Painter’s tape
- Drop cloths or plastic sheeting
- Paint thinner (for oil-based paints)
- Sealer (optional for extra durability)
Tools Needed
- Paintbrushes (angled and flat)
- Paint roller (for larger areas)
- Paint tray
- Putty knife
- Drill (for removing cabinet doors)
- Clamps (if necessary)
- Screwdriver
- Safety goggles
- Masking gloves
Preparation
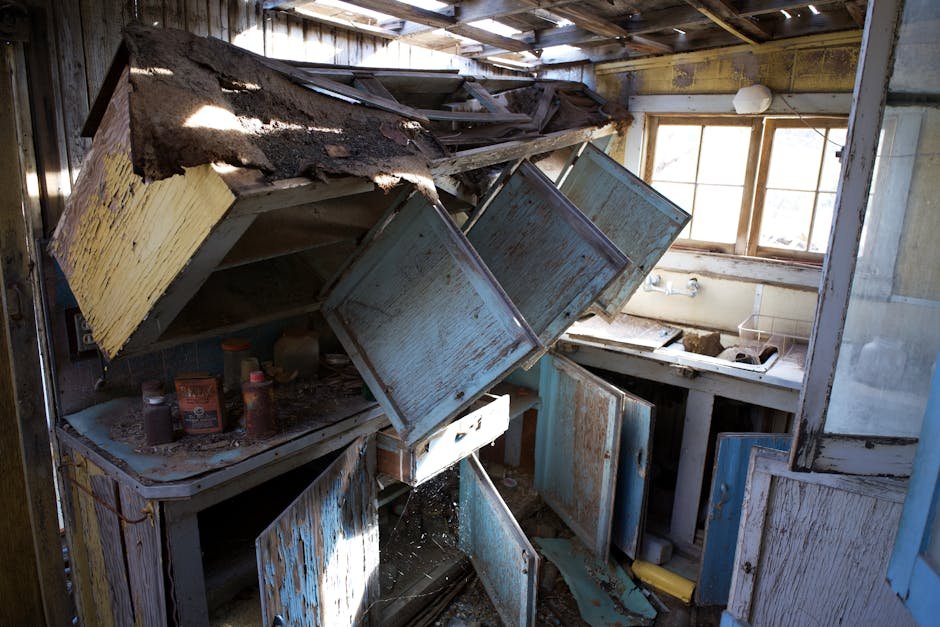
Before diving into the painting process, it’s essential to prepare your workspace and the cabinets themselves. Start by emptying your cabinets and removing all hardware, including knobs and hinges. Check your cabinets for any damages or imperfections. If you spot any dings or scratches, repair them using wood filler and sand them smooth. Ensure you have a well-ventilated area to work in, as paint fumes can be strong. Lay down drop cloths to protect your floor and surrounding areas from paint splatters.
Step-by-Step Instructions
- Remove cabinet doors Begin by carefully removing the cabinet doors from their hinges. Use a screwdriver or drill to unscrew the hinges, placing them in a labeled bag to avoid losing any hardware. This step is crucial as it allows you to access every inch of the surface and ensures a more even paint application.
- Sand the surfaces Using a sanding block or sandpaper, sand the surfaces of the cabinets lightly. This step helps the paint adhere better to the surface. Aim for a smooth finish, and be sure to sand the edges and corners. Wipe down the surfaces with a clean cloth to remove any dust created from sanding.
- Apply primer (if needed) If your cabinets have a glossy finish or if you are making a significant color change, applying a primer is recommended. Use a paintbrush or roller to apply an even coat of primer, ensuring full coverage. Allow the primer to dry according to the manufacturer’s instructions before proceeding to the next step.
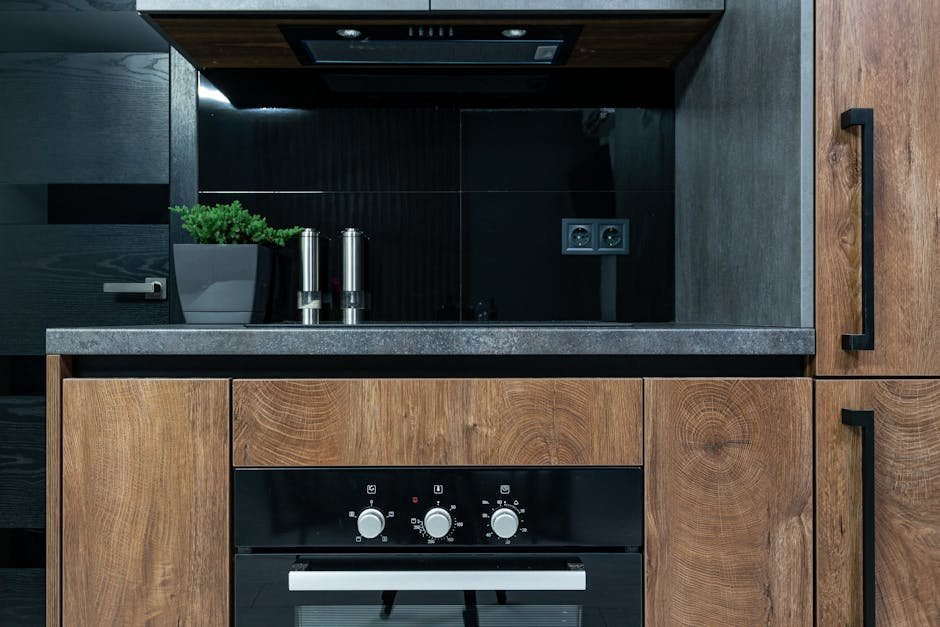
- Choose your paint Select a high-quality cabinet paint that suits your style. Water-based paints are easier to work with and dry faster, while oil-based paints offer durability. Stir the paint well before using it, and pour it into a paint tray. If you’re unsure about the color, consider testing a small section first.
- Begin painting Using your angled brush, start painting the edges and corners of the cabinet doors and frames. Follow up with a roller for the larger flat surfaces to ensure an even application. Be patient and use thin coats to avoid drips and runs. Allow the first coat to dry completely before applying the second coat.
- Sand between coats After the first coat is dry, lightly sand the surfaces again with fine-grit sandpaper. This step helps create a smooth finish for the next coat. Wipe down any dust with a clean cloth before applying the second coat of paint.
- Apply additional coats Depending on the color and type of paint used, you may need to apply a third coat for complete coverage. Repeat the painting and sanding process as necessary, allowing sufficient drying time between each coat.
- Reattach hardware Once the final coat is dry, reattach the hardware to the cabinet doors. Ensure everything is aligned properly before tightening the screws. This is the moment when you can make adjustments to the hardware if you’ve decided to upgrade to something more modern.
- Rehang cabinet doors Carefully rehang the cabinet doors onto the frames. Make sure they open and close smoothly without scraping against the frame or each other. Check alignment and make any necessary adjustments.
- Final touches After everything is back in place, step back and admire your work. You might want to touch up any areas that need a little extra attention. Clean up your workspace and remove any painter’s tape carefully to avoid peeling the paint.
Tips & Techniques
Common Mistakes
- Skipping the sanding process, which can lead to poor paint adhesion.
- Not allowing sufficient drying time between coats, resulting in paint runs and drips.
- Using the wrong type of paint for cabinetry, which can lead to chipping and wear.
Safety Advice
- Always work in a well-ventilated area to avoid inhaling harmful fumes from the paint.
- Wear a mask and safety goggles to protect yourself from dust and paint particles.
- Use gloves to protect your skin from paint and chemicals.
FAQ
Q? How long will it take for the paint to dry? A. Drying times vary depending on the paint used; typically, water-based paints dry in 1-2 hours, while oil-based paints may take 6-8 hours.
Q? Can I paint over laminate cabinets? A. Yes, but you should properly sand and prime the surfaces to ensure the paint adheres well.