Related Articles


Transform Your Kitchen: A Step-by-Step Guide to Installing a New Backsplash
🛒 Shopping List
- Tiles (€20–€200)
- Thin-set mortar or adhesive (€10–€30)
- Grout (€5–€20)
- Sealer (€10–€20)
- Spacers (€2–€5)
- Tile trim or edging (€5–€25)
✅ Outcome
- Professional finish with safe anchoring.
- Beginner-friendly, clean tools list.
Installing a new backsplash in your kitchen can dramatically elevate its aesthetic appeal while also providing practical benefits such as easier cleaning and added protection from moisture. Whether you’re looking to refresh an outdated look or want to add a splash of color and texture, a DIY backsplash project can be fulfilling and cost-effective. In this comprehensive guide, we will walk you through everything you need to know to successfully install a backsplash, even if you’ve never done a DIY project before.
Overview
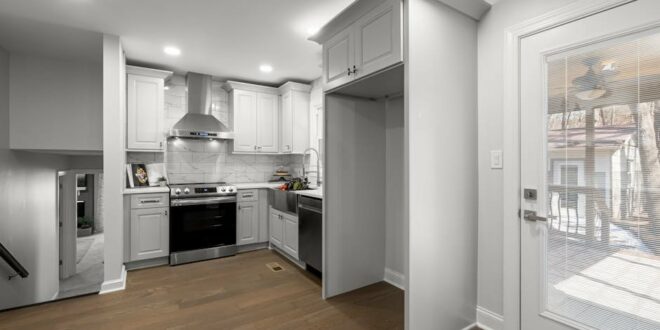
A backsplash is more than just a decorative element; it serves to protect the walls behind sinks and countertops from spills and splatters. The options for materials and designs are vast, ranging from traditional tiles to modern glass or even peel-and-stick varieties. By choosing the right backsplash, you can create a focal point that complements your kitchen’s design. If you’re considering alternatives, think about wall paint or beadboard, but keep in mind they may not provide the same level of protection. In this guide, we will focus on tile installation, which is both durable and stylish.
Materials
- Tiles (ceramic, glass, or stone)
- Thin-set mortar or adhesive
- Grout
- Sealer (for natural stone tiles)
- Spacers (for even grout lines)
- Tile trim or edging (optional)
Tools Needed
- Tile cutter or wet saw
- Notched trowel
- Grout float
- Level
- Measuring tape
- Pencil
- Sponge
- Bucket
- Safety goggles
Preparation
Before diving into your backsplash installation, spend some time preparing the area. Start by removing any existing backsplash or wall coverings. Clean the wall surface thoroughly to ensure proper adhesion of the new tiles. Next, ensure that the surface is level and free of any moisture issues. If necessary, repair any wall damage or unevenness before proceeding. Proper preparation can save you a lot of headaches during installation.

Step-by-Step Instructions
- Measure the area where you plan to install the backsplash. Use a measuring tape to determine the width and height of the space. Write down your measurements to ensure you purchase the correct amount of tiles. It’s a good idea to buy an additional 10% of tiles to account for mistakes or breakage during installation.
- Plan your tile layout. Before applying adhesive, lay out the tiles on the floor or countertop to visualize how they will fit together. This will help you identify any cuts needed and ensure that the pattern is consistent. Make adjustments to your layout if necessary, so that cut tiles are less visible in the finished product.
- Apply the thin-set mortar or adhesive to the wall using a notched trowel. Start at the bottom of the wall and work your way up. Hold the trowel at a 45-degree angle to create grooves in the adhesive, which will help the tiles stick better. Be careful not to apply too much adhesive at once, as it can dry out before you place the tiles.
- Press the first tile into the adhesive, ensuring it is level. Use spacers between tiles to maintain even gaps for grout. Repeat this process, working in small sections, until you complete the first row of tiles. Use a level frequently to check that the tiles are aligned properly.
- Cut tiles as needed to fit around outlets, corners, or edges. A tile cutter or wet saw is recommended for making precise cuts. Always wear safety goggles when cutting tiles to protect your eyes from any flying debris.
- Continue installing subsequent rows of tiles, ensuring you maintain consistent spacing and alignment. Periodically step back and assess your work to ensure the design meets your expectations.
- Allow the adhesive to dry according to the manufacturer’s instructions, typically for at least 24 hours. Avoid touching or disturbing the tiles during this drying period.
- Grout the tiled area once the adhesive is set. Remove the spacers and prepare the grout mixture according to the instructions. Apply the grout with a grout float, pressing it into the spaces between the tiles. Clean off any excess grout with a damp sponge before it dries.
- Seal the grout after it has cured for the recommended time, usually 48–72 hours. This step is particularly important for natural stone tiles, as sealing will help prevent stains and moisture absorption.
- Final touches can include adding tile trim or edging for a polished finish. Ensure everything is clean and free of grout haze before enjoying your newly installed backsplash.
Tips & Techniques
Common Mistakes
- Not adequately preparing the wall surface can lead to poor adhesion.
- Skipping the layout planning phase can cause difficulty with tile placement later.
- Applying too much adhesive at once can cause it to dry before tiles are placed.
Safety Advice
- Always wear safety goggles when cutting tiles to protect your eyes.
- Use knee pads or a mat to protect your knees while working on the floor.
- Ensure your workspace is well-ventilated, especially when using adhesives and grout.
FAQ
Q: How long will my backsplash installation take? A: Depending on the size of your kitchen and your experience level, expect the installation process to take a full day or two, especially if you include drying times.
Q: Can I install a backsplash over existing tiles? A: Yes, you can install over existing tiles, but it’s crucial to ensure they are well-adhered and clean. Some tiles may require leveling or additional preparation.

