Related Articles
Step-by-Step Tutorial: How to Fix a Leaking Kitchen Faucet Without Replacing the Whole Fixture
- Tools and Materials Needed
- Safety Precautions
- Step 1: Turn Off the Water Supply
- Step 2: Prepare the Area
- Step 3: Identify Your Faucet Type
- Step 4: Remove Handle(s)
- Step 5: Access and Inspect Internal Components
- Step 6: Replace Washers, O-Rings, or Cartridge
- Step 7: Reassemble the Faucet
- Step 8: Turn Water Supply Back On & Test
- When to Call a Professional
- Maintenance Tips

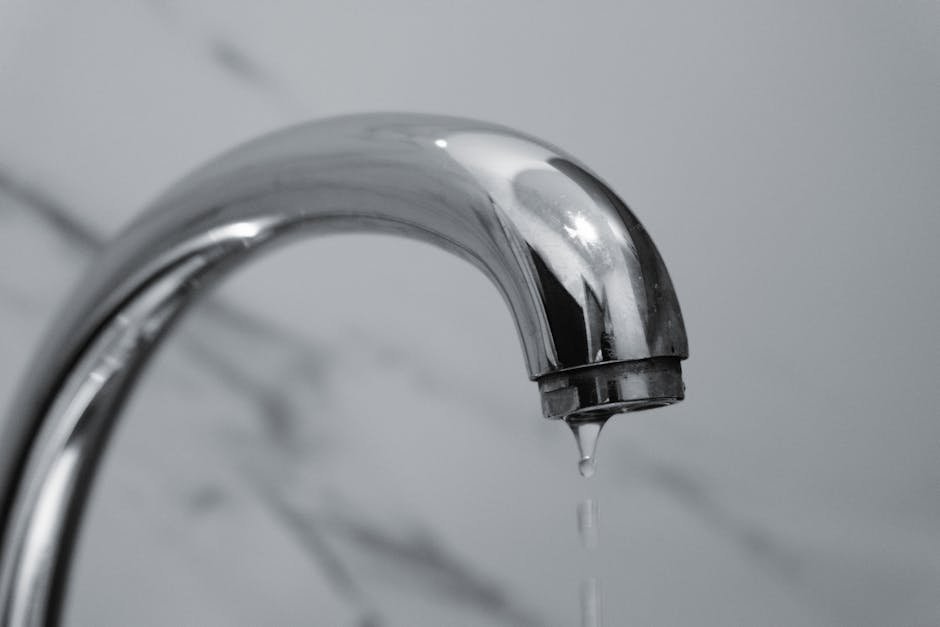
A leaking kitchen faucet is a common annoyance that wastes water and increases your bills. The good news is you don’t have to replace the entire faucet to stop the drip. With some basic tools and patience, you can fix most leaks yourself. Follow this safe, detailed guide to repair your leaking kitchen faucet.
Tools and Materials Needed
- Adjustable wrench
- Screwdriver (Phillips and flat-head)
- Allen wrench (if required for your model)
- Replacement washers/O-rings or cartridge (identify your type before starting)
- Plumber’s grease
- Towel or rag
- Bucket (for catching drips)
Safety Precautions
- Always turn off the supply valves under your sink before starting.
- Cover the sink drain to avoid losing small parts.
- Do not force parts loose—use the correct tool to prevent damage.
Step 1: Turn Off the Water Supply
- Locate the hot and cold water shutoff valves under the sink.
- Turn both valves clockwise to close them.
- Test the faucet to confirm the water is off.
Step 2: Prepare the Area
- Place a towel or rag in the sink to cushion any dropped parts.
- Cover the drain with a plug or cloth.
Step 3: Identify Your Faucet Type
Common faucet types include:
- Compression: Two handles, uses rubber washers.
- Ball, cartridge, or ceramic disk: Often single handle, uses cartridges, O-rings, or disks.
Consult your faucet manual or research your model if you’re unsure.

Step 4: Remove Handle(s)
- Use a screwdriver or Allen wrench to remove the handle screw(s).
- Gently lift off the handle. If parts seem stuck, avoid forcing them.
Step 5: Access and Inspect Internal Components
- For compression faucets: Remove the packing nut with a wrench to access the stem. Unscrew the stem to reveal the rubber washer.
- For cartridge/ball/disk faucets: Remove retaining nuts or clips to access the cartridge or O-rings.
- Carefully remove internal parts, noting their orientation for reassembly.
Step 6: Replace Washers, O-Rings, or Cartridge
- Inspect rubber washers or O-rings for wear or damage. Replace them with exact matches.
- If you have a cartridge faucet and the leak continues after replacing O-rings, replace the cartridge.
- Lightly lubricate new O-rings with plumber’s grease.
- Install the new washers, O-rings, or cartridge.
Step 7: Reassemble the Faucet
- Carefully reinstall all parts in reverse order.
- Tighten nuts and screws securely without over-tightening.
- Replace handle(s).
Step 8: Turn Water Supply Back On & Test
- Slowly turn the water supply valves counterclockwise to open them.
- Check for leaks with the water running and when it’s off.
- Wipe down the area and confirm the leak is fixed.
When to Call a Professional
If your faucet continues leaking after replacing washers, O-rings, or the cartridge — or if you notice corrosion or cracked faucet bodies — contact a licensed plumber. Never attempt DIY repairs if you’re uncertain about any safety step.

Maintenance Tips
- Clean and inspect faucet parts every 1–2 years.
- Use only manufacturer-approved replacement parts for best results.
By following these steps carefully, you can safely repair a leaking kitchen faucet yourself and prevent water waste without replacing the entire fixture.
