Related Articles

How to Fix a Leaking Kitchen Faucet Without Calling a Plumber
- What You'll Need
- Step 1: Turn Off the Water Supply
- Step 2: Plug the Drain
- Step 3: Remove the Faucet Handle
- Step 4: Disassemble the Faucet Mechanism
- Step 5: Inspect and Replace Faulty Components
- Step 6: Reassemble the Faucet
- Step 7: Restore Water Supply and Test
- Troubleshooting Tips
- When to Call a Plumber
- Conclusion
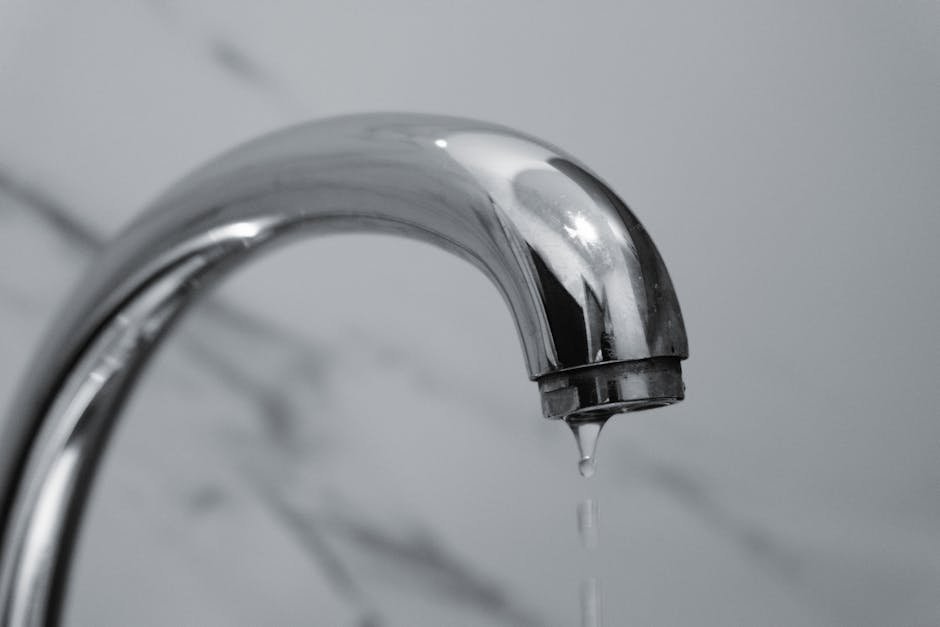
A dripping kitchen faucet isn’t just annoying—it wastes gallons of water and raises your utility bills. The good news? Most leaks can be repaired with a few basic tools and some patience. This guide will walk you through fixing a common kitchen faucet leak safely and effectively.
What You'll Need
- Adjustable wrench
- Phillips and flathead screwdrivers
- Replacement parts: O-rings, washers, or cartridge (depending on your faucet type)
- Plumber’s grease
- Small bucket or towel
- Needle-nose pliers (optional)
Step 1: Turn Off the Water Supply
- Locate the valves under your sink. Turn both the hot and cold water shut-off valves clockwise until fully closed.
- Turn on the faucet to relieve pressure and confirm the water is completely off.
Step 2: Plug the Drain
Use a drain plug or gently stuff a towel into the drain opening to prevent small parts from falling down.
Step 3: Remove the Faucet Handle
- Find the set screw—usually under a decorative cap on top or at the base of the handle.
- Remove the cap if present, then loosen and remove the set screw using the correct screwdriver or Allen wrench.
- Carefully lift the handle off.
Step 4: Disassemble the Faucet Mechanism
- Depending on your faucet type, you’ll find a cartridge, ball, or compression assembly.
- For cartridge or ball faucets: Remove the retaining nut with an adjustable wrench and lift out the cartridge or ball assembly.
- For compression faucets: Unscrew the packing nut and remove the stem.
Step 5: Inspect and Replace Faulty Components
- Check O-rings, washers, and cartridges for wear or damage.
- Replace any damaged parts with new ones that match your faucet model. Bring old parts to the store to ensure accurate replacements.
- Lightly coat O-rings and washers with plumber’s grease before reinstalling.
Step 6: Reassemble the Faucet
- Follow the disassembly steps in reverse order: reinstall new or cleaned internal parts.
- Tighten nuts snugly but avoid overtightening to prevent damage.
- Reattach the handle and secure the set screw.
- Replace the decorative cap, if applicable.
Step 7: Restore Water Supply and Test
- Remove the drain plug or towel.
- Turn the shut-off valves counterclockwise to restore water flow.
- Turn on the faucet and check for leaks. If it still drips, verify all parts are properly seated and tightened.
Troubleshooting Tips
- If the faucet continues to leak, double-check your faucet type and confirm you used the correct replacement parts.
- Do not force parts; if you encounter heavy corrosion or broken components, consider calling a professional.
When to Call a Plumber
If you notice severe corrosion, cannot shut off your water supply, or face complex faucet damage, it’s safest to contact a qualified plumber.

Conclusion
Following these steps, most kitchen faucet leaks can be fixed quickly and safely. Doing simple repairs yourself saves money and helps you build valuable home maintenance skills. Remember: Always prioritize safety and don’t hesitate to seek professional help when necessary.