Related Articles

Step-by-Step Guide to Repairing a Leaking Bathroom Faucet Without Replacing It
📑 Table of Contents
Difficulty: Beginner to Intermediate
Duration: 30–60 minutes
Estimated Cost: Under $20 for replacement washers and O-rings
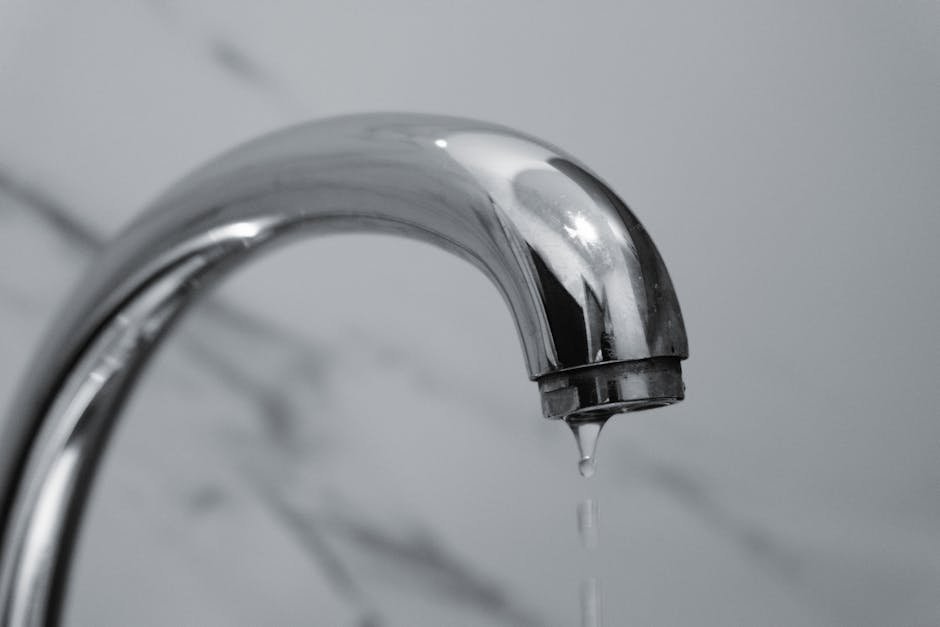
If you notice water dripping from your bathroom faucet, it can waste water and increase your bills. Fortunately, you can often fix a leaky faucet without replacing the entire fixture. This guide provides a safe and thorough process to help you do just that.
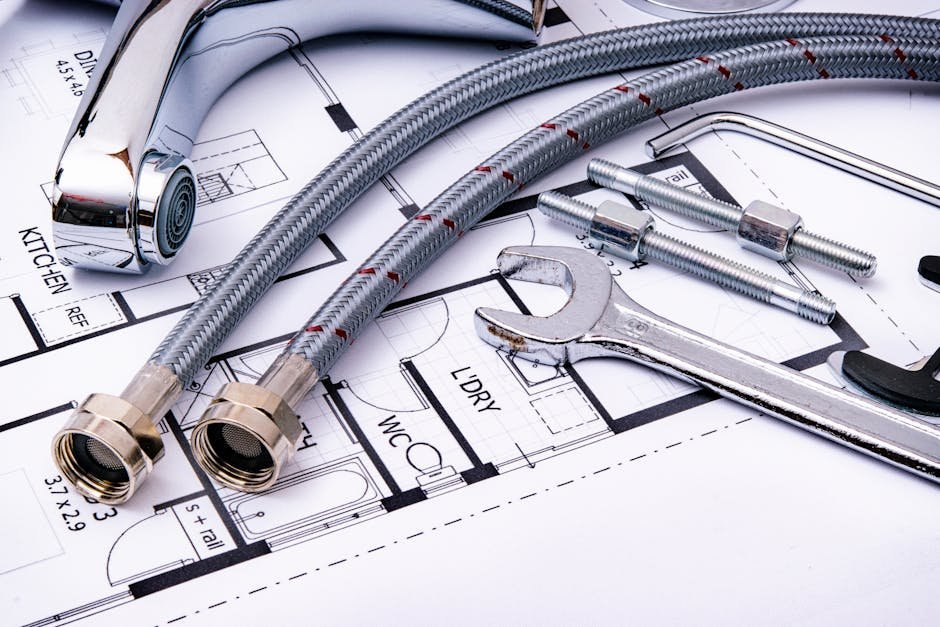
Tools and Materials
- Adjustable wrench
- Screwdrivers (Phillips and flathead)
- Replacement washers and O-rings (specific to your faucet model)
- Plumber’s grease (non-toxic, suitable for potable water)
- Towel or rag
- Bowl or bucket
Step 1: Turn Off the Water Supply
- Locate the shut-off valves under your sink.
- Turn the handles clockwise until they stop.
- Open the faucet to drain any remaining water and relieve pressure.
Step 2: Plug the Drain
Use a sink plug or a rag to block the drain. This prevents small parts from falling in during the repair.
Step 3: Remove the Faucet Handle
- Look for a screw securing the handle. It may be hidden under a decorative cap that can be pried off with a flathead screwdriver.
- Unscrew the handle and lift it off gently.
Step 4: Access the Valve
- Use an adjustable wrench to unscrew the packing nut beneath the handle.
- Carefully pull out the valve stem or cartridge, noting its orientation for reassembly.
Step 5: Inspect and Replace Washers and O-Rings
- Check the rubber washer at the bottom of the valve stem and any O-rings around the stem.
- If they are worn, cracked, or hardened, remove them carefully.
- Replace them with new washers and O-rings matching the original size and type.
- Apply a light coat of plumber’s grease to the O-rings before reinstalling. Avoid over-applying.
Step 6: Reassemble the Faucet
- Insert the valve stem or cartridge back into the faucet body in its original orientation.
- Hand-tighten the packing nut, then snug it with a wrench. Do not over-tighten.
- Replace the handle and secure it with its screw and decorative cap.
Step 7: Test the Faucet
- Remove the drain plug or rag.
- Turn the water supply valves back on slowly.
- Open and close the faucet several times, checking for leaks around the handle and spout.
- If leaks persist, recheck washer and O-ring placement and ensure all connections are snug but not over-tightened.
When to Call a Professional
If your faucet continues to leak after replacing washers and O-rings, or if you find damaged metal components, it’s safest to contact a licensed plumber.
Conclusion
Repairing a leaking bathroom faucet is often a straightforward DIY project. With careful attention and basic tools, you can stop the drip and extend your faucet’s life without an expensive replacement.