Related Articles


Restore Your Behr Stain Finish: Easy Techniques to Achieve Consistency and Quality
🛒 Shopping List
- Behr stain (€20–€50)
- Wood cleaner (€5–€10)
- Sandpaper (€10–€15)
- Wood putty (€5–€10)
- Clear sealant (€10–€20)
✅ Outcome
- Professional finish with safe anchoring.
- Beginner-friendly, clean tools list.
Have you noticed that your Behr stain finish is looking a bit worn or uneven? Don’t worry; you’re not alone! Many DIY enthusiasts face the same issue, and the good news is that you can easily restore its beauty and consistency with a few simple techniques. In this tutorial, we’ll guide you through the steps to rejuvenate your stain finish, ensuring your surfaces look as stunning as the day they were first applied.
Overview
Whether it’s on wood furniture, decks, or fencing, a Behr stain finish provides that beautiful, rich color that enhances natural wood grain. Over time, however, exposure to the elements, wear and tear, or improper application can lead to fading, blotchiness, or peeling. Instead of opting for a complete overhaul, you can efficiently restore your stain finish with these DIY techniques. Alternatives could include hiring a professional or replacing the stained wood altogether, but why spend more when you can tackle this project yourself? In this guide, we’ll cover everything from preparation to execution so your stains can shine once again.
Materials
- Behr stain (matching your existing finish)
- Wood cleaner or soap
- Sandpaper (120 and 220 grit)
- Stain applicator or brush
- Rags
- Clear sealant (optional)
- Wood putty (if needed)
Tools Needed
- Screwdriver (if disassembling furniture)
- Ladder (for high areas)
- Paint tray
- Drop cloths
- Protective gloves
- Face mask (for dust protection)
Preparation
Before diving into the restoration process, it’s crucial to assess the current state of your stain finish. Check for any areas of peeling or heavy wear. You’ll also want to inspect for any damage to the wood itself, such as cracks or splinters. If there are significant defects, you may need wood putty to fill them. Clear a workspace, protect your surrounding areas with drop cloths, and gather all your materials and tools so you’re ready to go. Preparation is key to achieving a smooth finish!
Step-by-Step Instructions
- Clean the surface – Start by cleaning the area you plan to restore. Use a wood cleaner or mild soap mixed with water to remove dirt, grease, or old stain remnants. Make sure to scrub gently with a soft cloth to avoid damaging the wood’s surface. Rinse thoroughly and allow it to dry completely before moving on to the next step.
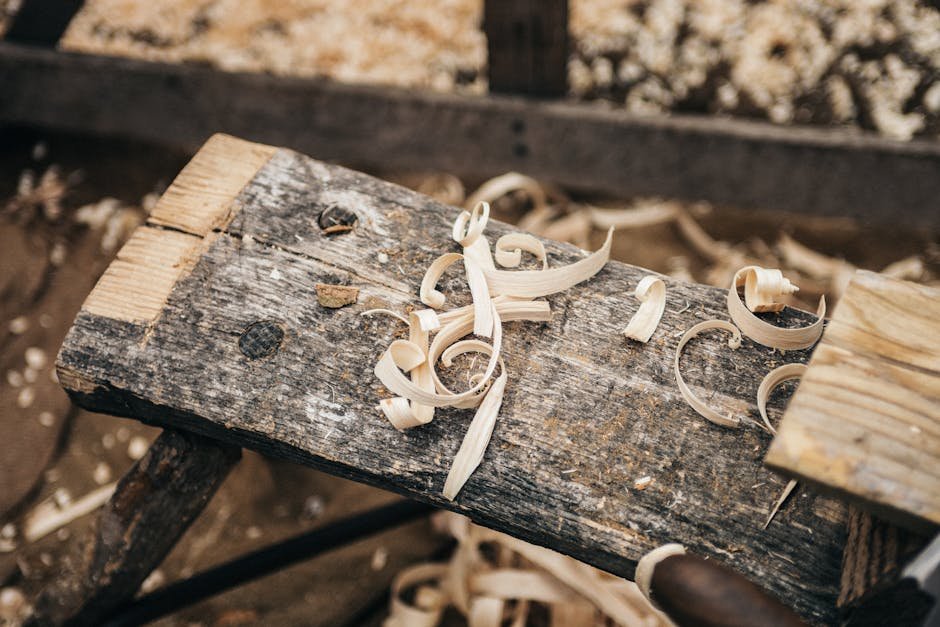
- Sand the damaged areas – Once the surface is dry, use the 120-grit sandpaper to gently sand down any rough spots or peeling areas. The goal here is to create a smooth surface for the new stain to adhere properly. When you’re done, switch to the 220-grit sandpaper for a finer finish, which will help blend the repaired area with the surrounding surface more seamlessly.
- Test the stain – Before applying the stain to the entire area, it’s wise to do a test patch. Apply a small amount of the Behr stain you’ve chosen to a less visible area or a scrap piece of wood. This will allow you to see if the color matches and how it interacts with the existing finish. Adjust if necessary.
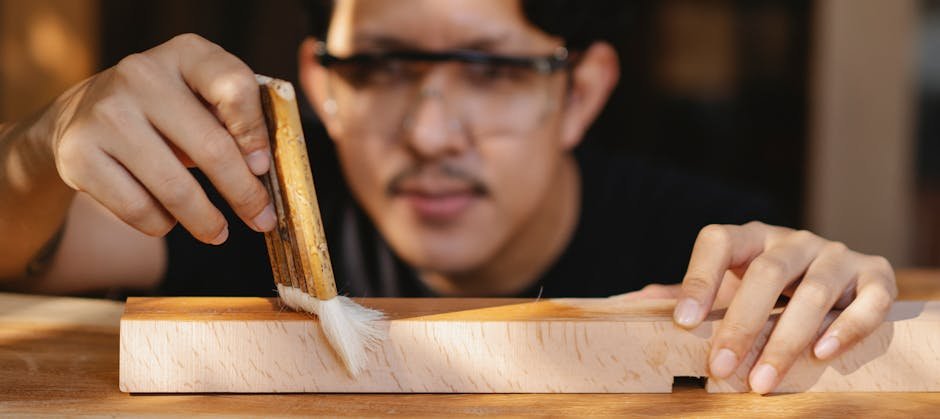
- Apply the stain – Once you’re satisfied with the test patch, it’s time to apply the stain to the larger area. Use a brush or stain applicator to apply the stain evenly, following the direction of the wood grain. For best results, work in small sections to avoid overlaps and ensure an even application. If the color appears too dark, you can wipe off excess stain with a rag.
- Let it dry – After applying the stain, allow it to dry according to the manufacturer’s instructions. This usually takes a few hours, but drying times can vary depending on the humidity and temperature of your workspace.
- Seal the finish (optional) – If you desire added protection for your stained surface, apply a clear sealant once the stain is completely dry. This will help maintain the finish and enhance its longevity against wear. Make sure to choose a sealant that is compatible with the stain you used, and apply it following the manufacturer’s guidelines.
Tips & Techniques
Common Mistakes
- Skipping the cleaning step, leading to poor adhesion of the new stain.
- Using the wrong grit sandpaper, which can create further damage to the wood.
- Applying the stain too thickly, resulting in drips and uneven color.
- Neglecting to test the stain beforehand, which can lead to mismatched colors.
Safety Advice
- Always wear protective gloves to avoid skin irritation from stains and solvents.
- Use a face mask when sanding to protect your lungs from dust.
- Ensure proper ventilation in your workspace, especially when working with stains and sealants.
- Keep all materials out of reach of children and pets to prevent accidental ingestion or contact.
FAQ
Q? How long will my restored stain finish last?

A.
The longevity of your restored stain finish depends on several factors, including the quality of the stain and sealant used, as well as the environmental conditions. Proper maintenance can extend its lifespan for several years.
Q? Can I change the color of my stain finish?
A.
Yes, you can change the color! Just make sure to choose a stain that is compatible with the existing one. Be aware that lighter colors may require multiple coats, while darker colors may cover more quickly.

