
Related Articles


Maximize Your Space: Build a DIY Floating Shelf for Small Rooms
🛒 Shopping List
- Wood screws (4–5mm) (€3–€6)
- Sandpaper (120–240 grit) (€2–€4)
✅ Outcome
- Professional finish with safe anchoring.
- Beginner-friendly, clean tools list.

Are you tired of clutter in your small room? A floating shelf can be a game-changer, providing a stylish and functional way to display your favorite items while maximizing your space. In this DIY tutorial, we will walk you through the process of creating your own floating shelf, perfect for any room where space is at a premium. Not only will it help you stay organized, but it will also add a touch of elegance to your décor.
Overview
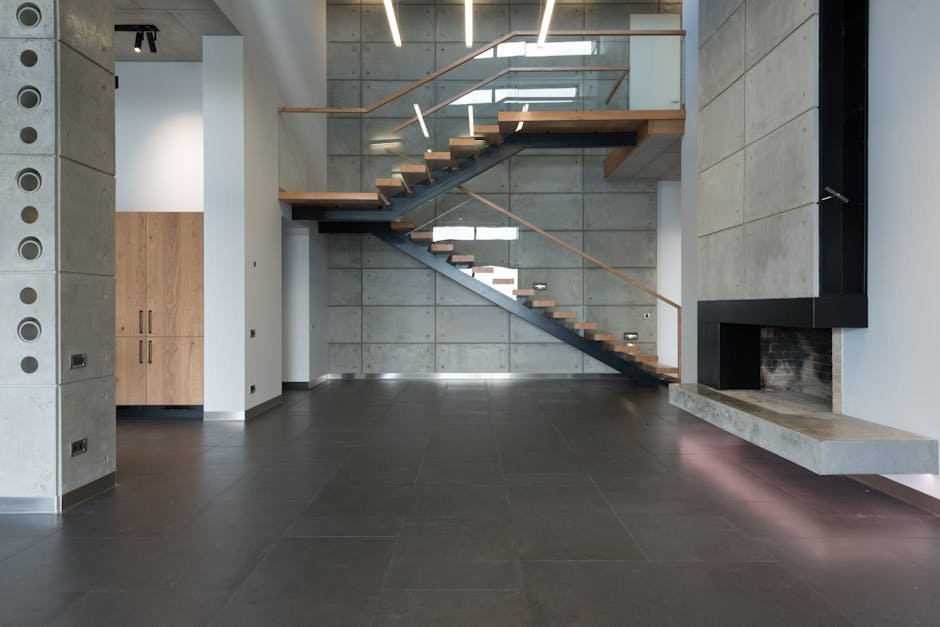
A floating shelf is a shelf that appears to ‘float’ on the wall without visible supports. This design not only saves floor space but also creates a clean, modern look that can enhance any room’s aesthetic. Floating shelves can be used in a variety of ways, from displaying books and plants to showcasing family photos or decorative items. If you’re looking for alternatives, consider traditional shelving units or wall-mounted brackets, but keep in mind that these options often take up more visual and physical space.
Materials
- Wood board (for the shelf – select the desired size)
- Wood screws
- Wall anchors (if necessary)
- Wood finish or paint (optional)
- Sandpaper
Tools Needed
- Drill
- Screwdriver
- Level
- Measuring tape
- Pencil
- Stud finder (optional)
Preparation
Before you get started, take a moment to assess your wall and the area where you want to install your shelf. Ensure the wall is structurally sound and can support the weight of the shelf and its contents. Use a stud finder to locate the studs in your wall; securing the shelf to these will provide the best stability. Also, think about the height at which you want to place the shelf—this will affect both its functionality and appearance.
Step-by-Step Instructions
- Measure and Mark – Start by measuring the space where you want the shelf to go. Use a measuring tape to determine the length of the shelf you want, and mark the wall lightly with a pencil. Ensure your marks are level, as this will be crucial for a polished look.
- Cut the Wood Board – If you purchased a pre-cut wood board, skip this step! If not, use a saw to cut your wood to the desired length. Sand the edges to avoid splinters and provide a smooth finish. You can also choose to apply a wood finish or paint to match your room’s décor.
- Prepare the Brackets – For a floating shelf, the bracket system is key. You can either purchase floating shelf brackets or create your own support system using wooden dowels. If using dowels, drill holes in the wall where your shelf will sit, making sure they align with the wood board you cut earlier.
- Install the Brackets – Drill the brackets into the wall, ensuring they’re level. If you’re using wall anchors, make sure to install them according to the package instructions. If you found studs, screw directly into those for additional support.
- Attach the Shelf – Once your brackets are secure, carefully lift your wood board and slide it onto the support system. Use a level to ensure it’s straight. Make any necessary adjustments before securing it in place with screws.
- Final Touches – After securing your shelf, take a moment to inspect your work. Sand down any rough edges if needed, and consider adding decorative items to your floating shelf. This is where you can truly express your personality!
Tips & Techniques
Common Mistakes
- Not using a level when installing the shelf, leading to a crooked appearance.
- Choosing a shelf that is too small or too large for the intended space.
- Failing to secure the shelf to a stud or using inadequate anchors, which can lead to sagging or falling.
Safety Advice
- Wear safety glasses when using power tools to protect your eyes from dust and debris.
- Make sure to handle sharp tools and materials with care to avoid cuts.
- Ensure you have a stable ladder or step stool when working at height to prevent falls.
FAQ
Q? What weight can a floating shelf hold?
A. The weight capacity of a floating shelf largely depends on the brackets used and how well it is anchored. Generally, a well-installed floating shelf can hold between 10 to 50 kilograms.
Q? Can I install a floating shelf in a drywall?
A. Yes, but using wall anchors is essential when you’re not drilling directly into studs. This will help support the shelf’s weight and prevent it from pulling out of the wall.

