Inspecting Attic Hatches
Attic hatches are often overlooked when checking for drafts, yet they can be a significant source of air leakage. Begin by visually inspecting the hatch for any visible gaps or worn weatherstripping. Look for areas where light or air can pass through when the hatch is closed.
To check for drafts, use a flashlight or hold a piece of paper near the edges of the hatch. If the paper is pulled by an airflow, it indicates a gap. Additionally, you can perform a simple test by closing the hatch and feeling for drafts with your hand or using a piece of tissue paper.
If you find gaps or damaged weatherstripping, replace it with self-sticking weather stripping. Ensure the new material is compatible with the existing hatch to avoid damage. Measure the area where the weatherstripping will be applied and cut the strip to fit. Apply the weather stripping carefully, ensuring it adheres properly and creates a tight seal. For a focused walkthrough, see our Insulating Your Attic Access Door A guide.
When choosing the right weatherstripping, consider the type of hatch you have. For example, hatches with metal frames may require a different type of material than those with wood. Always read the product label to ensure compatibility and follow the manufacturer’s instructions for installation. If you’re unsure about the type of weatherstripping to use, consult with a professional or refer to the manufacturer’s guidelines.
Common mistakes to avoid when replacing weatherstripping include applying it too loosely, which can result in gaps, or using the wrong type of material, which can lead to peeling or damage. Also, ensure that the new weatherstripping is cut to the exact dimensions of the hatch to avoid overhang or underhang, which can compromise the seal. After installation, test the hatch again to ensure there are no leaks. If you’re still experiencing drafts, you may need to reapply the weatherstripping or consider using a different material.
If you’re not confident in your ability to replace the weatherstripping or if the hatch is particularly difficult to access, it’s best to seek professional help. A professional can ensure that the weatherstripping is installed correctly and that the hatch is sealed effectively, preventing future drafts and improving your home’s energy efficiency.
Checking Windows for Weatherstripping
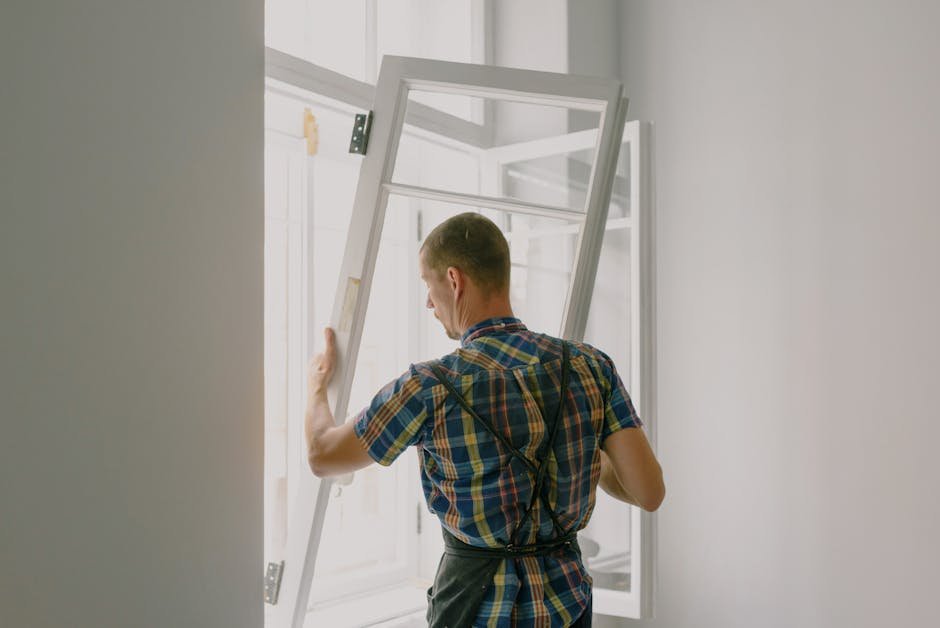
Windows are another common source of drafts, especially around the edges. Start by examining the window frame for any visible gaps or signs of worn weatherstripping. Look for areas where light or air can pass through when the window is closed. For a focused walkthrough, see our Insulate Drafty Windows Foam Sealant Weatherstripping guide.
To check for drafts, use a flashlight or hold a piece of paper near the edges of the window. If the paper is pulled by an airflow, it indicates a gap. You can also perform a simple test by closing the window and feeling for drafts with your hand or using a piece of tissue paper.
If you find gaps or damaged weatherstripping, replace it with compatible weatherstripping materials. Ensure the new material is suitable for the type of window you are sealing. Measure the area where the weatherstripping will be applied and cut the strip to fit. Apply the weather stripping carefully, ensuring it adheres properly and creates a tight seal.
When selecting the right weatherstripping for your windows, consider the type of window you have, such as double-hung, sliding, or casement. Each type may require a different type of weatherstripping to ensure a proper seal. For example, sliding windows may require a different type of material to accommodate the movement of the sash. Always read the product label to ensure compatibility and follow the manufacturer’s instructions for installation.
Common mistakes to avoid when replacing weatherstripping include applying it too loosely, which can result in gaps, or using the wrong type of material, which can lead to peeling or damage. Also, ensure that the new weatherstripping is cut to the exact dimensions of the window to avoid overhang or underhang, which can compromise the seal. After installation, test the window again to ensure there are no leaks. If you’re still experiencing drafts, you may need to reapply the weatherstripping or consider using a different material.
If you’re not confident in your ability to replace the weatherstripping or if the window is particularly difficult to access, it’s best to seek professional help. A professional can ensure that the weatherstripping is installed correctly and that the window is sealed effectively, preventing future drafts and improving your home’s energy efficiency.
Examining Exterior Doors
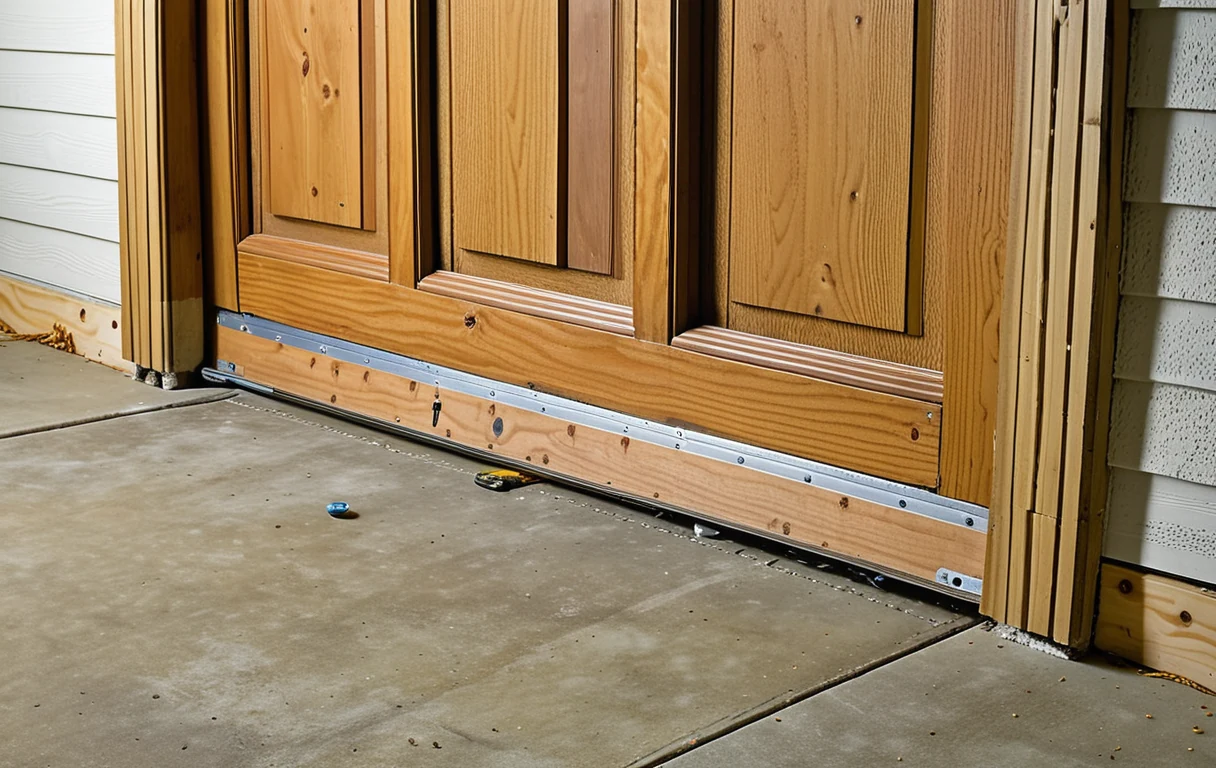
Exterior doors are critical for maintaining indoor comfort and energy efficiency. Start by inspecting the door frame for any visible gaps or signs of worn weatherstripping. Look for areas where light or air can pass through when the door is closed.
To check for drafts, use a flashlight or hold a piece of paper near the edges of the door. If the paper is pulled by an airflow, it indicates a gap. Additionally, you can perform a simple test by closing the door and feeling for drafts with your hand or using a piece of tissue paper.
If you find gaps or damaged weatherstripping, replace it with matching seals. Ensure the new material is compatible with the door frame to avoid damage. Measure the area where the weatherstripping will be applied and cut the strip to fit. Apply the weather stripping carefully, ensuring it adheres properly and creates a tight fit.
When selecting the right weatherstripping for your exterior doors, consider the type of door you have, such as a standard entry door, sliding door, or French door. Each type may require a different type of weatherstripping to ensure a proper seal. For example, sliding doors may require a different type of material to accommodate the movement of the door. Always read the product label to ensure compatibility and follow the manufacturer’s instructions for installation.
Common mistakes to avoid when replacing weatherstripping include applying it too loosely, which can result in gaps, or using the wrong type of material, which can lead to peeling or damage. Also, ensure that the new weatherstripping is cut to the exact dimensions of the door to avoid overhang or underhang, which can compromise the seal. After installation, test the door again to ensure there are no leaks. If you’re still experiencing drafts, you may need to reapply the weatherstripping or consider using a different material.
If you’re not confident in your ability to replace the weatherstripping or if the door is particularly difficult to access, it’s best to seek professional help. A professional can ensure that the weatherstripping is installed correctly and that the door is sealed effectively, preventing future drafts and improving your home’s energy efficiency.
Replacing Garage-Door Perimeter Seals
Garage doors can also be a source of drafts, especially around the perimeter. Start by inspecting the door for signs of wear or damage to the weatherstripping. Look for areas where light or air can pass through when the door is closed.
To check for drafts, use a flashlight or hold a piece of paper near the edges of the door. If the paper is pulled by an airflow, it indicates a gap. Additionally, you can perform a simple test by closing the door and feeling for drafts with your hand or using a piece of tissue paper.
If you find gaps or damaged weatherstripping, replace it with vinyl weatherstripping. Ensure the new material is suitable for the type of garage door you are sealing. Measure the area where the weatherstripping will be applied and cut the strip to fit. Apply the weather stripping carefully, ensuring it adheres properly and creates a tight seal.
When selecting the right weatherstripping for your garage door, consider the type of door you have, such as a standard overhead door or a sectional door. Each type may require a different type of weatherstripping to ensure a proper seal. For example, sectional doors may require a different type of material to accommodate the movement of the panels. Always read the product label to ensure compatibility and follow the manufacturer’s instructions for installation.
Common mistakes to avoid when replacing weatherstripping include applying it too loosely, which can result in gaps, or using the wrong type of material, which can lead to peeling or damage. Also, ensure that the new weatherstripping is cut to the exact dimensions of the door to avoid overhang or underhang, which can compromise the seal. After installation, test the door again to ensure there are no leaks. If you’re still experiencing drafts, you may need to reapply the weatherstripping or consider using a different material.
If you’re not confident in your ability to replace the weatherstripping or if the door is particularly difficult to access, it’s best to seek professional help. A professional can ensure that the weatherstripping is installed correctly and that the door is sealed effectively, preventing future drafts and improving your home’s energy efficiency.