Related Articles


How to Waterproof a Basement Laundry Room with Concrete Epoxy and Prevent Mold Growth in Humid Climates
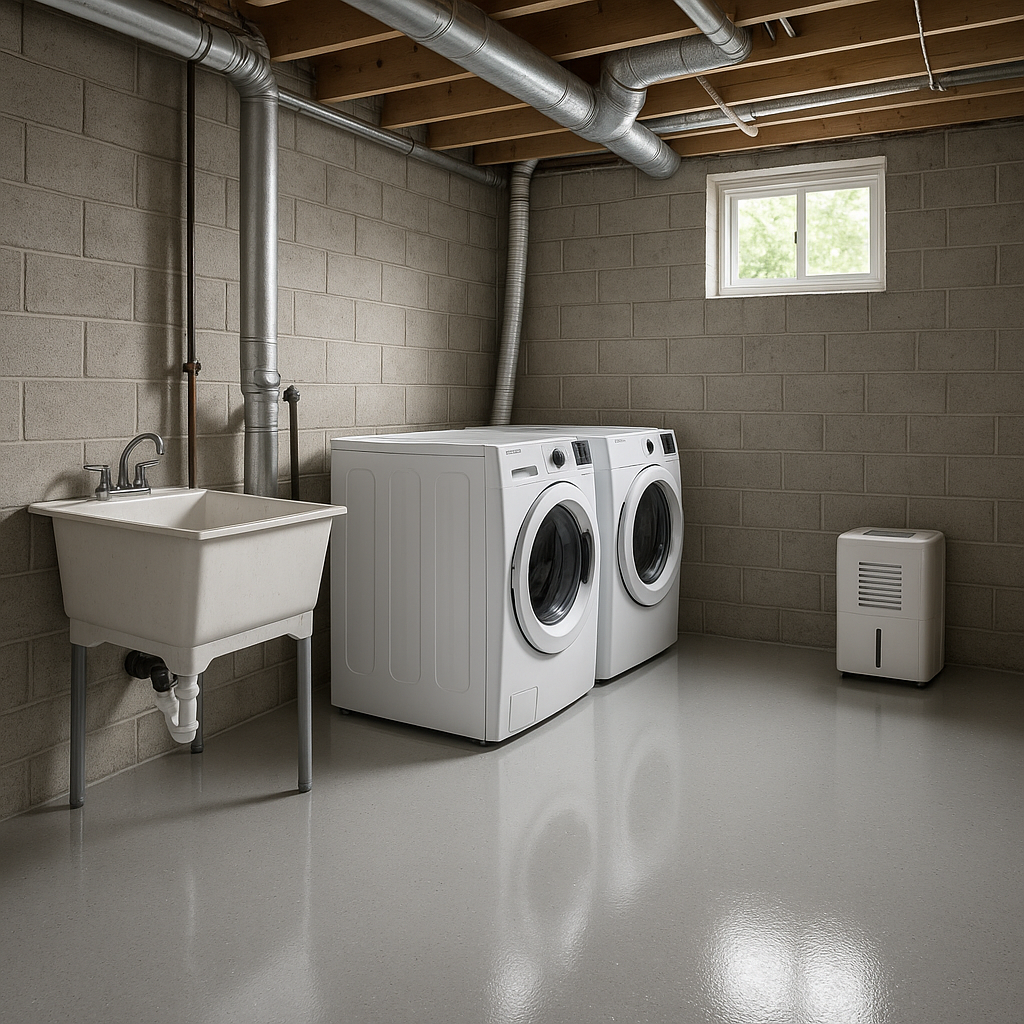
Understanding the Challenges: Moisture, Risks, and Mold in Basement Laundry Rooms
Basement laundry rooms are especially prone to water intrusion and mold growth due to their below-grade location, limited airflow, and frequent moisture from appliances. Identifying sources of moisture and understanding the associated risks is essential for effective waterproofing.
- High Humidity: Basements tend to retain moisture, and laundry appliances add to the humidity—especially if the dryer isn’t vented properly.
- Primary Moisture Sources: Leaks, compromised pipes, poor exterior drainage, and groundwater entering cracks all contribute to water problems. Even minor leaks can saturate concrete and conceal mold growth.
- Condensation and Seepage: Cold surfaces and pipes can sweat in humid conditions, and water may come through foundation walls or floors without proper exterior drainage, especially after storms or gutter overflow.
- Structural and Financial Risks: Continuous water intrusion leads to cracks, spalling, and foundation weakening, often resulting in costly repairs and long-term issues.
- Mold and Health Concerns: Persistent dampness fosters mold and mildew, causing stains, odors, potential allergic reactions, and health risks. Black mold (Stachybotrys chartarum) can quickly develop in humid insulation or porous materials.
- Prevention Is Critical: Effective protection requires moisture barriers, humidity control, and regular inspections. Simply patching cracks is rarely a lasting solution.
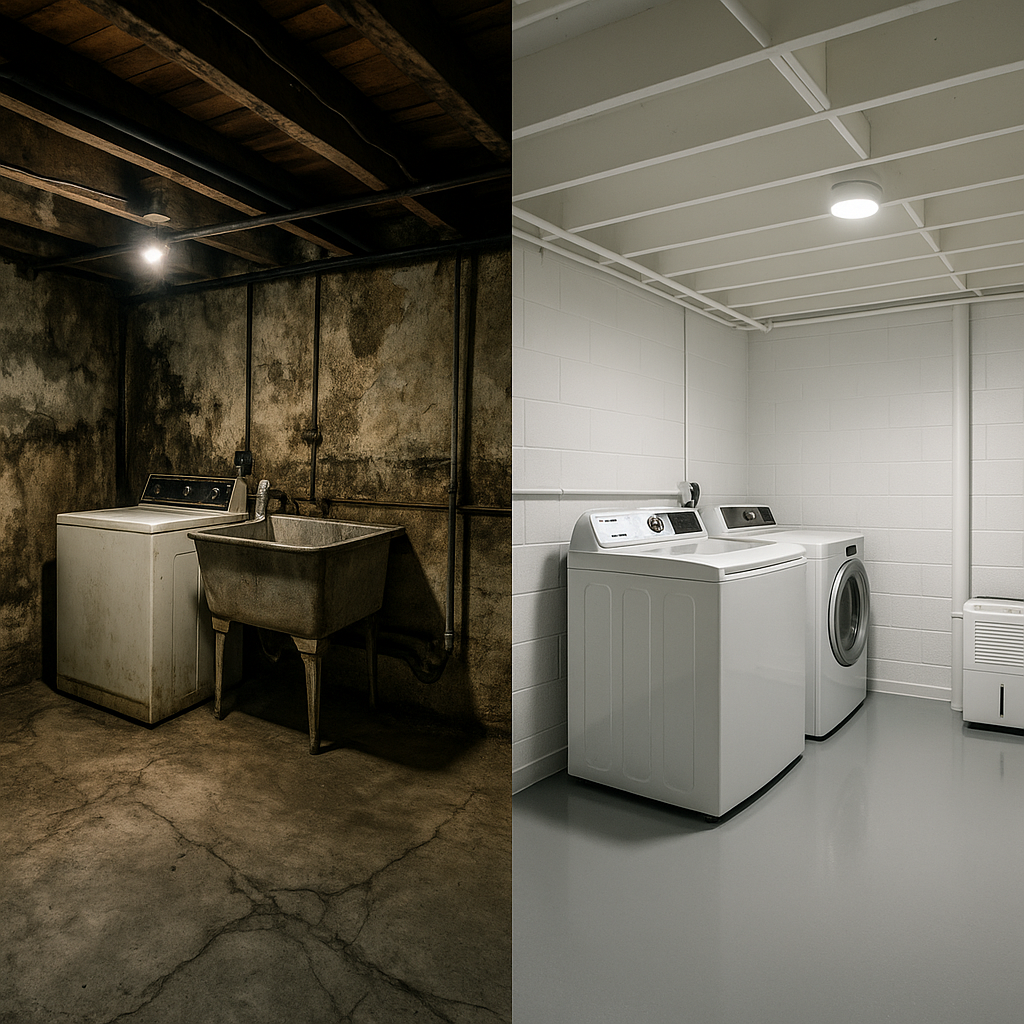
Why Choose Concrete Epoxy for Basement Waterproofing?
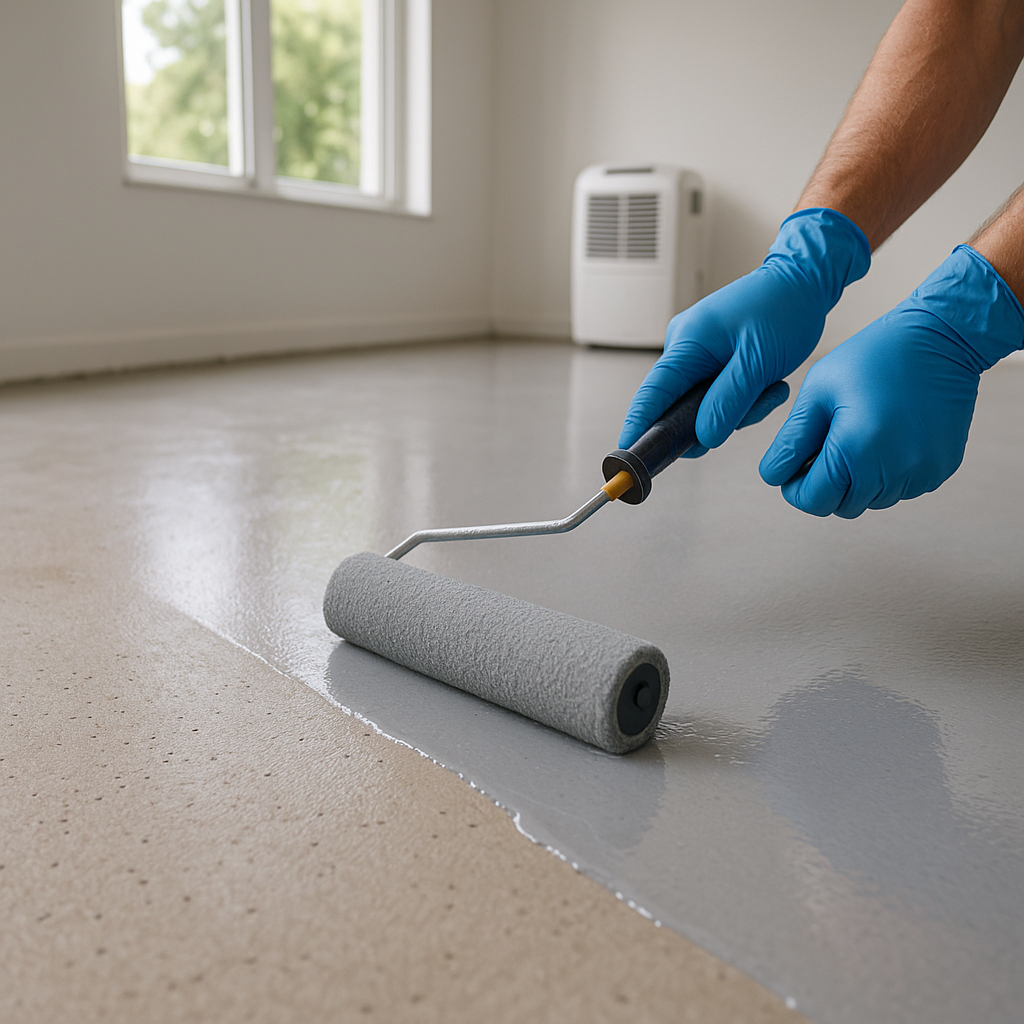
The most effective waterproofing stops moisture at its source. In basement laundry rooms, applying concrete epoxy on floors and lower walls creates a strong, durable barrier against water, stains, and daily use.
- How Epoxy Works: Epoxy creates a seamless, waterproof coating that seals hairline cracks and stops water and vapor infiltration. 100% solids epoxies deliver essential vapor barrier protection for below-grade spaces.
- Comparison with Other Products:
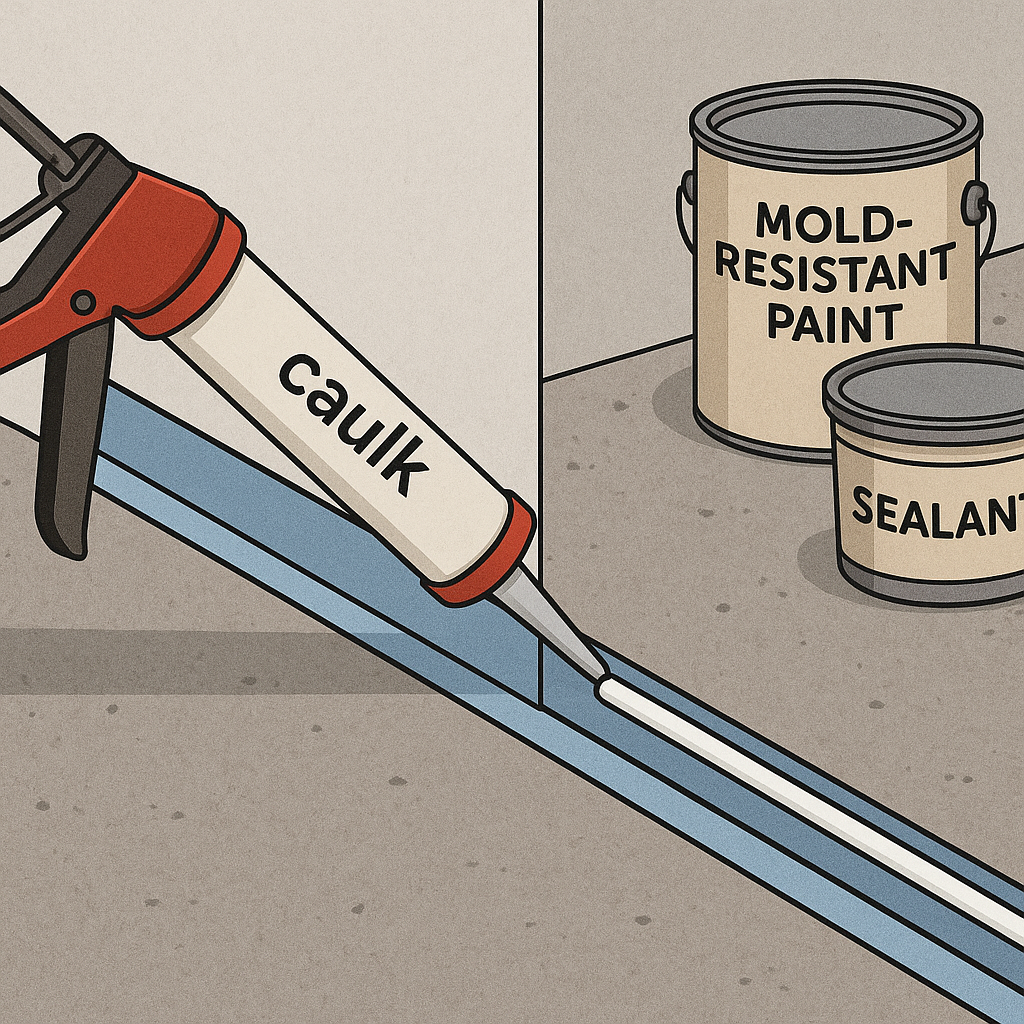
- Sealants: Easy to apply but not durable under pressure, often requiring frequent reapplication.
- Waterproof Paint: Provides limited protection and is prone to peeling or blistering under constant moisture.
- Sheet Membranes: Very effective but labor-intensive, and better suited for new builds or large renovations.
- Epoxy: Delivers superior, long-lasting moisture resistance. Though more expensive at first, epoxy coatings typically last 5–10 years if installed correctly.
- Limitations: Epoxy only protects treated areas. Water can still enter through untreated cracks, above the coating, or through major foundation issues. Complementary landscaping and drainage improvements are also necessary.
- Integrated Solutions: For best results, use epoxy alongside humidity control, mold-resistant materials, and regular inspections. Persistent water problems may require a sump pump, drains, or exterior waterproofing.
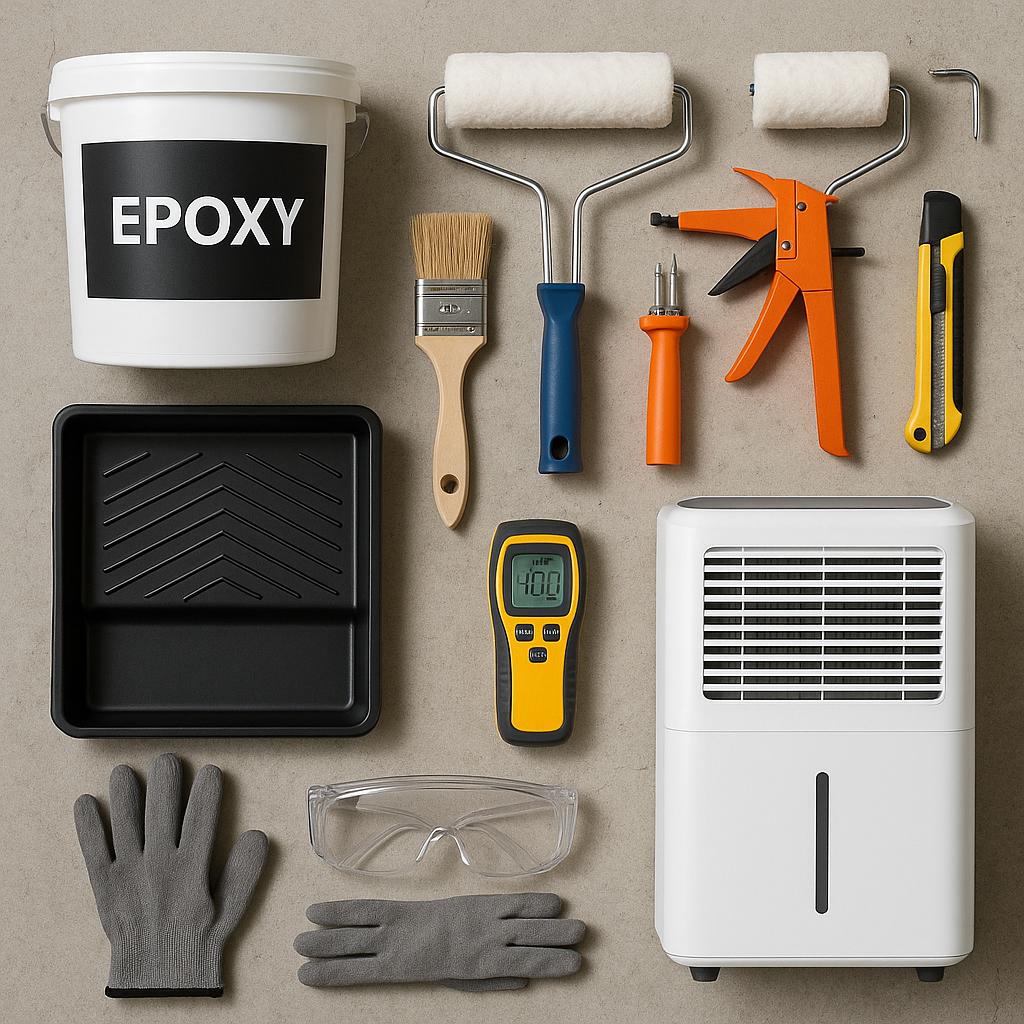
Tools and Materials Checklist for Waterproofing and Mold Prevention
Gathering the right tools and materials ensures a successful, long-lasting waterproof finish. Refer to this checklist before starting:
- Preparation Tools:
- Wire brush or angle grinder with masonry attachments for surface prep
- Industrial vacuum cleaner with HEPA filter
- Moisture Assessment:
- Concrete moisture meter
- Epoxy Application:
- Basement-rated concrete epoxy kit (hydrostatic and vapor rated)
- Lint-free epoxy rollers and brushes
- Disposable mixing buckets and paddles
- Painters tape and plastic sheeting
- Heavy-duty drop cloths
- Repair Supplies:
- Epoxy-compatible patching compound or crack filler
- Trowels or caulk guns for application
- Personal Protective Equipment:
- Industrial gloves
- Goggles with splash protection
- Respirator for organic vapors
- Mold and Moisture Control:
- Dehumidifier (50–70 pint for larger rooms)
- Ventilation fan and ducting
- Digital hygrometer
- Mold-resistant caulk, paint, or insulation (ASTM D3273 rated)
- Cleaning:
- Biodegradable cleaner or degreaser
- Microfiber rags and mops
Step-by-Step Guide: Waterproofing with Concrete Epoxy
Follow these steps for lasting water and mold protection:
- Preparation:
Move appliances, shelving, and belongings. Cover items left in the room with protective sheeting and drop cloths. Remove floor-level trim or baseboards.
- Inspection:
Illuminate the area and carefully check for cracks, stains, and mold—especially along floor edges and behind plumbing.
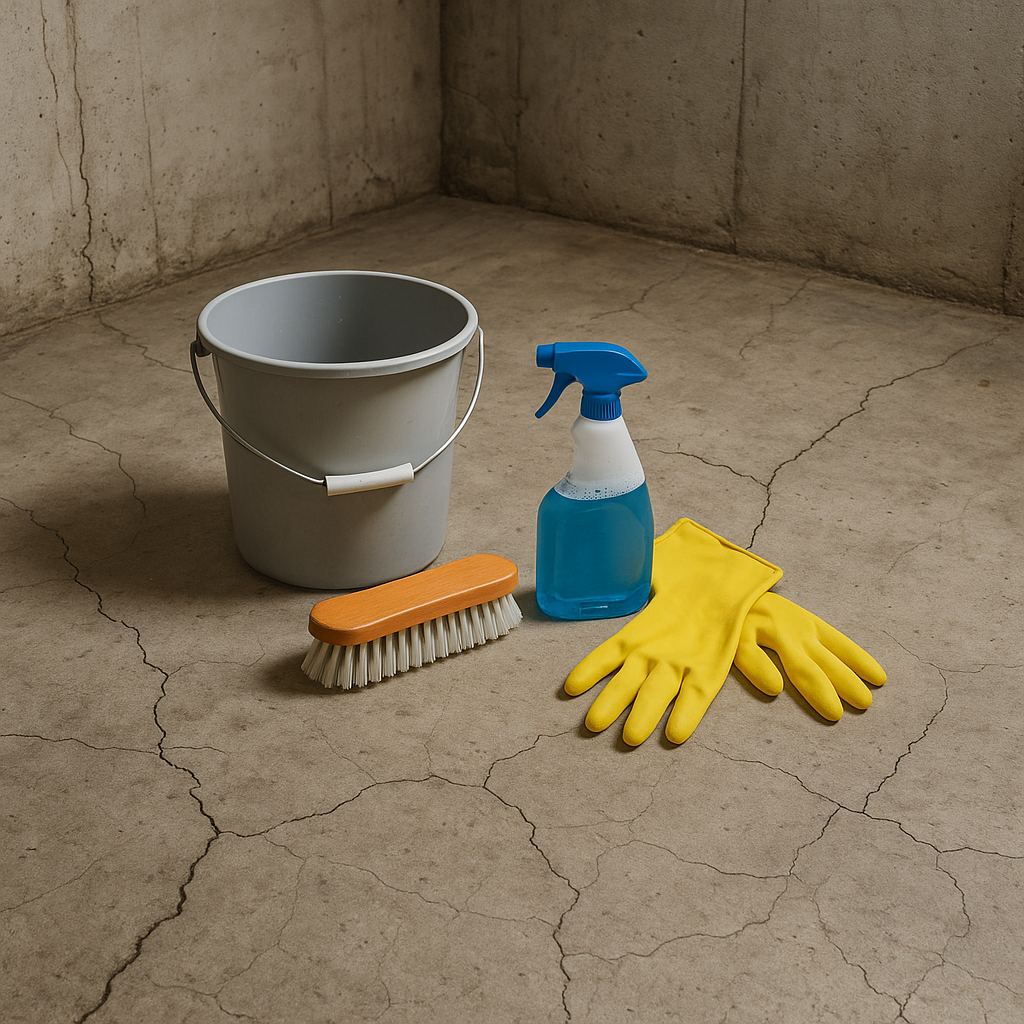
- Cleaning:
Clean thoroughly using biodegradable cleaner and a wire brush or grinder. Remove all soap, grease, and mold, rinsing the surface well. For stubborn mold, use hydrogen peroxide or an approved fungicide as directed.
- Drying:
Allow surfaces to dry for 24–48 hours. Use fans or a dehumidifier. Never apply epoxy to damp concrete. The ideal temperature is 60–80°F (15–27°C).
- Moisture Testing:
Measure concrete moisture and confirm it’s within epoxy limits (4–5% by weight). For a simple test, tape a 2×2 ft. plastic sheet overnight—if condensation appears, wait before proceeding.
- Crack and Patch Repairs:
Fill all cracks, joints, or gouges with patching compound. Major or active leaks must be fixed by professionals. Let repairs cure and blend with the surface.
- Surface Abrasion:
Lightly roughen all surfaces. Vacuum with a HEPA filter to remove dust and maximize epoxy adhesion.
- Masking:
Mask areas you don’t want to coat, leaving active drains accessible and unsealed.
- Mixing Epoxy:
Wear all PPE. Mix resin and hardener as instructed in small batches to avoid early curing. Ensure adequate ventilation throughout.
- Application:
Apply epoxy with rollers and brushes, starting from the farthest point and working outward. Coat several inches up the wall, overlapping passes for even coverage. Follow product instructions for film thickness and layers.
- Curing:
Let each coat cure as directed—usually two coats are needed. Keep the area clean and undisturbed. Full curing may take 2–7 days; enter only once fumes are gone and the coating is fully hardened.
- Final Inspection:
Check for missed spots or flaws and touch up as needed. Wait until fully cured before returning appliances and other items.
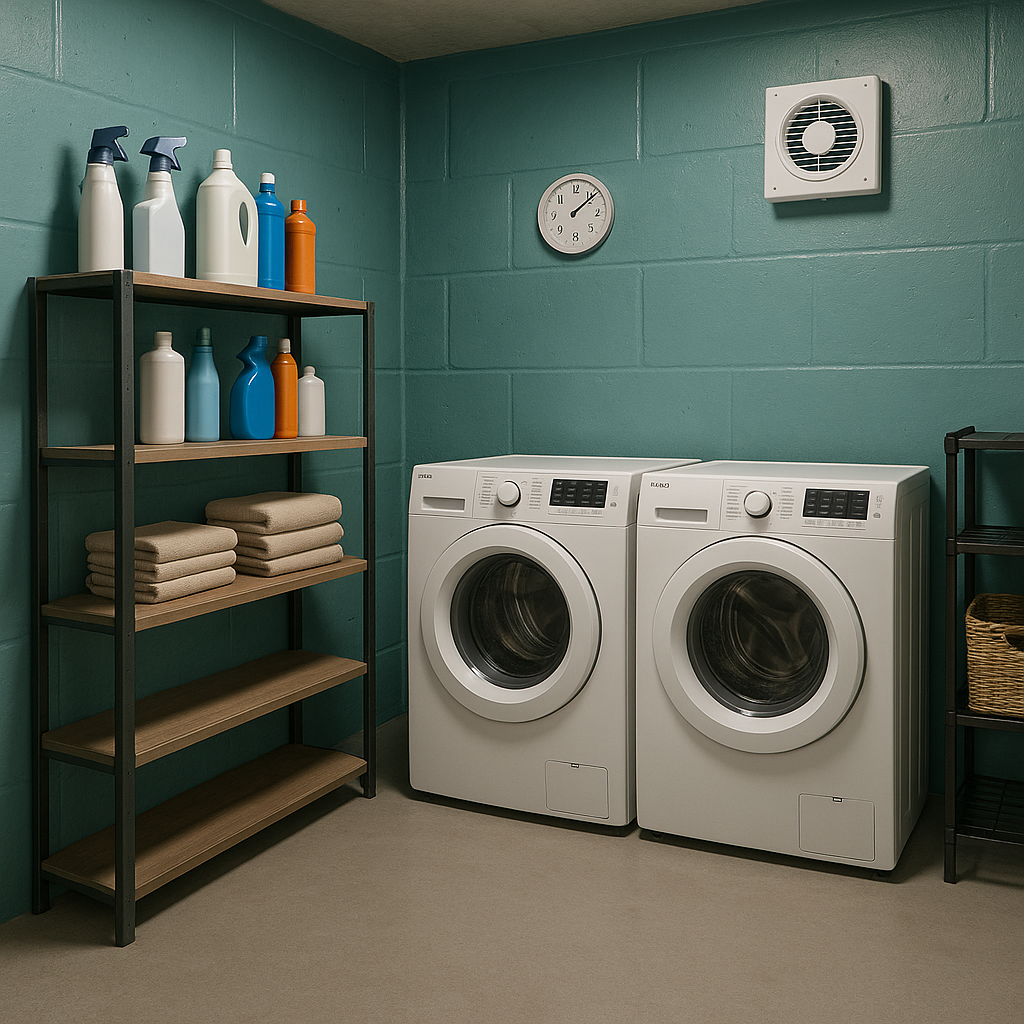
Best Practices for Mold Prevention in Humid Basement Laundry Rooms
Waterproofing alone is not enough in humid climates. Follow these expert guidelines for complete protection:
- Dehumidify: Use a dehumidifier sized for the room and direct drainage outdoors or to a sump pump. Keep humidity under 60%.
- Maintain Equipment: Keep dehumidifier filters clean and drain lines clear for reliable operation.
- Ventilate: Use exhaust fans when running laundry machines. Ensure dryers vent directly outdoors.
- Insulate Cold Surfaces: Wrap pipes and cold surfaces with closed-cell insulation to prevent condensation.
- Address Leaks Promptly: Regularly inspect plumbing and connections. Replace hoses as needed and maintain exterior drainage.
- Use Mold-Resistant Products: In damp areas, use caulks, paints, and insulation rated for mold resistance.
- Routine Cleaning: Clean hard-to-reach areas like floor edges and under appliances monthly. Use EPA-approved mold removers or dilute hydrogen peroxide. Never mix cleaning products.
Maintenance and Inspection Tips for Epoxy Longevity
Protect your epoxy finish and indoor air quality with these practices:
- Regular Inspections: Check monthly and after heavy rain or the onset of humid seasons. Use a moisture meter to find hidden dampness.
- Warning Signs: Watch for chips, stains, blistering, efflorescence, recurring wet spots, and odors.
- Safe Cleaning: Clean with mild detergent and a soft mop. Do not use abrasive cleaners; rinse thoroughly.
- Touch-Ups: Sand and reapply epoxy to worn spots as required. Place mats under washers and dryers for extra protection.
- Early Intervention: If leaks or dampness appear, deal with them immediately and keep records for reference.
Common Mistakes to Avoid and Troubleshooting
Successful waterproofing relies on attention to detail. Avoid these pitfalls, and call a professional if needed:
- Inadequate Preparation: Insufficient cleaning or drying leads to poor epoxy adhesion and early coating failure.
- Damp Surfaces: Applying epoxy on damp concrete causes bubbling, peeling, and possible mold growth.
- Ignoring Active Leaks: All leaks must be fixed before applying epoxy for maximum effectiveness and durability.
- Persistent Moisture Issues: Reevaluate exterior drainage and seek professional waterproofing if problems persist.
- When to Hire a Professional:
- Cracks wider than 1/4 inch or involving foundation stability require structural assessment.
- Stubborn water problems after repairs call for advanced waterproofing systems.
- Large mold infestations or HVAC contamination require specialist remediation.
- Advanced Diagnostics: For persistent issues, hire professionals for infrared imaging, tracer dye tests, or full building diagnostics.
Essential Safety Precautions
- Always wear gloves, goggles, and a respirator rated for organic vapors when handling chemicals or epoxy. Wear long sleeves for skin protection.
- Apply epoxy only in dry, well-ventilated areas. Do not work in damp or unventilated spaces.
- Dispose of epoxy, solvents, and cleaning materials as hazardous waste.
- Keep children and pets out of the work area and away from uncured coatings.
- Do not attempt DIY repairs on major structural cracks or shifting foundations—contact professionals.
- If you discover significant or hazardous mold, stop work until professionals handle remediation.
Quick Materials Checklist
- Concrete epoxy kit for basements
- Epoxy-compatible patching compound
- Biodegradable degreaser or cleaner
- Wire brush or angle grinder
- Concrete moisture meter
- Rollers and brushes for epoxy
- Painters tape and plastic sheeting
- Mixing buckets and stir sticks
- Gloves, goggles, and respirator
- Appropriate dehumidifier
- Mold-resistant paint or caulk
- Shop vacuum
- Drop cloths and towels
Quick Reference: Concrete Epoxy Waterproofing Steps
- Clear the work area and protect all surfaces.
- Inspect for cracks, stains, and mold.
- Thoroughly clean and dry surfaces for at least 24–48 hours.
- Test the concrete for moisture—only proceed if dry.
- Patch cracks and allow repairs to cure.
- Roughen or sand surfaces and remove dust.
- Mask edges, baseboards, and drains.
- Wear PPE and mix epoxy in small batches as instructed.
- Apply epoxy, overlapping passes and extending up walls.
- Allow proper curing time for each coat.
- Touch up any missed spots.
- Install dehumidifiers or ventilation as needed.
- Perform regular inspections and ongoing maintenance.
{}

