Related Articles


How to Replace a Broken Fence Post in Concrete Without Removing the Entire Old Base
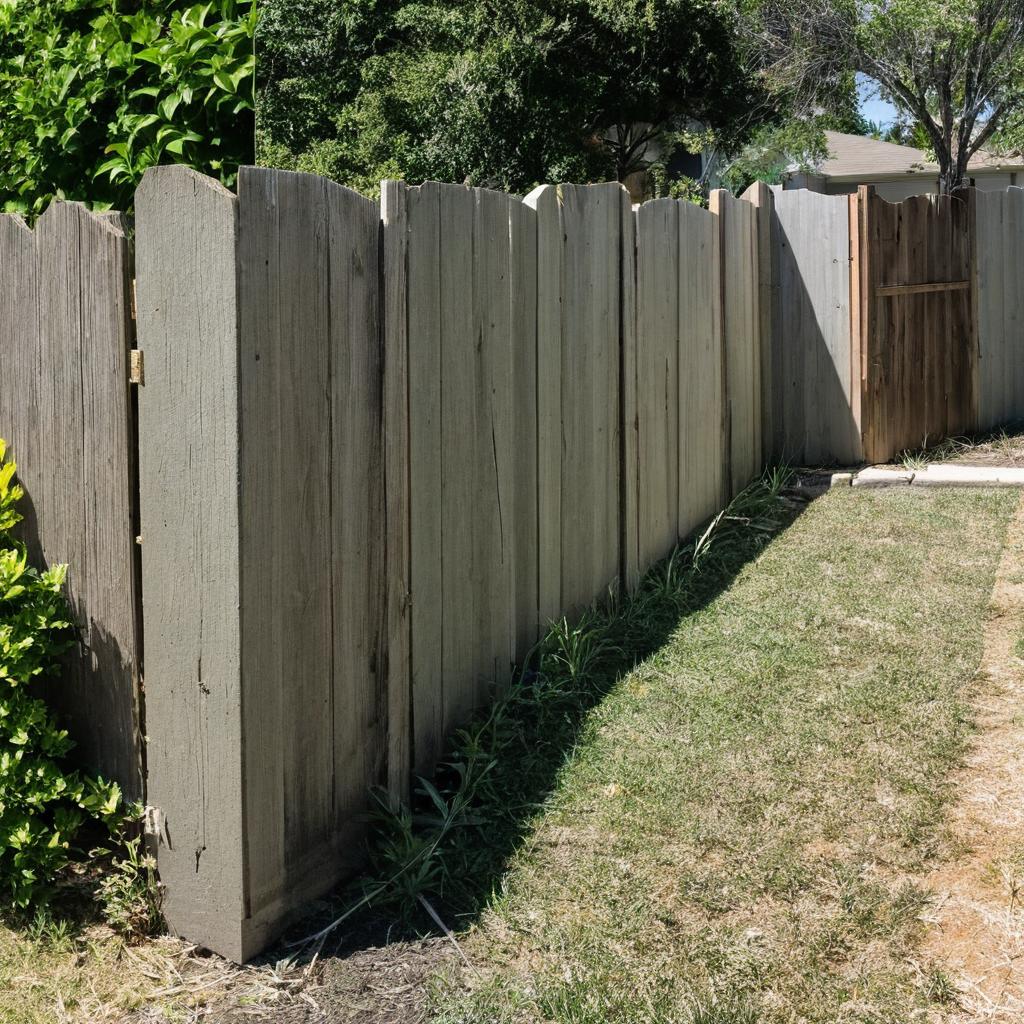
Introduction
A strong fence is essential for security, privacy, and marking boundaries. Over time, weather conditions, rot, or impact damage can necessitate the replacement of a broken fence post. By replacing just the post without removing the entire concrete base, you save on labor and time while maintaining much of the existing setup. This approach is particularly beneficial for fences set in concrete, as it avoids the labor-intensive task of base removal.
Materials Needed
- Replacement fence post matching the original in size and material. Ensure it is pressure-treated if wood or galvanized if metal.
- Concrete patching mix suitable for outdoor use. Hydraulic cement is ideal for quick-setting in damp environments.
- Wooden post brackets. For improved durability, choose stainless steel options.
- Clean water for mixing the concrete. Adhere to the recommended water-to-mix ratio for maximum strength.
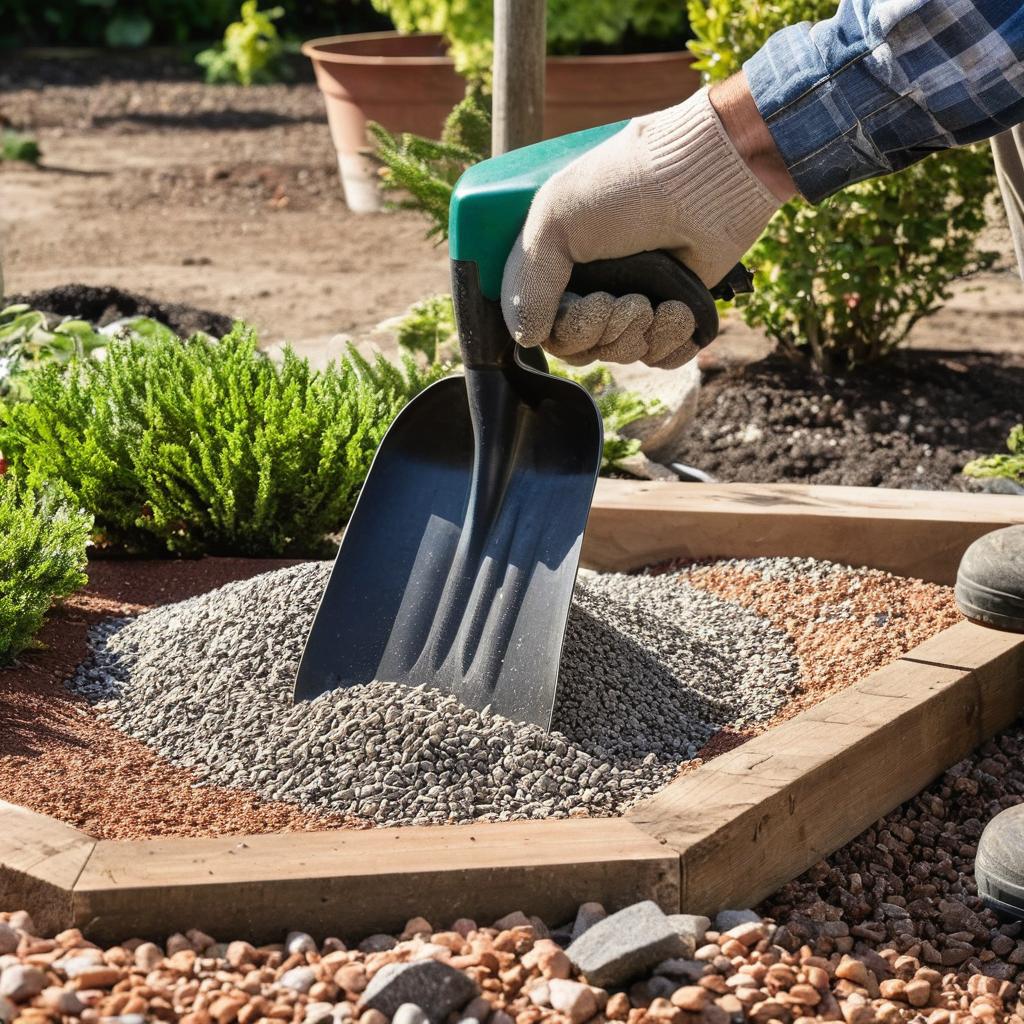
- Optional gravel for enhancing drainage and stability, especially in areas with poor soil drainage.
Tools Required
- Post hole digger or auger; an auger is more effective in dense soil.
- Sledgehammer or hammer. Use a rubber mallet to prevent damage during installation.
- Level to ensure the post is straight; a magnetic level is useful for metal posts.
- Trowel for applying and smoothing the concrete patch.
- Mixing bucket with measurement markings for precise mixing.
- Safety goggles for eye protection, especially when using power tools or handling dry cement.
- Heavy-duty gloves to protect hands from splinters and cement.
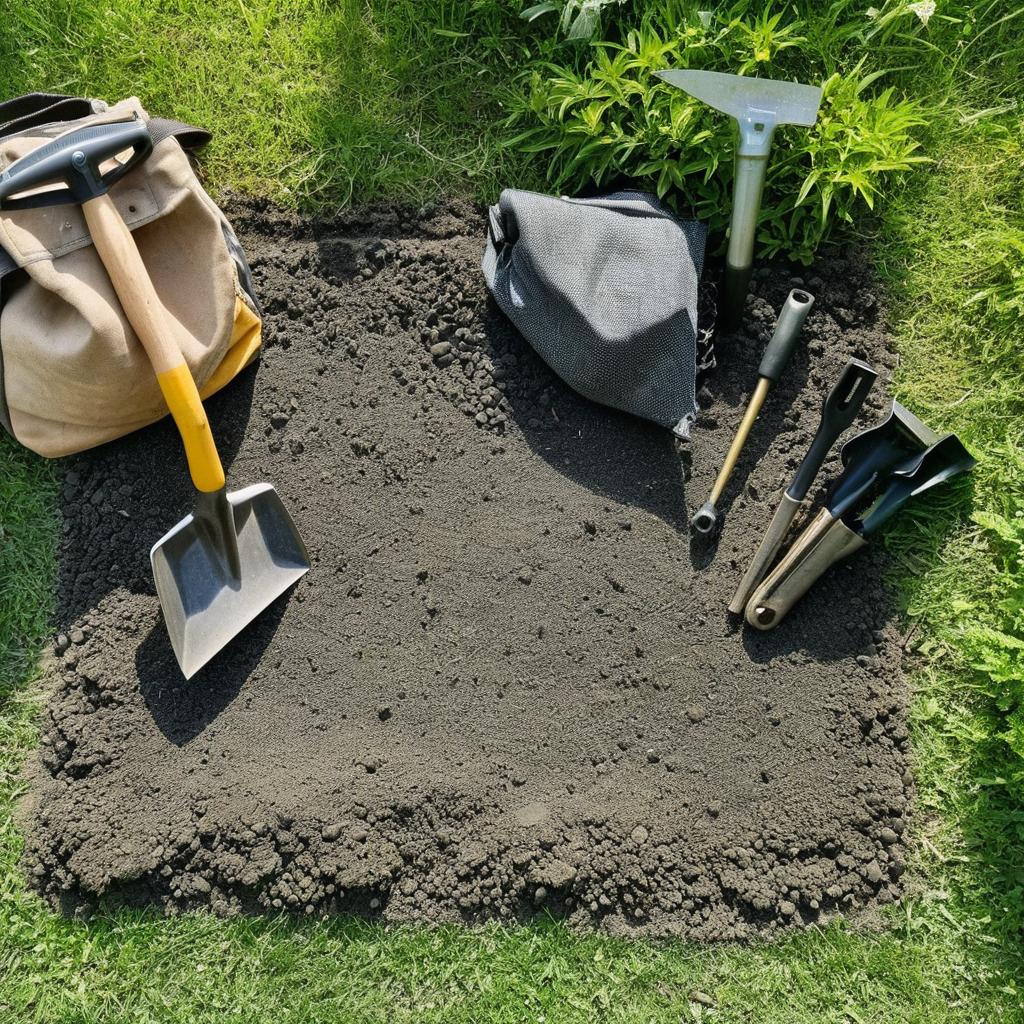
Preparation
Start by assessing the fence and checking the surrounding posts for structural integrity. Clear the area around the damaged post of any plants or debris. Compile a checklist of required materials and tools. Consider using ground protection mats to preserve landscaping while you work.
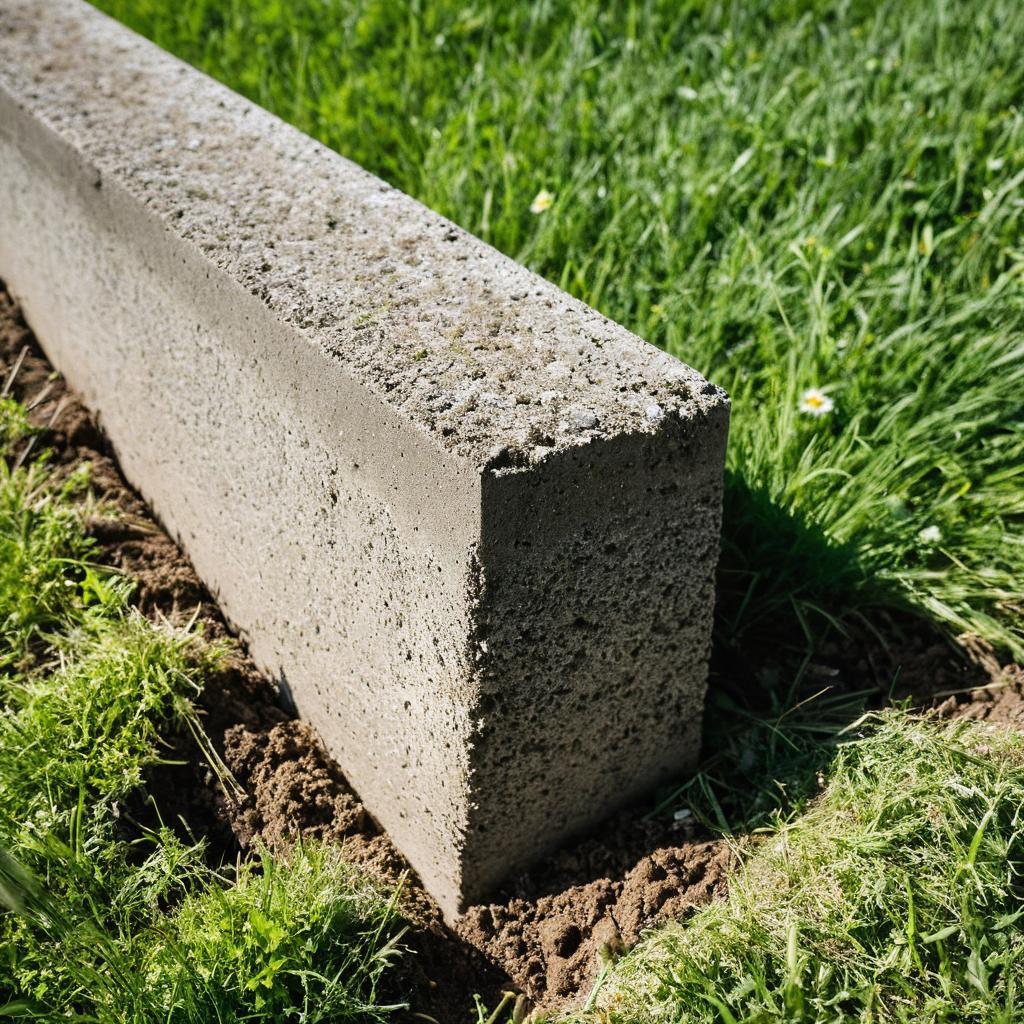
Removing the Broken Post
- Cut the broken post at ground level or just below using a saw. For wood, use a sharp handsaw or reciprocating saw; for metal, an angle grinder is recommended.
- Remove any remaining post pieces with a post hole digger or auger, applying steady pressure when using an auger.
- Use tarps or drop cloths to prevent debris from entering the old base.
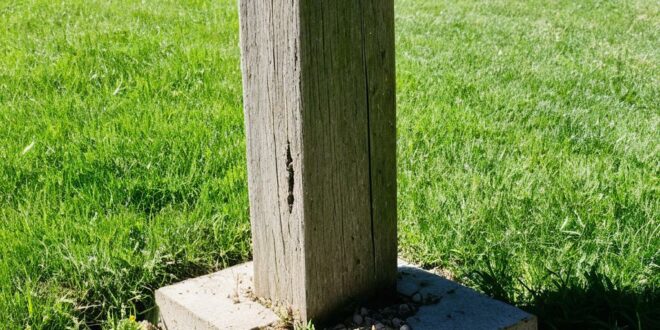
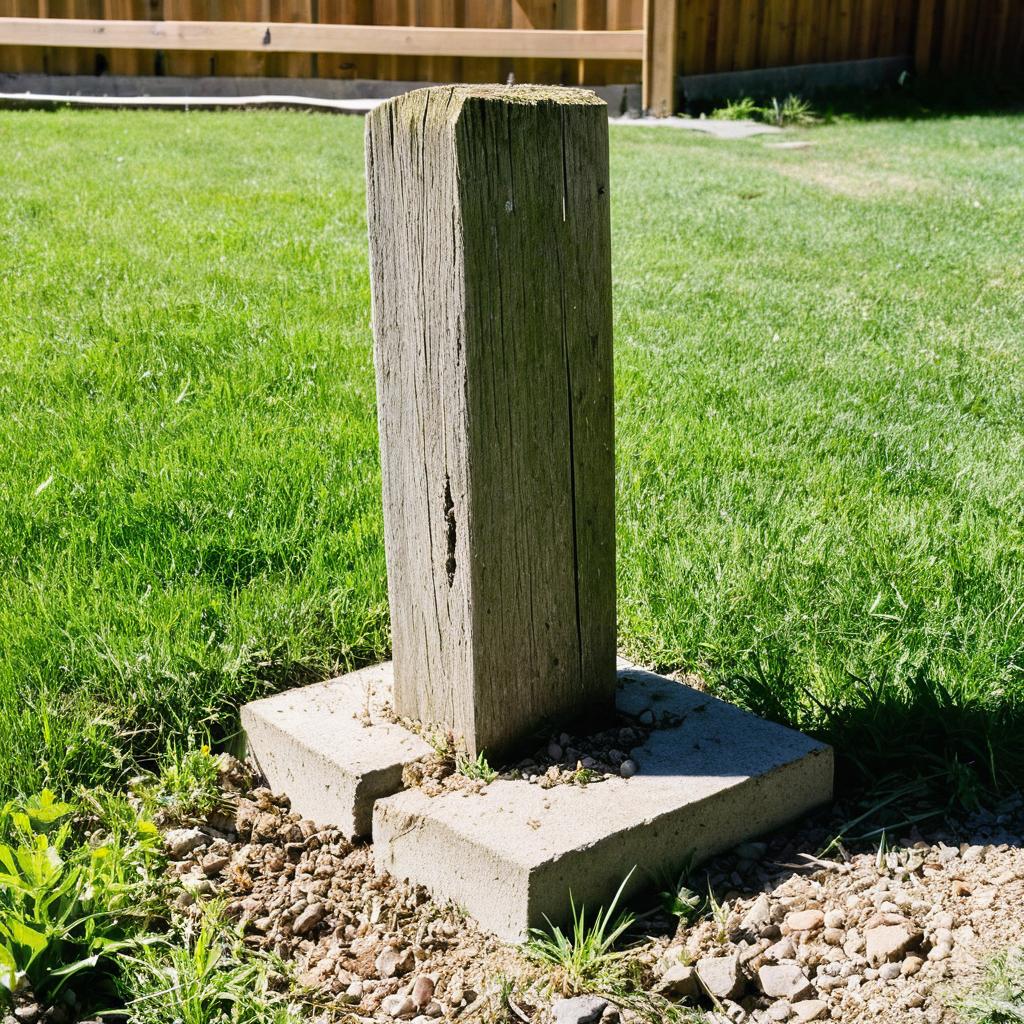
Installing the New Fence Post
- Insert the new post into the existing concrete base, ensuring a tight fit. If loose, utilize a composite sleeve for stabilization.
- Use shims to keep the post level and aligned. Weather-resistant wooden or plastic shims are preferable.
- Secure the post with brackets at key points, using galvanized bolts and nuts for added durability.
Concrete Patch Application
- Prepare the concrete patching material according to the manufacturer’s instructions, ensuring a thick yet spreadable consistency.

- Apply the mixture around the new post, filling all gaps. Compact the concrete using a trowel.
- Smooth the surface with a trowel, ensuring the patch blends seamlessly with the existing concrete.
Final Touches and Drying Time
- Allow the concrete to cure per specifications, considering temperature and humidity levels. In hot weather, use wet burlap to maintain moisture in the patch.
- Once the concrete sets, check the post’s stability and alignment with a spirit level.
- If desired, paint or stain the post to match the rest of the fence, using weather-resistant coatings for long-term protection.
Conclusion
By following these steps, you can efficiently replace a broken fence post while maintaining your fence’s structural integrity without extensive concrete removal. Regular inspections and maintenance will extend your fence’s lifespan and ensure it continues to provide security and privacy.
Warnings
- Always wear safety goggles and gloves when handling tools and materials.
- Exercise caution with sharp objects and secure blade guards on tools after use.
- Keep the work area clear of obstacles and maintain organization with tools and materials.