Related Articles

How to Repair a Leaky Faucet in Minutes
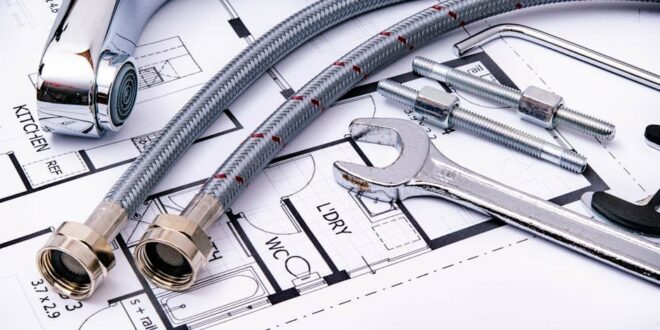
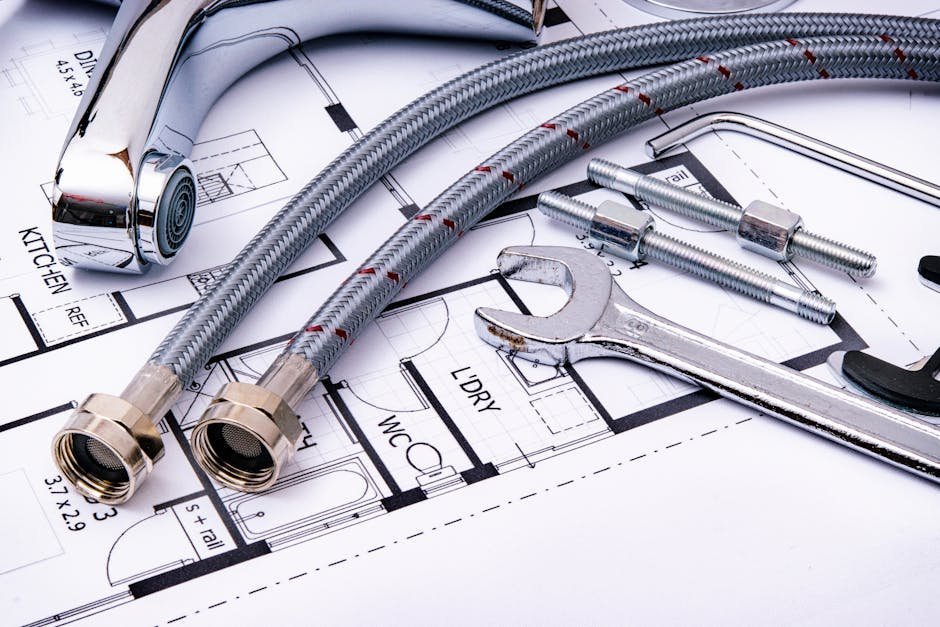
🛒 Shopping List
- Faucet washers (€2–€5)
- O-rings (€1–€3)
- Faucet cartridge (€7–€20)
- Plumber's grease (€2–€5)
✅ Outcome
- Professional finish with safe anchoring.
- Beginner-friendly, clean tools list.
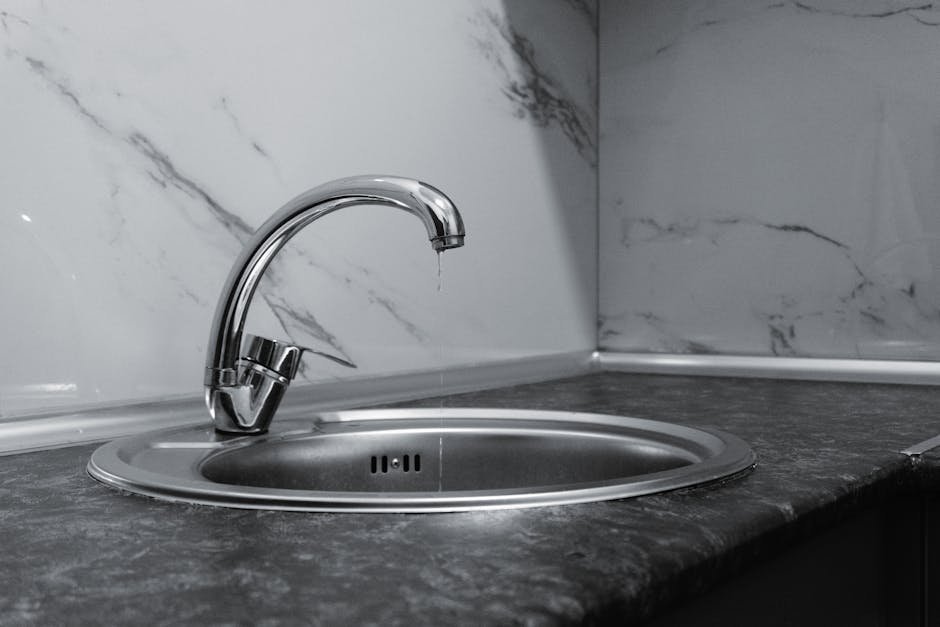
A leaky faucet is a common household issue that can lead to water wastage and increased utility bills. This guide is designed for homeowners who wish to address a dripping or leaking faucet quickly and efficiently. Typical causes of a leaky faucet include worn-out washers, damaged O-rings, or issues with the faucet cartridge.
Common Causes
- Worn-Out Washers – Over time, washers can degrade or become misaligned, leading to leaks. This is particularly common in compression faucets, where washers are used to seal the water flow.
- Damaged O-Rings – O-rings are rubber seals located around the faucet handle. If they wear out, they can allow water to seep out around the handle area. This is often seen in cartridge faucets.
- Faulty Faucet Cartridge – In cartridge faucets, the cartridge controls the flow and temperature of the water. A damaged cartridge can lead to leaks, particularly if the seals within it have worn out.
Initial Diagnostic Checks
Before proceeding with repairs, it’s important to diagnose the issue accurately. Start by turning off the water supply to the faucet. Most faucets in the EU will have a shut-off valve located under the sink. Once the water is off, check for signs of leaking around the faucet handle and base. Pay attention to whether the leak occurs when the faucet is turned on or off, as this can help pinpoint the issue.
Step-by-Step Fix
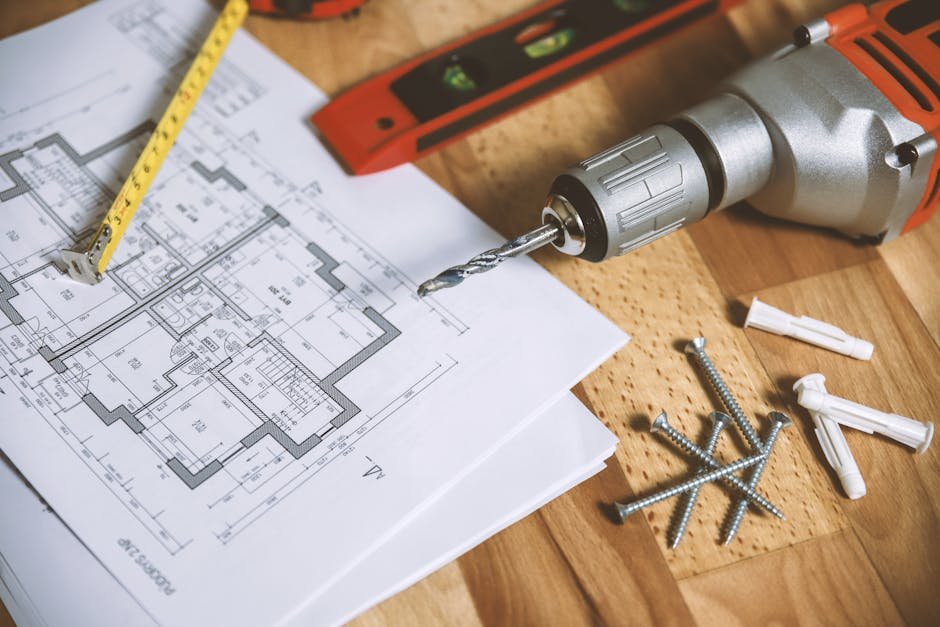
- Gather Your Tools – To begin, gather the necessary tools: a flathead screwdriver, a Phillips screwdriver, an adjustable wrench, plumber’s grease, and replacement parts such as washers, O-rings, or a cartridge, depending on the faucet type. Ensure all components are EU-compliant and suitable for your faucet model.
- Turn Off the Water Supply – Locate the shut-off valves under your sink and turn them clockwise until they are fully closed. If there are no local shut-off valves, turn off the main water supply to your home.
- Remove the Faucet Handle – Use a flathead screwdriver to pry off the decorative cap on the handle, if present. Then, use a Phillips screwdriver to remove the screw securing the handle. Gently pull the handle off; if it’s stuck, wiggle it slightly while pulling.
- Inspect and Replace Washers or O-Rings – If your faucet uses washers, inspect them for wear and tear. Remove the old washer and replace it with a new one that matches the size (typically measured in millimeters). If your faucet has O-rings, locate them and replace any that appear cracked or worn.
- Replace the Faucet Cartridge – For cartridge faucets, remove the retaining clip or nut using an adjustable wrench and carefully pull out the cartridge. Take it to a local hardware store to ensure you get an exact replacement. Fit the new cartridge in place, ensuring it is secure.
- Reassemble the Faucet – Carefully reattach the faucet handle by reversing the disassembly steps. Ensure that all screws are tightened securely, and replace any decorative caps used.
- Turn On the Water Supply – Slowly turn the water supply back on and check for leaks. Run the faucet for a few minutes to ensure everything is functioning correctly and that there are no more drips.
Preventive Measures
- Regularly inspect and replace washers and O-rings to ensure they remain in good condition.
- Avoid using excessive force when turning faucets on and off to prevent wear.
- Consider installing a water softener if you live in an area with hard water to reduce mineral buildup, which can affect faucet components.
Safety Notes
- Always turn off the water supply before starting any repair work.
- Use caution when handling tools, and ensure they are in good condition to avoid accidents.
- If you feel uncomfortable or unsure about performing the repair, do not hesitate to call a professional plumber.
When to Call a Professional
If after replacing washers, O-rings, or cartridges the faucet continues to leak, or if you discover that the leak is coming from the supply lines or the sink itself, it may be time to call a professional. Additionally, if you are facing multiple leaks in different faucets or if the water pressure is significantly low, these could be signs of larger plumbing issues that require professional assessment.
FAQ
Q: How long does it take to repair a leaky faucet? A: Most repairs can be completed in under an hour, provided you have the right tools and replacement parts on hand.
Q: Can I use tape to fix a leaky faucet? A: While tape may temporarily stop a leak, it is not a permanent solution. It is advisable to replace any worn components for a long-term fix.
