
Related Articles
How to Repair a Broken Shower Light Fixture Using Flush LED Lights
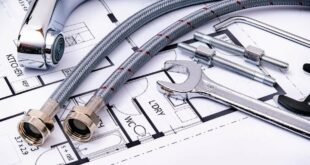
🛒 Shopping List
- Flush LED bulb (€10–€30)
- Screwdriver set (€5–€10)
- Electrical tape (€1–€5)
- Multimeter (optional) (€10–€20)
✅ Outcome
- Professional finish with safe anchoring.
- Beginner-friendly, clean tools list.
If your shower light fixture has gone dark unexpectedly, you may be feeling a bit frustrated. Whether you’re a seasoned DIY enthusiast or a complete novice, this guide is designed for anyone looking to restore light to their shower using flush LED lights and basic tools. Common symptoms of a broken shower light include flickering, dimness, or complete failure to illuminate. Typical causes can range from simple bulb burnout to more complex electrical issues, but fear not! We’ll walk you through the troubleshooting and repair process step by step.
Common Causes
- Burnt Out Bulb – This is the most common issue. Over time, bulbs reach the end of their lifespan and simply stop working. In many cases, it’s as easy as replacing the bulb with a new one to restore light.
- Faulty Connection – Sometimes, the electrical connection may become loose or corroded, interrupting the flow of electricity. This can happen due to age or moisture exposure, especially in a damp area like a shower.
- Damaged Wiring – If there’s a more serious problem, such as damaged wiring, this could pose a safety hazard. It’s crucial to identify this before attempting to fix the light fixture, as it may require professional intervention.
Initial Diagnostic Checks
Before diving into repairs, let’s do some quick checks to diagnose the issue. First, ensure the light switch is functioning properly by flipping it on and off a few times. If the light doesn’t flicker, it could be a sign of a more serious problem. Next, check the circuit breaker; if it has tripped, reset it and see if the light works again. If possible, test the fixture with a multimeter to measure voltage. A reading of 230 volts indicates power is reaching the fixture, while a lower reading or no reading at all suggests a connection issue.
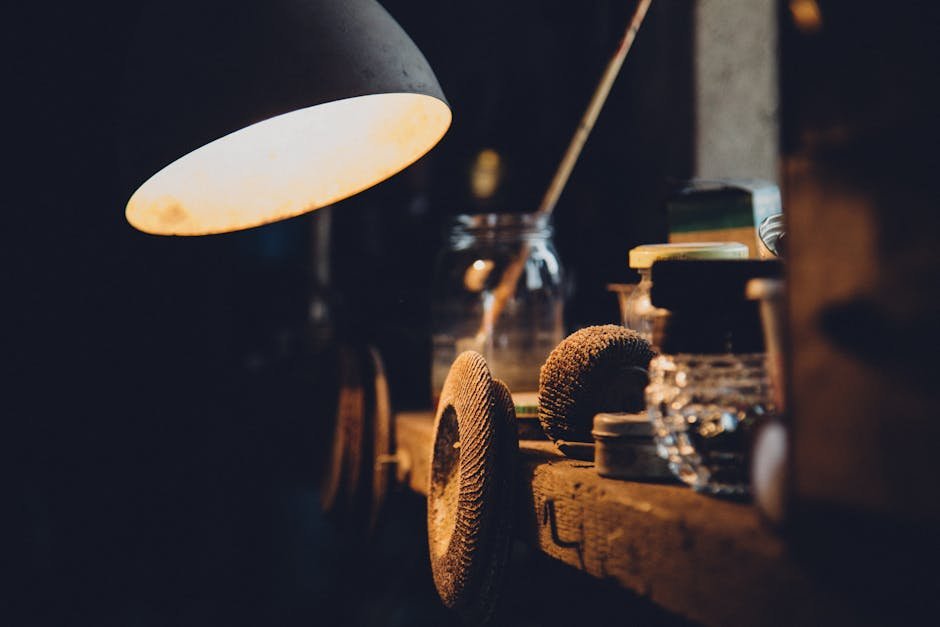
Step-by-Step Fix
- Turn Off the Power – Before you start any repairs, safety comes first! Locate the circuit breaker controlling the shower light and turn it off. It’s crucial to ensure no electricity flows to the fixture while you’re working on it.
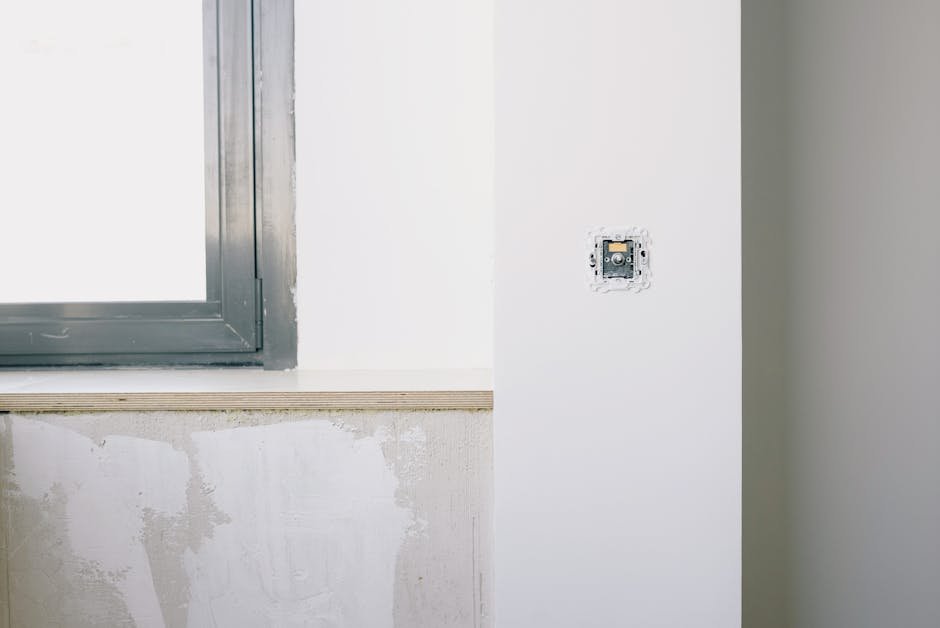
- Remove the Fixture Cover – Depending on the design of your shower light, you may need to remove a cover or trim piece to access the bulb and wiring. Use a screwdriver to carefully unscrew the cover and set it aside. Be gentle to avoid damaging any clips or screws.
- Inspect the Bulb – Take out the old bulb and inspect it for any signs of damage. If it’s burnt out (the filament is broken or the glass is discolored), it’s time to replace it with a new flush LED bulb. Make sure the new bulb is compatible with your fixture.
- Check Wiring Connections – While you have access to the wiring, check for any loose or corroded connections. Tighten any loose screws and ensure that the wires are securely connected to the fixture. If you see any exposed wiring, it’s essential to re-tape it with electrical tape or replace it entirely.
- Install the New Bulb – Screw the new flush LED bulb into place, ensuring it’s firmly seated in the socket. Double-check the wattage to make sure it’s within the acceptable range for your fixture.
- Reattach the Fixture Cover – Once everything is securely in place, carefully reattach the cover or trim piece. Make sure it’s snug to avoid any gaps where moisture can enter.
- Turn the Power Back On – Head back to the circuit breaker and turn the power back on. Flip the light switch to see if your repair was successful. If the light illuminates, congratulations! You’ve successfully repaired your shower light fixture.
Preventive Measures
- Regularly check and replace bulbs before they burn out to maintain consistent lighting.
- Inspect wiring and connections annually to prevent issues caused by wear and tear or moisture exposure.
- Ensure that the light fixture is appropriate for bathroom use, ideally with a sealed cover to protect against humidity.
Safety Notes
- Always turn off the power at the circuit breaker before working on electrical fixtures.
- If you’re unsure about any steps in the process, consult a professional electrician.
- Handle bulbs carefully to avoid breakage and potential injury.
When to Call a Professional
If at any point you suspect that the issue may stem from damaged wiring or if you feel uncomfortable working with electrical fixtures, it’s best to call a professional electrician. Signs that indicate a more serious problem include frequent bulb burnouts, flickering lights that don’t stabilize, or any unusual sounds coming from the fixture. Never compromise on safety—if in doubt, seek help!
FAQ
Q: How do I know if my fixture is waterproof? A: Look for markings on the fixture that indicate it’s suitable for wet locations. If you’re unsure, consult the manufacturer’s specifications or choose a fixture specifically designed for bathroom use.

Q: Can I use any type of bulb in my shower fixture? A: No, it’s important to use bulbs that are rated for the fixture. Look for LED bulbs that specify compatibility with your shower light to ensure safety and performance.
