Related Articles


How to Install Waterproof LED Strip Lights Under Kitchen Cabinets Without Damaging Your Backsplash: The Complete Guide

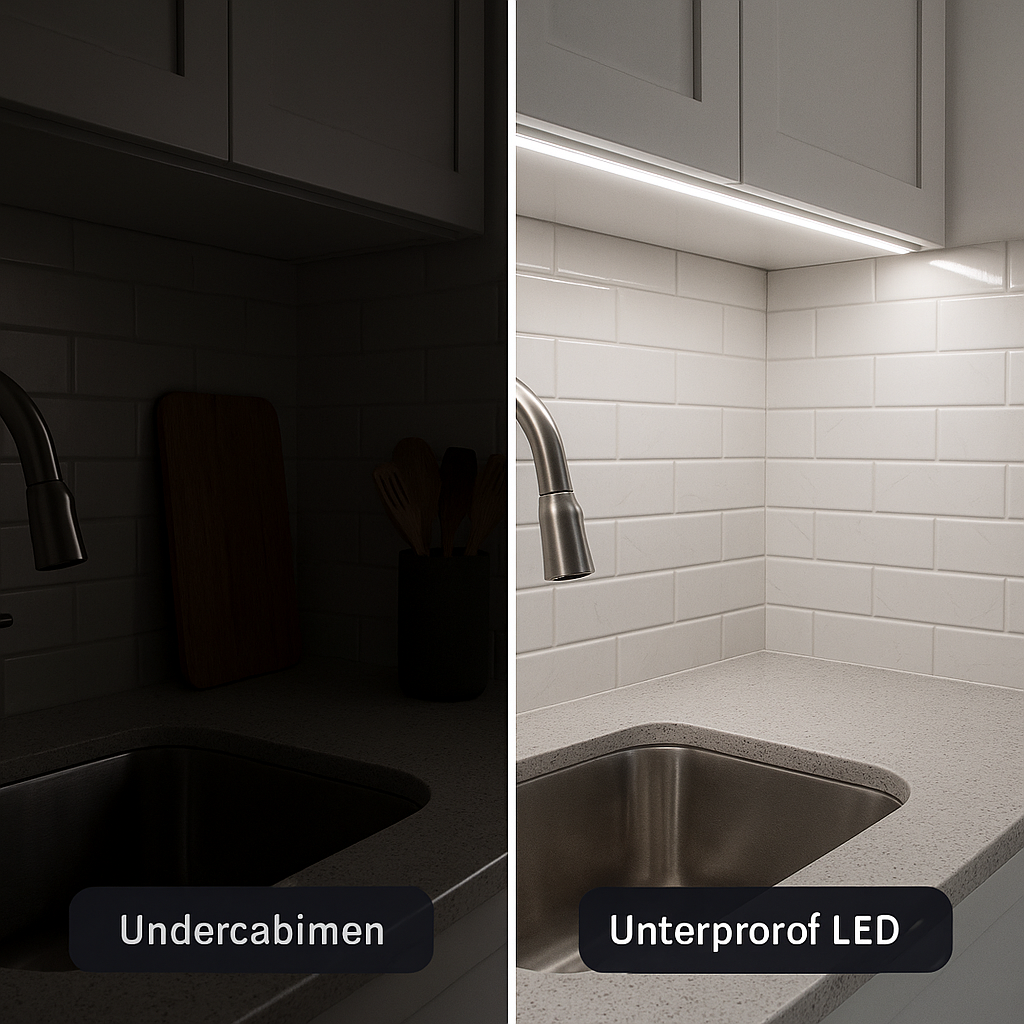
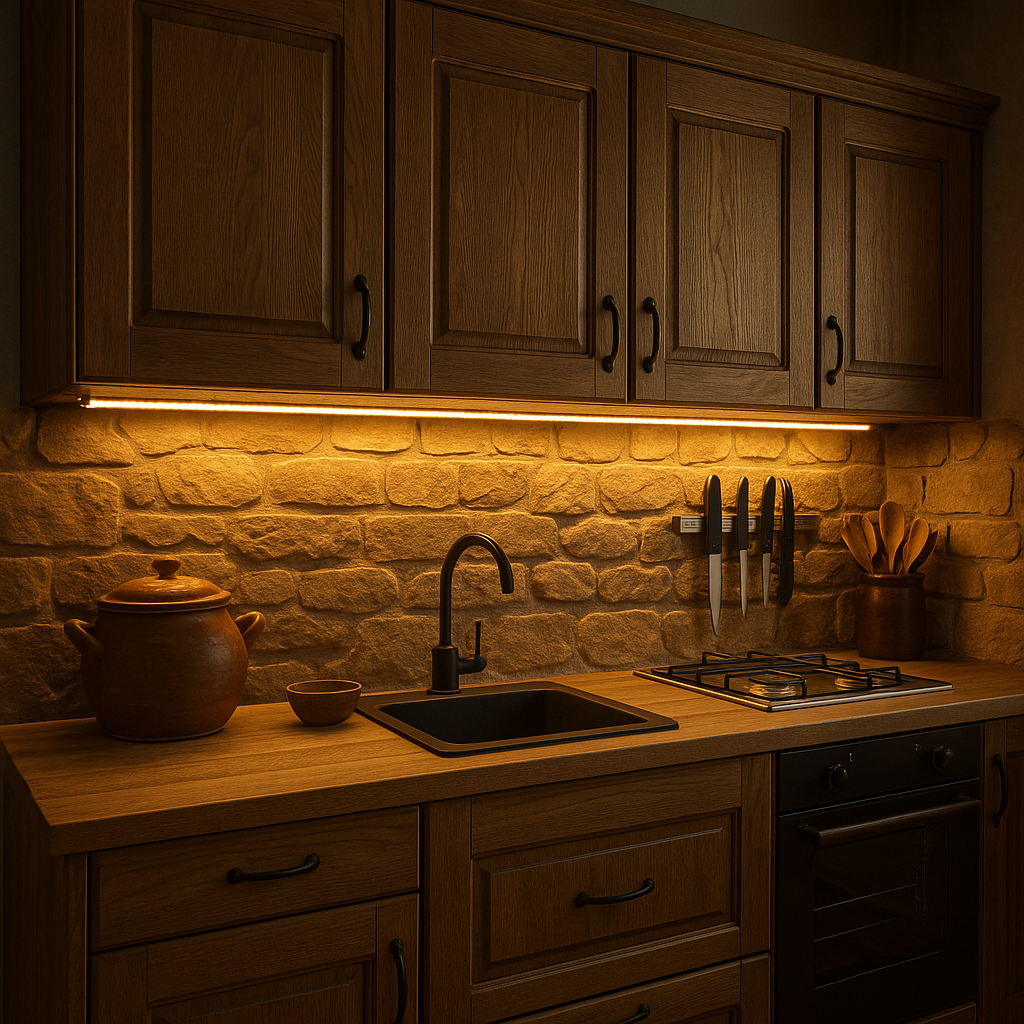
Upgrading your kitchen with waterproof LED strip lights under your cabinets provides brilliant, modern illumination without drilling or damaging your cabinets or backsplash. Many homeowners want to avoid visible wires, holes, or harming expensive surfaces. Here’s how to achieve a no-drill, seamless LED installation for a polished, professional look—without mess or risk. Whether you’re a first-time DIYer or an experienced renovator, these steps guide you from product selection to expert installation and maintenance.
Why Install Waterproof LED Strips Under Kitchen Cabinets?
- Enhanced countertop visibility: Waterproof LED strips provide bright, shadow-free illumination directly over your prep area, making kitchen work safer and easier. Mounted under cabinets, they dramatically reduce shadows compared to overhead lighting.
- Modern kitchen style: Ultra-slim LED strips deliver a clean, modern accent, highlighting your backsplash and enhancing kitchen aesthetics on any budget. Choose from warm white, neutral white, or color-changing LEDs for the perfect ambiance.
- Superior durability & safety: Waterproof LED strips (IP65 and above) resist moisture, steam, and grease. Protective coatings extend lifespan, minimize electrical hazards, and reduce maintenance needs in the kitchen.
Choosing the Right Waterproof LED Strip Lights
- Waterproof rating: Select strips rated IP65 or higher for splash resistance. For added protection near wet areas, consider IP67 or IP68; in most kitchens, IP65 is sufficient.
- Color temperature: Use 2700K to 4000K strips for warm to neutral white light. 2700K offers warmth, 3000–3500K is versatile, and 4000K is crisp and bright. Tunable strips allow adjustable color temperature.
- Flexibility and adhesion: Ensure strips are bendable around corners and have strong adhesive backing or tape. For tricky surfaces, reinforce with additional clips or mounting tape.
- Brightness: Target 200–400 lumens per foot (600–1200 lumens per meter) for task lighting and 60–120 lumens per foot for accent lighting. Dense LED spacing gives more even light.
- Energy compatibility: Match the LED strip voltage (usually 12V or 24V) and wattage with your adapter. Confirm compatibility with dimmers, remotes, smart controls, or motion sensors if required.
- Safety & quality: Choose UL or ETL-listed strip lights with robust construction and sealed ends. Avoid unbranded or low-quality strips for safety and dependability.
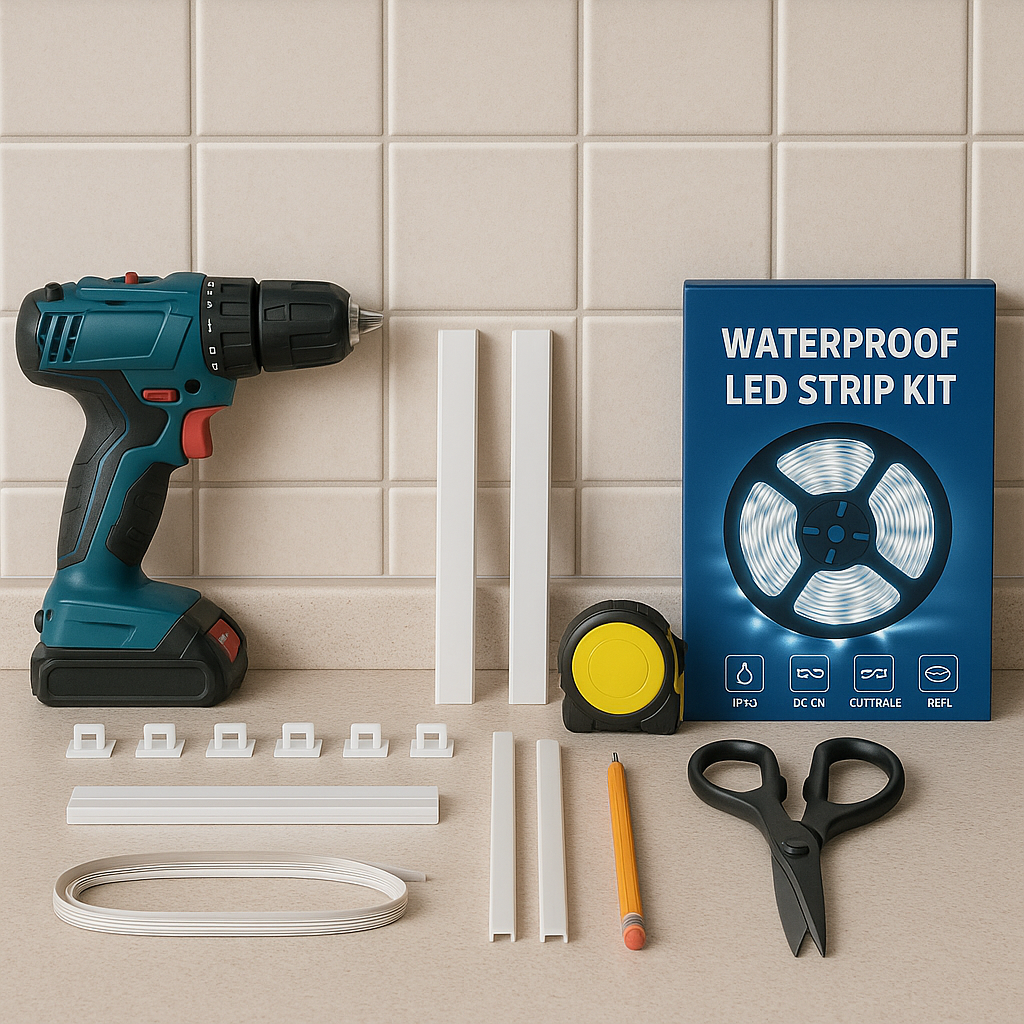
Tools and Materials Needed
- Waterproof LED strip lights (IP65 or higher, flexible and cuttable, 12V/24V, 3000K, 60 LEDs/m recommended)
- LED power adapter (add 15–20% buffer to your total strip wattage)
- Premium double-sided mounting tape or permanent adhesive
- Adhesive cable clips, cable ties, or paintable raceways for wire concealment
- Alcohol wipes or gentle cleaners for preparing cabinet surfaces
- Measuring tape and sharp scissors or blade for custom strip lengths
- Optional: Inline dimmer, remote/smart controller, extension wires, or motion sensors
- Extra connectors (solderless or solder), right-angle adapters, jumper wires, silicone sealant, or heat-shrink tubing for protection
Preparing for Installation
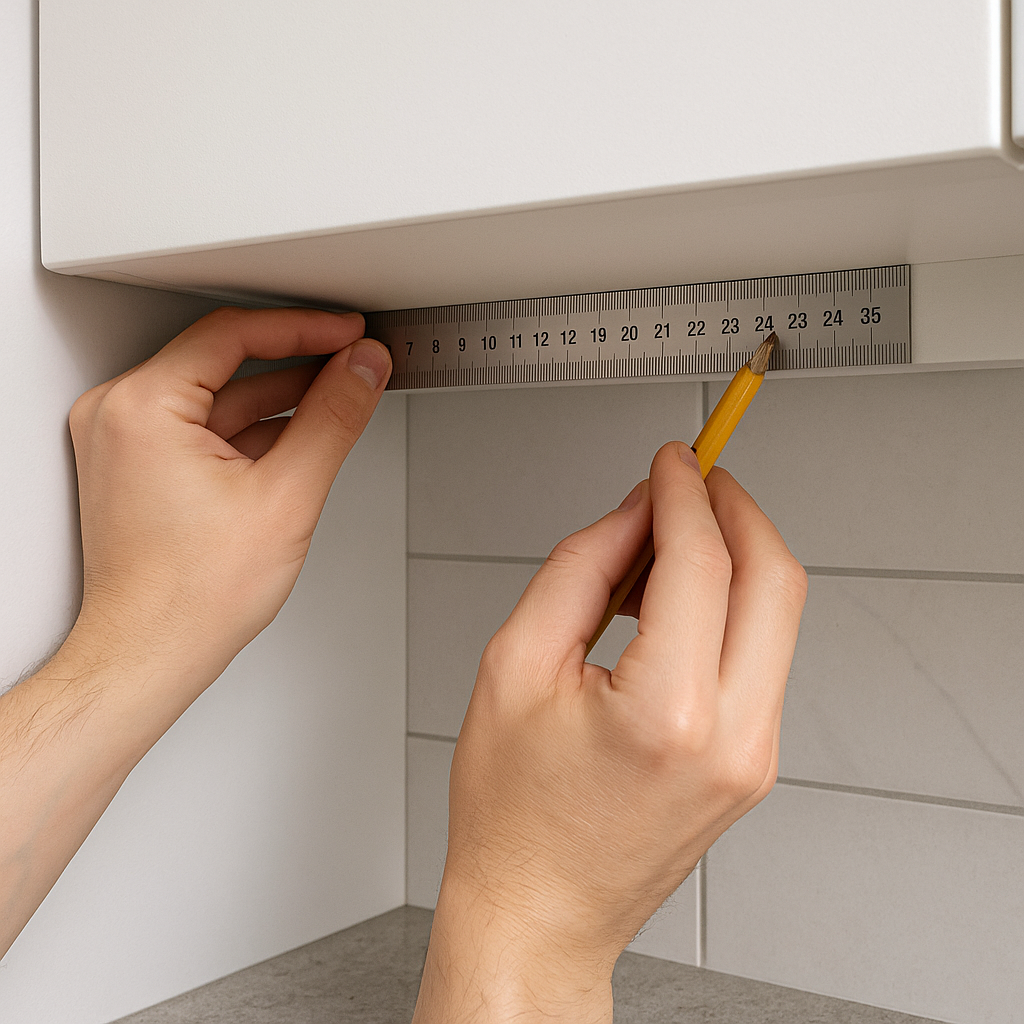
- Measure cabinet undersides, note obstacles, and mark ideal strip placement, power points, and cut lines.
- Test all LED strips and adapters before installation to ensure even lighting; cycle through color settings if needed.
- Thoroughly clean cabinet undersides with alcohol wipes or mild soap to remove oils and residue. Dry completely before installing adhesive strips.
- Install in environments between 60–80°F (15–27°C) for best adhesive strength. Warm cold surfaces with a hair dryer if necessary.

Step-by-Step Installation (No Drilling or Backsplash Damage)
- Attach LED strips:
Peel the adhesive backing and press the strips firmly along the cabinet bottom, starting from the power source. Position strips 1–2 inches from the front edge for optimal illumination and minimal visibility. Hold each section for 10–15 seconds and smooth continuously. Use clips for extra reinforcement on long or uneven spans.
- Route wires (avoid the backsplash):
Secure wires along the backs or bottoms of the cabinets with clips or raceways, keeping all wiring off backsplashes to protect tile, grout, and wiring from moisture.
- Connect multiple sections of strips:
Use compatible waterproof connectors and only cut the strips on designated lines. Check polarity and seal all connections with waterproof gaskets or silicone. Solder and cover with heat-shrink tubing for extra security.
- Mount the power adapter:
Position the adapter near a GFCI outlet, concealed but with proper airflow (a ventilated cabinet works well). Secure it with Velcro or adhesive and keep cords away from heat and moisture. Avoid placing the adapter in unventilated areas. Use a smart plug for easy automatic control if desired.
- Install dimmers, remotes, or smart controls:
Place modules between the adapter and strips as per instructions. Install them out of sight, away from hot or metallic surfaces, and connect with your smart system if supported.
- Inspect and adjust:
Check for loose tape, sharp bends, or exposed wires. Adjust for neatness and symmetry. Let the adhesive cure for 1–2 hours, or overnight, before disturbing the strips.
How to Conceal Wires for a Professional Look
- Channel and bundle wires neatly with clips or paintable raceways along cabinet backs and bottoms. Use covers that can be painted or match cabinet color where visible.
- Hide adapters and controls inside cabinets, behind appliances, or in a well-ventilated corner for easy maintenance.
- Place LED strips parallel to cabinet fronts for consistent brightness. Use right-angle connectors at corners; only cut at marked points for clean lines.
- Paint or cover exposed wire runs with matching tape. For glass or see-through cabinets, use clear raceways for a nearly invisible effect.
Troubleshooting Common Issues
- If adhesive won’t stick: Reclean surfaces, use a stronger tape, or add clips in areas prone to steam or moisture.
- Flickering or dead LED segments: Ensure connectors are tight, polarity is correct, and the power adapter supports the total load. Inspect for pinched wires or broken strips.
- If repositioning is needed: Carefully peel strips from one end to avoid tearing, replace adhesive, and reseal with silicone if necessary.
- Uneven brightness or color drop-off: Confirm connectors are aligned, look for voltage drop on long runs, and power both ends or use thicker wire if necessary. Replace damaged segments promptly.
Maintaining Your LED Strips: Care & Safety Tips
- Turn off power at the outlet before cleaning or adjusting strip connections. Unplug completely for safety.
- Clean strips with a slightly damp microfiber cloth. Avoid abrasive cleaners, soaking, or wetting connectors.
- Inspect wires and connectors regularly for signs of corrosion, heat discoloration, or cracks—replace as needed.
- Never exceed the specified wattage for the power adapter to prevent overheating or electrical hazards.
- Check adhesive annually and reinforce or replace in areas exposed to heavy steam or heat.
FAQs
- Can I reuse LED strips after remodeling?
Yes, if the strips are still functional. Apply new adhesive and reseal cut edges with silicone. Check all connectors, and note that older strips may show wear if reused.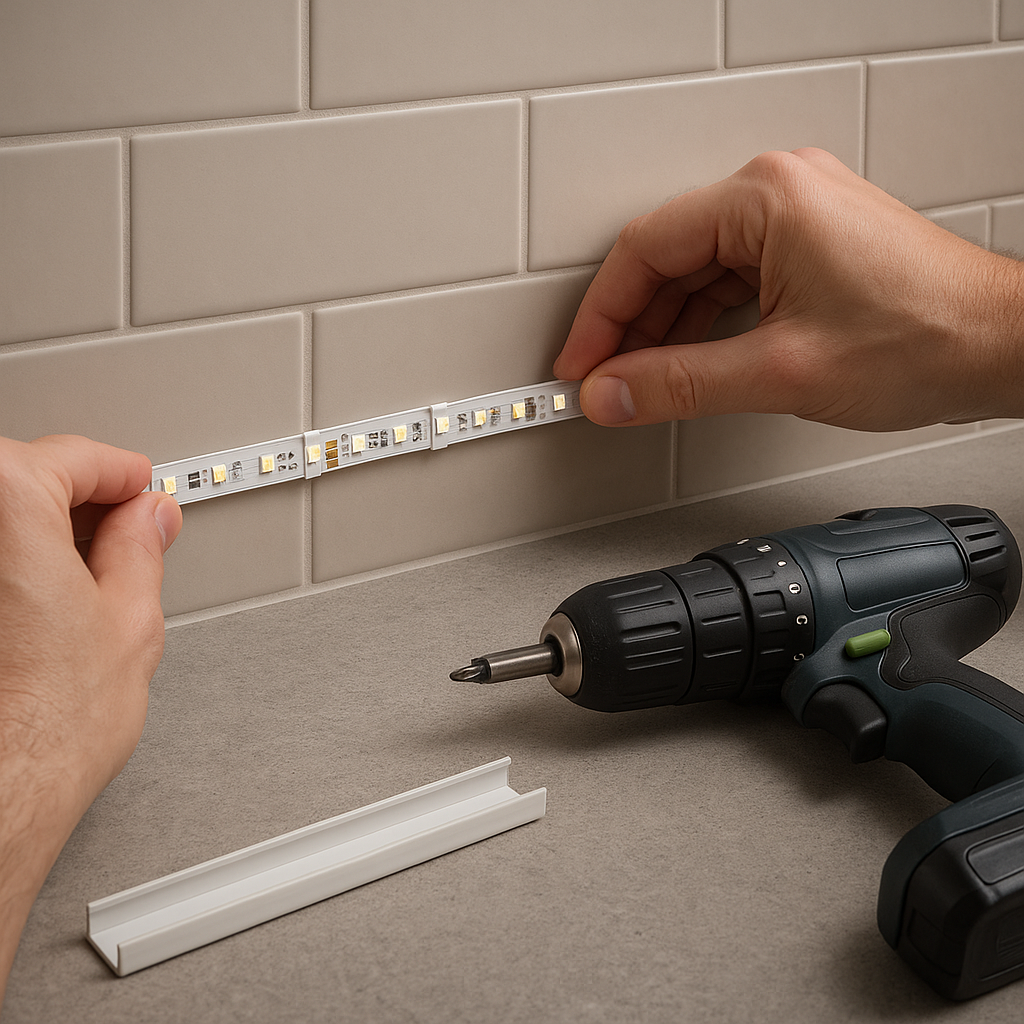
- What if my outlet is far away?
Use low-voltage extension cords recommended by your LED manufacturer. For runs over 10 feet, use 18- or 16-gauge wire. Never run high-voltage cords behind cabinets; always follow local electrical codes. - Are waterproof strips required in kitchens?
Waterproof LED strips are strongly recommended near sinks, stoves, or humid areas. Even “dry” kitchens benefit, as moisture will reduce the lifespan of non-waterproof strips. - How can I hide the LED light switch?
Wireless remotes, smart plugs, or voice controls are excellent solutions. Touch dimmers and motion sensors can be installed discreetly for seamless operation. - Will adhesives damage cabinet finishes?
Quality mounting tapes are safe for laminates, painted wood, and melamine. Spot test before full installation. Remove any adhesive residue with isopropyl alcohol or a wood-safe remover.
Safety Warnings
- Always turn off power at the breaker when handling wiring; moisture and electricity together are hazardous.
- Never use non-waterproof LED strips near sinks, stoves, or damp areas.
- Do not drill into or puncture your backsplash—mount strips with adhesive only on cabinets.
- Avoid overloading outlets or power strips. Confirm total load ratings before connecting multiple strips or add-on modules.
- Ensure all connections are dry and fully sealed. Use waterproof connectors or seal solder joints with silicone.
- Consult a licensed electrician for complex wiring. Follow all local codes and use GFCI outlets or conduit as required.
Quick Reference: No-Drill LED Strip Installation Steps
- Test each LED strip for even lighting before installation.
- Measure and mark cabinet undersides precisely; use painter’s tape for layout trials.
- Clean surfaces thoroughly and allow to dry before attaching strips.
- Apply adhesive and secure strips; reinforce with extra clips if needed.
- Run wires neatly along cabinet backs or bottoms—never across the backsplash—and secure them.
- Join strip sections with waterproof connectors and test all connections before final placement.
- Plug in the adapter, conceal it for aesthetics and protection, and consider a smart plug for remote access.
- Test the lighting setup and make all final adjustments before the adhesive sets.
- Install dimmers, remote, or smart modules for flexible control; keep them accessible but hidden.
- Perform a final inspection: tidy wires, align strips, and clean surfaces for a flawless finish. Document your work for future maintenance.
Follow this guide to brighten your kitchen with attractive, maintenance-friendly under-cabinet LED lighting. Careful preparation and quality materials ensure a flawless, damage-free result for any DIY skill level.
{}

