Related Articles


How to Efficiently Replace Warped Deck Boards Without Dismantling Your Deck
Introduction
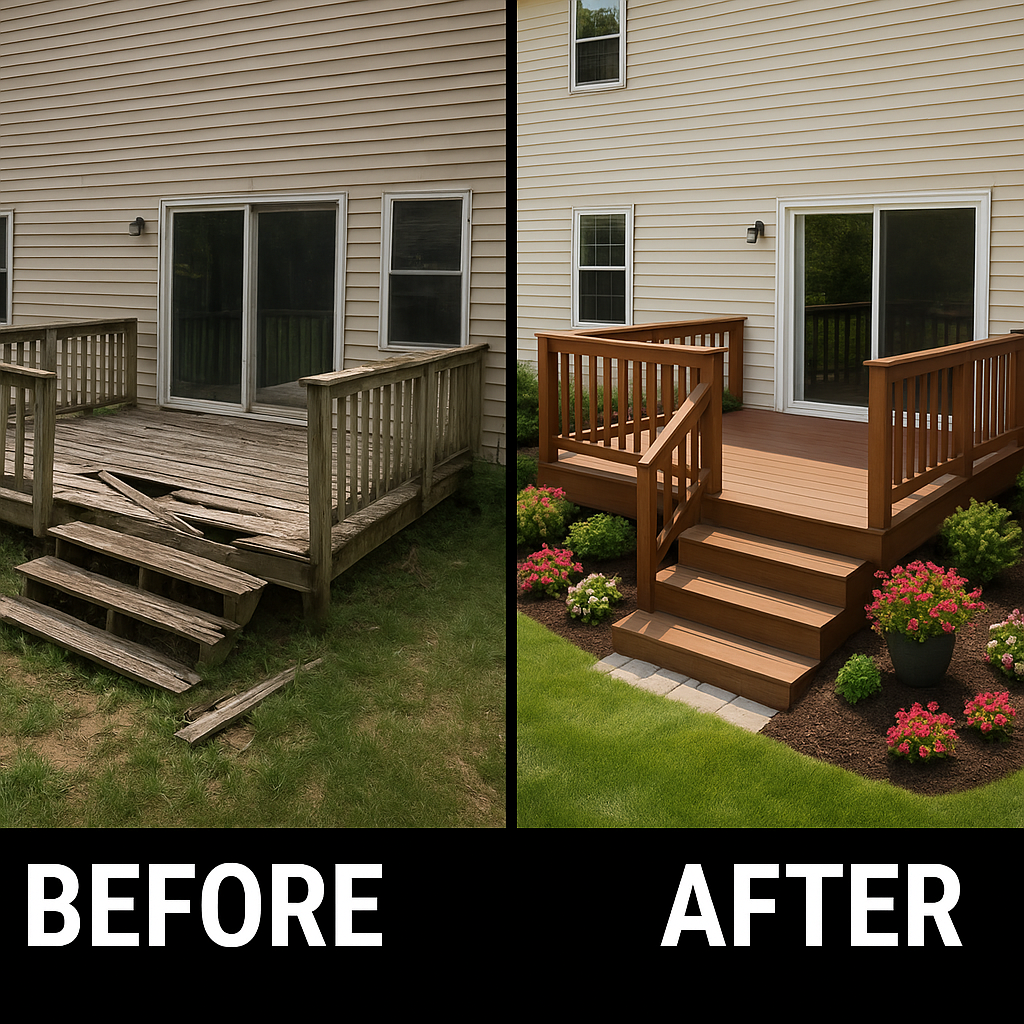
Warped deck boards pose safety hazards and detract from your deck’s aesthetic appeal. Warping often occurs due to moisture exposure, improper installation practices, or the use of low-quality wood, leading to uneven surfaces that can compromise structural integrity. Addressing warped boards promptly helps maintain your deck’s durability and beauty.
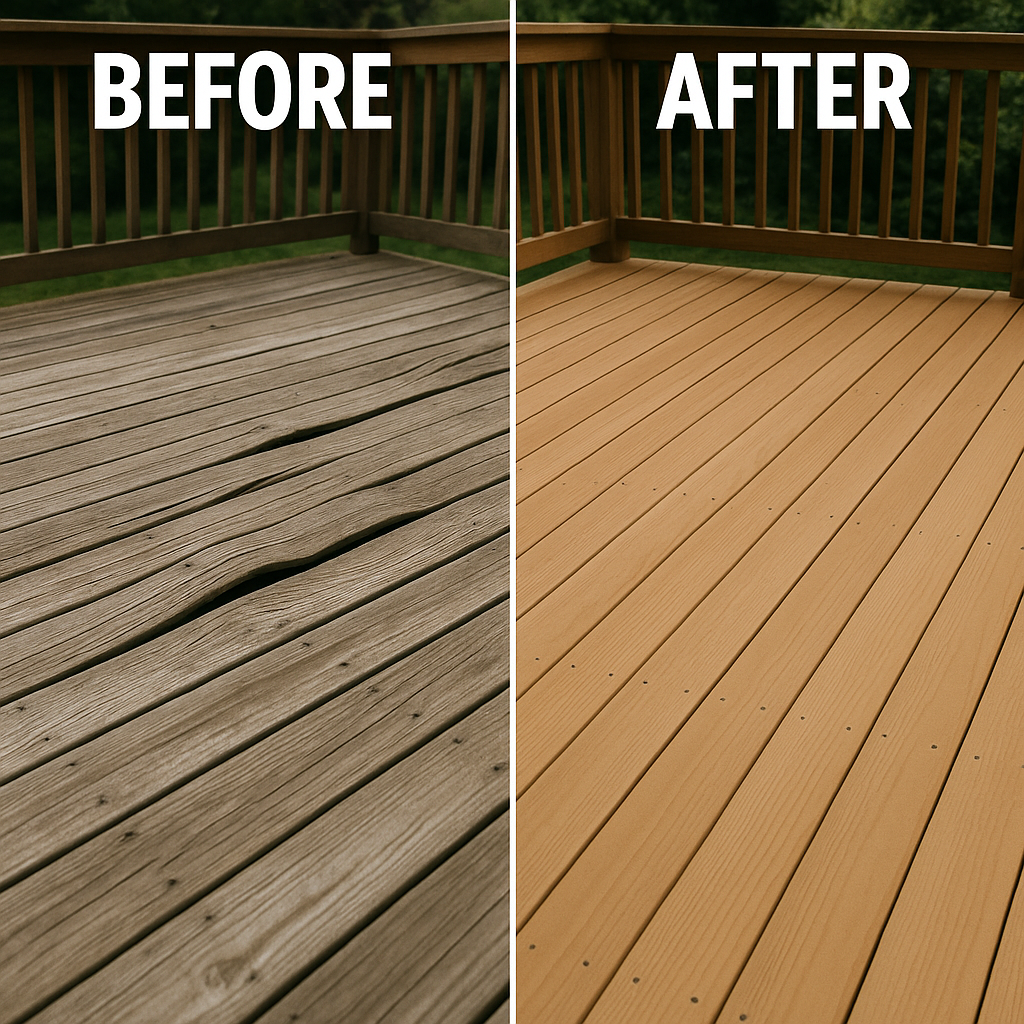
Replacing specific warped boards is a cost-effective solution to preserve your deck while updating only what is necessary, effectively saving time and resources.
Identifying Warped Deck Boards
Follow these guidelines to identify warped boards:
- Look for boards that are raised, twisted, or sagging, and note any extreme curves or gaps.
- Utilize a level to evaluate warping, checking for any uneven areas or gaps where light can pass through.
- Inspect for potential issues such as rot in the joists or loose railings by probing with a screwdriver for soft, compromised areas.
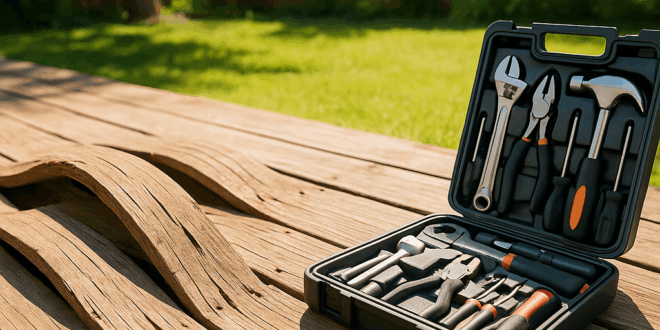
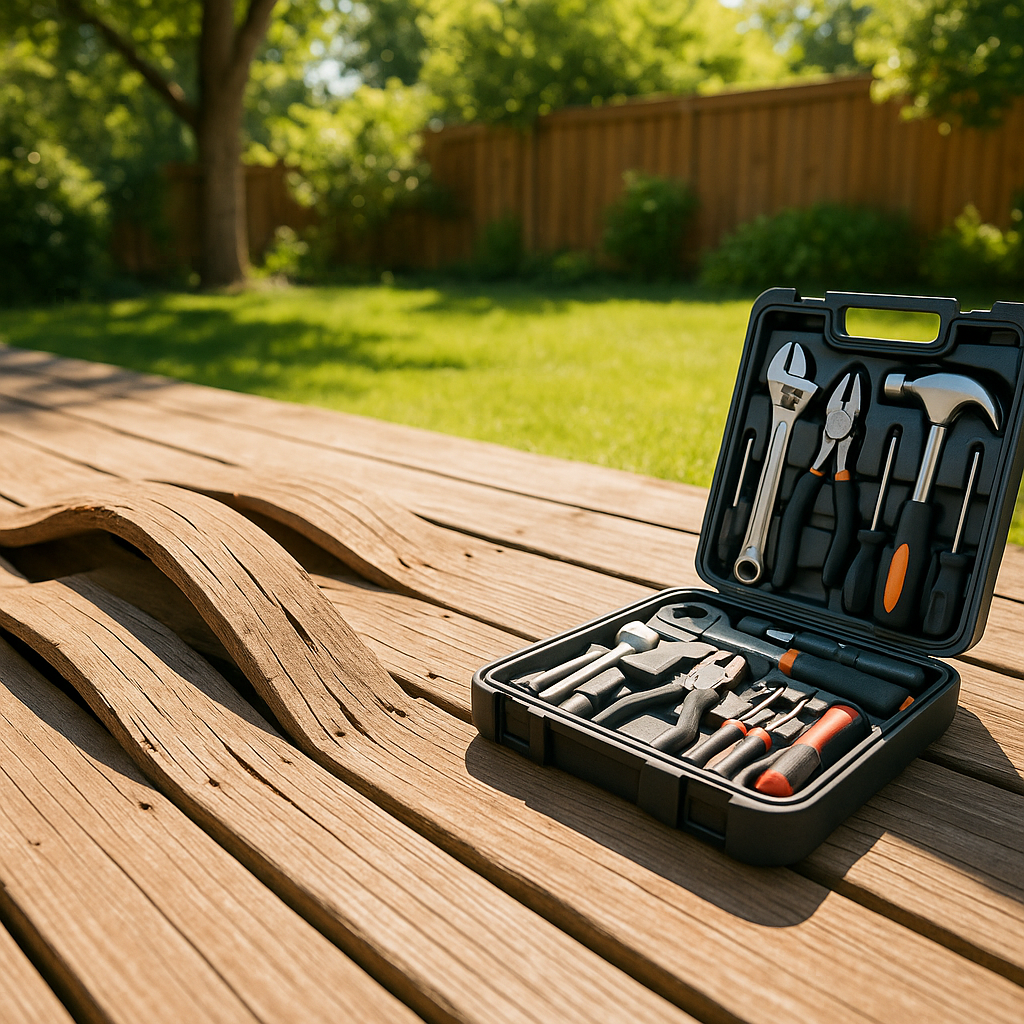
Materials Needed
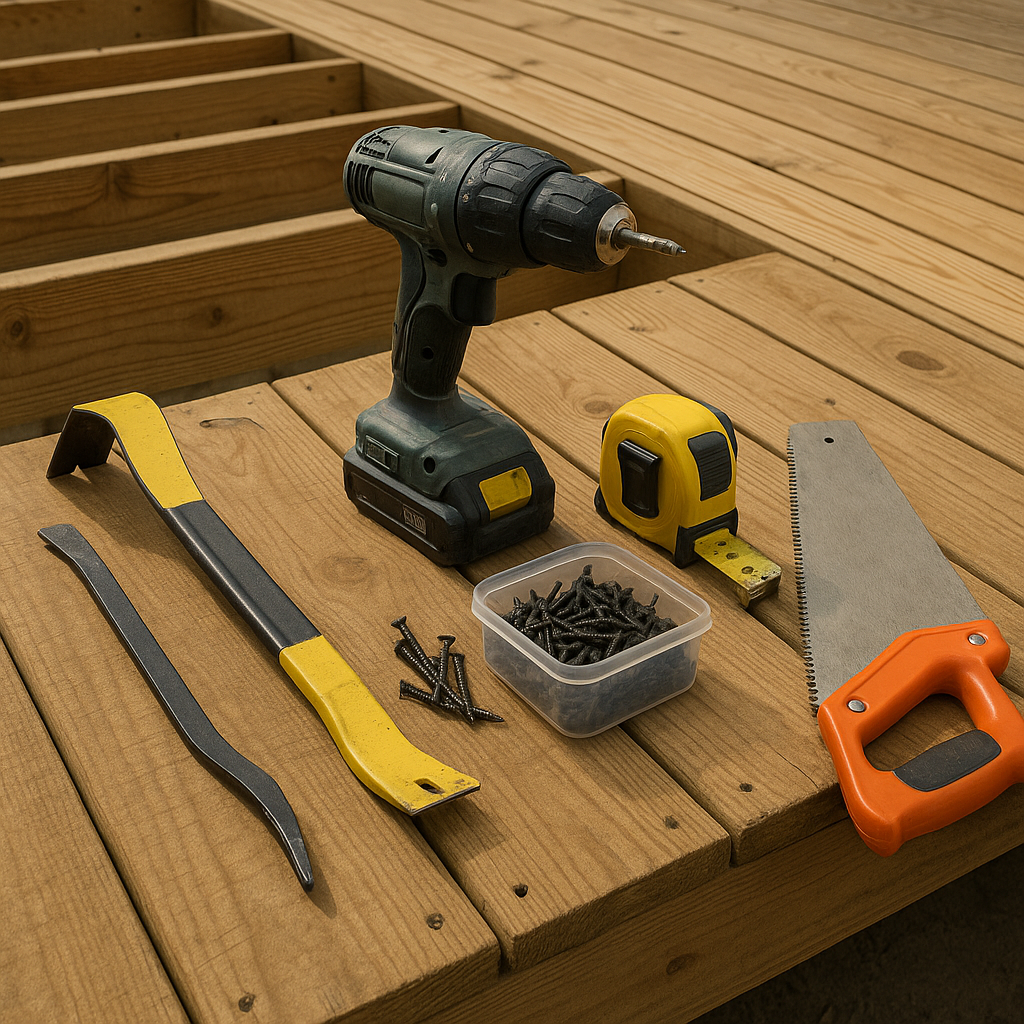
- Replacement deck boards matching the existing ones in grain, texture, and treatment for a uniform appearance.
- Deck screws or nails suitable for the wood type and capable of withstanding weather conditions; galvanized options are recommended to prevent rusting.
- A wood preservative or sealant to protect against moisture and pests, ideally with UV protection for longevity.
Tools Required
- A power drill or screwdriver for efficient board installation; a cordless drill offers greater movement flexibility.
- A circular or miter saw for precise cutting of the replacement boards; choose a fine-cut blade to minimize splintering.
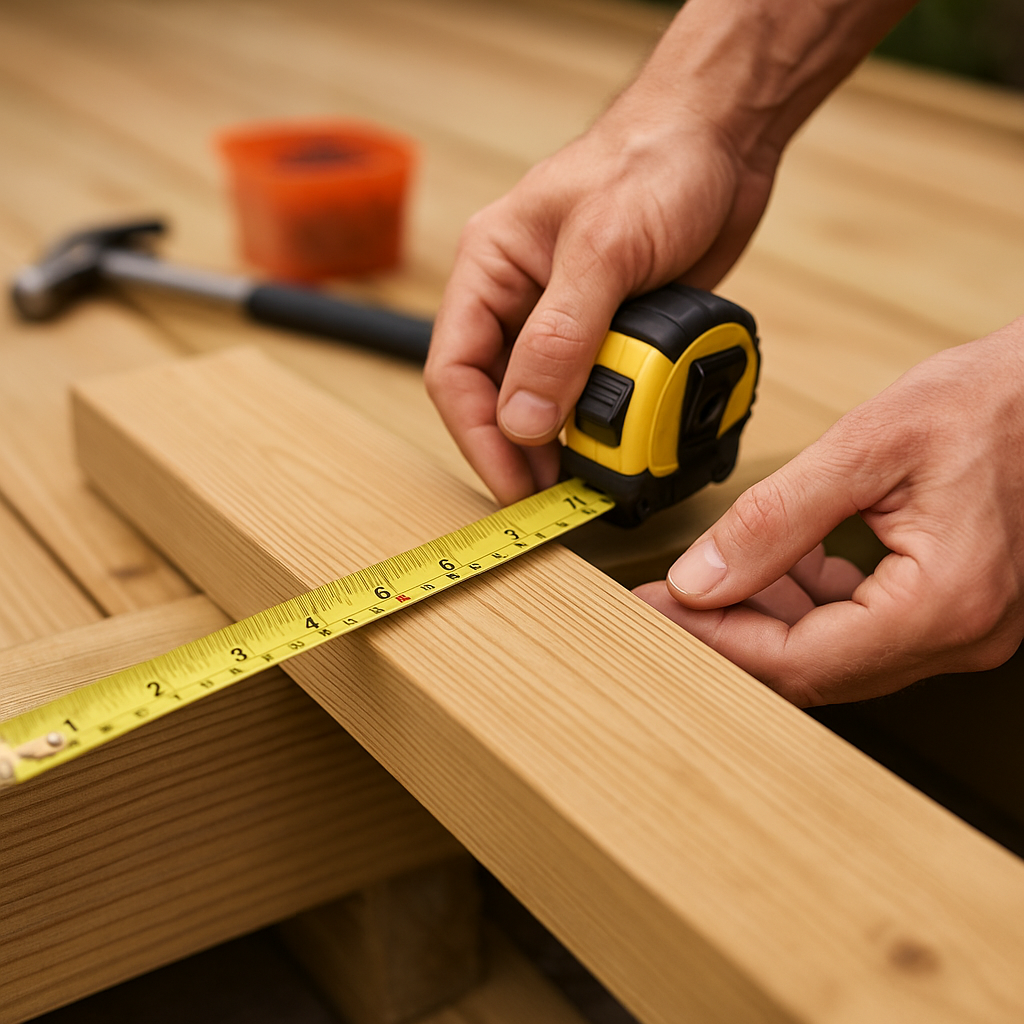
- A measuring tape for accurate dimensions; a locking tape can provide stable measurements.
- A level to ensure that the newly installed boards align flawlessly with existing ones.
- Safety goggles and gloves to protect against debris, dust, and potential splinters during the repair process.
Step-by-Step Replacement Process
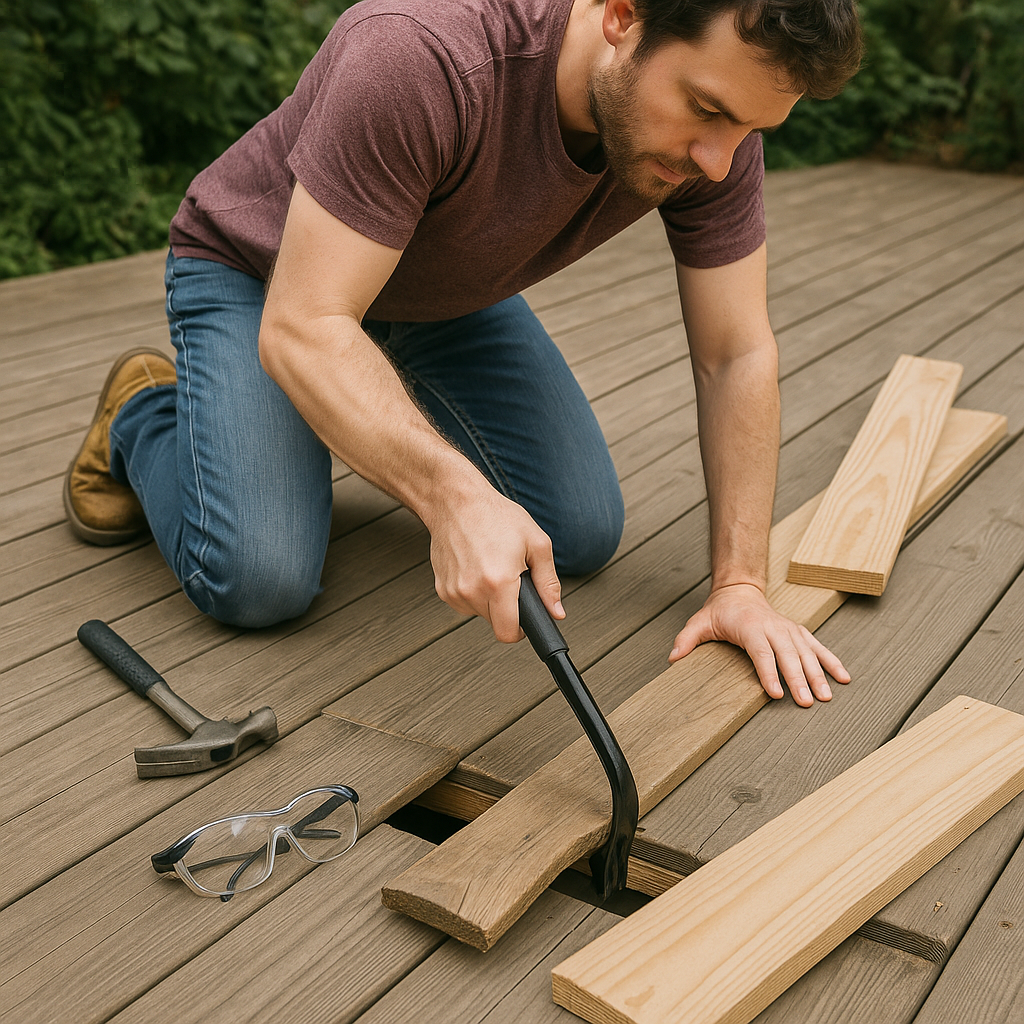
- Carefully lift the warped board using a screwdriver or pry bar, taking care to protect adjacent boards. Introduce a wood block beneath the pry bar to distribute the load evenly.
- Measure the gap created by the old board and cut the new board to fit, leaving space for expansion.
- Place the new board in position and secure it using screws or nails, ensuring that it sits firmly and that the screws are flush with the surface.
- Verify that the new board is level with the surrounding boards; make adjustments as needed for a uniform surface.
- Apply a wood preservative or sealant for additional protection, following the manufacturer’s instructions regarding drying times.
Tips for a Successful Replacement
- Choose the same wood species for a cohesive look; durable options include cedar and pressure-treated pine.
- Pre-drill holes to prevent wood splitting, particularly near the edges of the boards.
- Opt for weather-resistant fasteners, such as stainless steel screws, to withstand outdoor elements.

- Consider color matching through staining or painting for a seamless finish; always test a small area first to ensure color accuracy.
Maintenance to Prevent Future Warping
- Regularly clean and inspect your deck during biannual checks to identify potential issues early.
- Apply a protective sealant annually to keep your deck looking great and structurally sound.
- Ensure proper drainage and airflow beneath the deck to minimize the risk of moisture-related warping.
- After severe weather, inspect for problems such as water pooling and address them promptly.
Warnings and Safety Precautions
- Always wear safety goggles and gloves during repairs; consider using a full-face shield when operating saws.
- Handle tools carefully to avoid accidents and store them safely when not in use.
- Make sure your work area is stable before starting repairs; address any loose railings or structures.
- Keep the workspace tidy, utilize proper lifting techniques, and seek assistance when handling heavy materials.
{}

