Related Articles


Build a Simple DIY Shade Sail Installation on Your Patio or Deck
🛒 Shopping List
- Shade sail (€50–€150)
- Stainless steel eye bolts (€10–€20)
- Rope (€10–€30)
- Wooden posts (€20–€50)
- Concrete mix (€10–€30)
✅ Outcome
- Professional finish with safe anchoring.
- Beginner-friendly, clean tools list.
Enhance your outdoor space with a shade sail that provides protection from the sun while adding a stylish touch to your patio or deck. This DIY project is straightforward and requires minimal tools and materials, making it perfect for beginners. Follow this guide to create your own shade sail installation and enjoy your outdoor area comfortably.
Materials
- Shade sail (choose a size that fits your patio or deck)
- 4 x stainless steel eye bolts (with nuts and washers)
- 4 x carabiners or snap hooks
- 4 x lengths of durable rope (about 10 m each)
- 2 x wooden posts (or existing structures like walls) for support
- Concrete mix (if installing wooden posts)
- Waterproof sealant (optional)
Tools
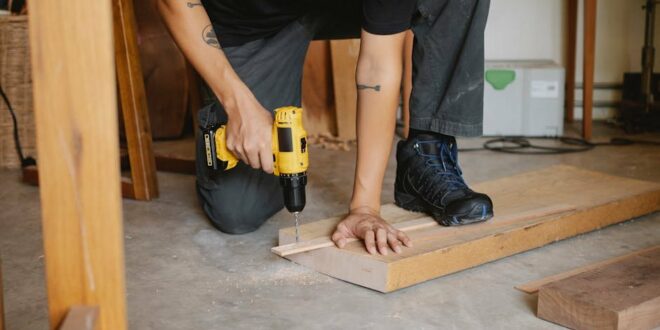
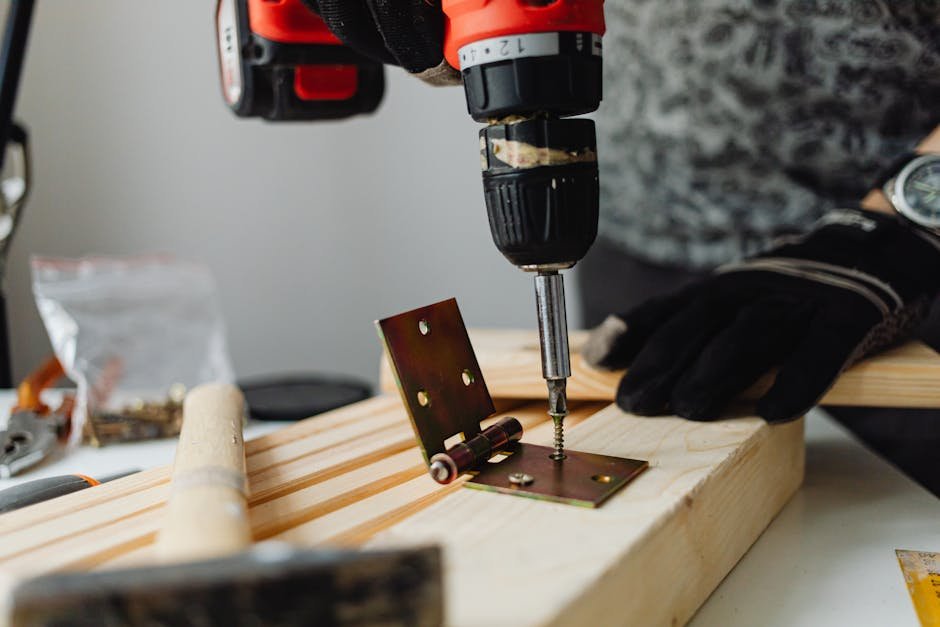
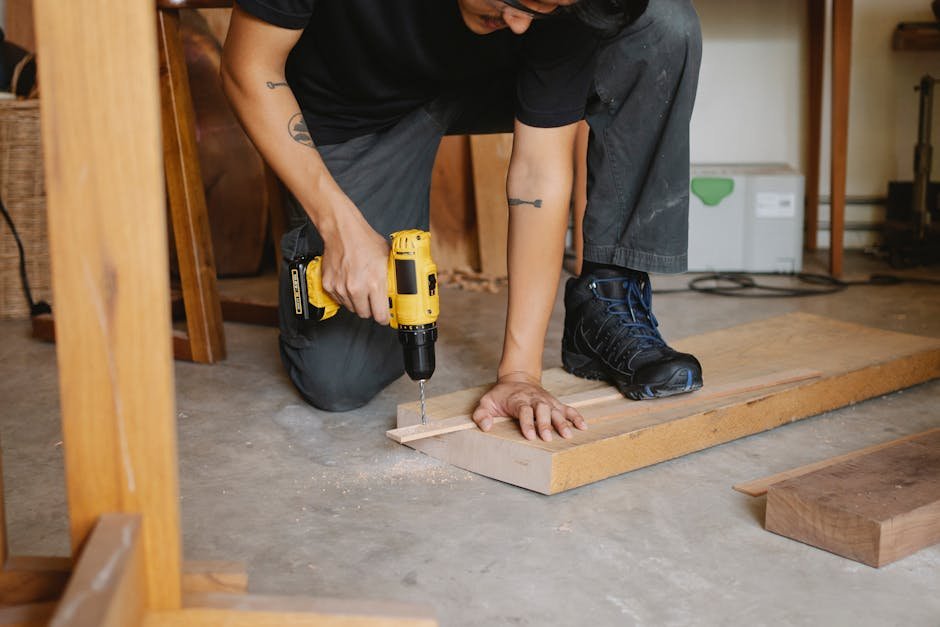
- Drill with a masonry bit
- Measuring tape
- Level
- Saw (if cutting wooden posts)
- Shovel (if installing wooden posts)
- Safety goggles
- Gloves
Steps
- Choose the Location: Select a spot on your patio or deck that receives ample sunlight but also needs shade. Ensure there are sturdy points to attach the shade sail, such as walls or wooden posts.
- Measure the Area: Measure the dimensions of the space where you want to install the shade sail. Consider the size of the sail and the height at which you want it to be suspended.
- Install Support Posts (if necessary): If you need to install wooden posts, dig holes approximately 60 cm deep. Place the posts in the holes, ensuring they are vertical using a level. Fill the holes with concrete mix and allow it to cure as per the manufacturer’s instructions.
- Attach Eye Bolts: Using the drill, install stainless steel eye bolts at the corners of the shade sail’s designated area. Ensure they are securely fastened and able to withstand tension.
- Hang the Shade Sail: Attach carabiners or snap hooks to the corners of the shade sail. Connect these to the eye bolts, adjusting the tension to ensure the sail is taut and securely fastened.
- Adjust the Height: Use the rope to adjust the height of the shade sail as needed. It’s recommended to install the sail on a slight slope to allow rainwater to run off.
- Check Stability: Once installed, give the shade sail a gentle tug to ensure it is stable. Make adjustments as necessary to achieve the desired tension.
- Seal (Optional): If desired, apply a waterproof sealant to the wooden posts and any exposed areas to protect against the elements.
Maintenance Tips
Regularly check the sail for signs of wear and tear. Clean the fabric with mild soap and water to prevent dirt buildup. After storms or strong winds, inspect the installation for any damage, and ensure the sail is still securely fastened.
Safety
- Always wear safety goggles and gloves when using power tools.
- Ensure all connections are secure to prevent the shade sail from coming loose.
- Be cautious of overhead power lines when installing posts or attaching the shade sail.
FAQ
Q: How do I choose the right size shade sail for my space? A: Measure the area where you want to install the shade sail, and choose a sail that provides enough coverage while allowing for tension and secure installation.