Related Articles


Best Way to Insulate Old Single Pane Windows in Winter Without Replacing Glass: Expert DIY Guide
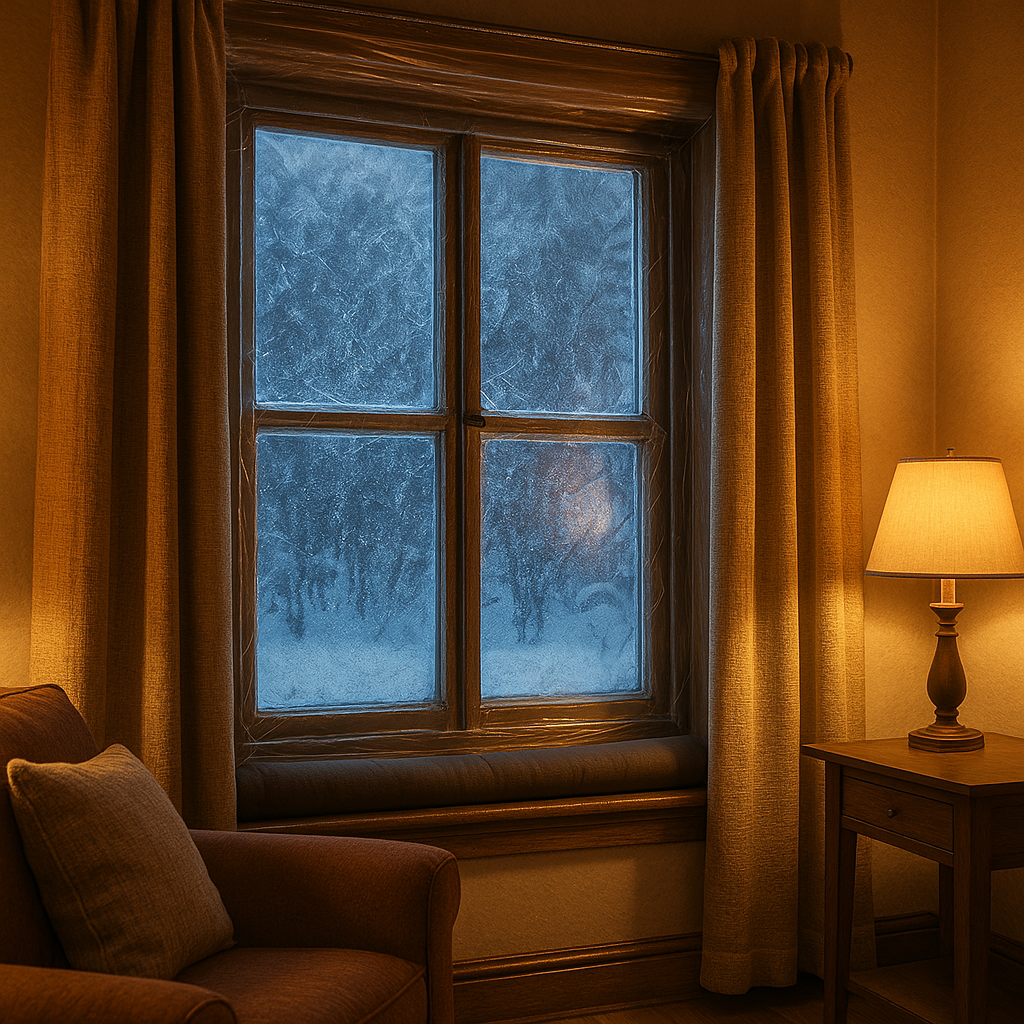
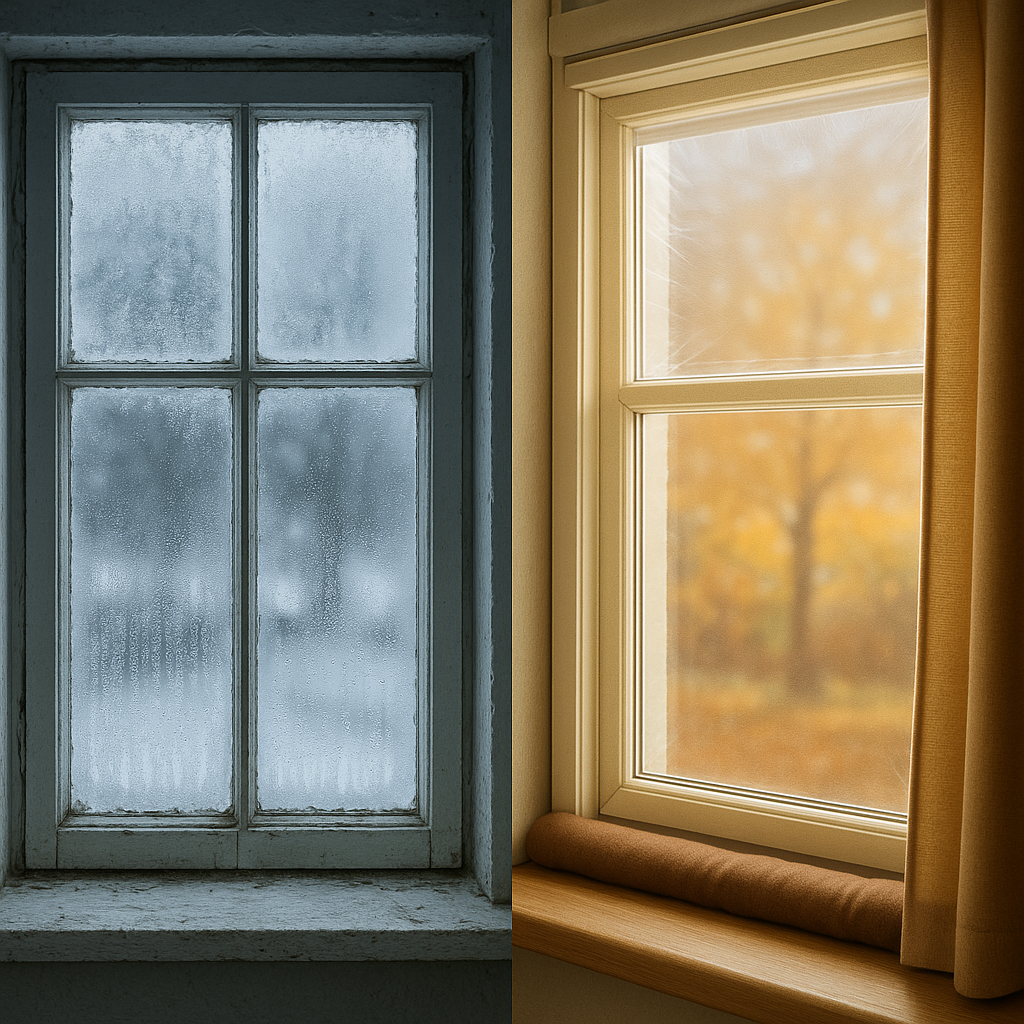
Why Single Pane Windows Lose Heat
Older single-pane windows are a major source of heat loss during winter, leading to colder interiors and higher energy bills. Understanding the causes of their poor performance helps you choose the best insulation methods.
- How single pane windows contribute to heat loss: Most heat is lost through conduction—warm indoor air moves rapidly through the glass to the outside. Single panes provide minimal resistance.
Technical note: Single-pane glass typically has an R-value around 0.9, much lower than double-pane or high-efficiency windows. In cold climates, this is a significant drawback.
- Lack of insulating air space: Without an insulating gap or inert gas (as in double/triple panes), heat easily escapes through the glass.
Pro insight: Double-pane units slow heat transfer. Single panes conduct heat nearly as efficiently as metal. - High thermal conductivity of glass: Glass itself is highly conductive. On cold days, single-pane glass drops to nearly the outdoor temperature, often causing indoor condensation.
- Common sources of drafts and air leaks: Worn frames, loose sashes, and deteriorated glazing allow warm air to escape.
Example: Sash cords and misaligned sashes can cause air leaks equal to a quarter-sized hole per window. - Inefficiencies from deteriorated materials: Brittle glazing putty, loose frames, and old hardware can increase air infiltration.
Pro tip: Linseed oil-based putty hardens and cracks over time, reducing the window’s ability to block drafts. - Condensation and moisture ingress: Cold single panes often reach the dew point, resulting in condensation that may damage wood frames and lead to mold or rot.
Advanced detail: Single panes reach the dew point quickly, causing peeling paint and wood deterioration, especially in humid homes. - Impact on comfort and energy bills: Drafty windows make rooms feel colder and force heating systems to work harder.
Technical example: In older homes, windows can account for up to 30% of heating expenses. - Advantages of insulating vs. replacing: Insulating is cost-effective, preserves historic character, and significantly improves performance without full replacement.
Pro perspective: With quality retrofits like storm panels or snug liners, single-pane windows can nearly match the performance of double-pane windows for a fraction of the cost. - Historic character and environmental benefits: Adding insulation extends window lifespan and maintains aesthetic value, while generating less landfill waste than replacement.
Did you know? Removing an old wood window can create up to 50 pounds of landfill waste. Repairs and upgrades are more eco-friendly.
Top Insulation Methods for Single Pane Windows
Replacing single-pane glass is expensive and often unnecessary. Several effective DIY solutions can improve energy efficiency and comfort while maintaining the window’s appearance. Here are the most effective options, with practical tips.
Options Overview
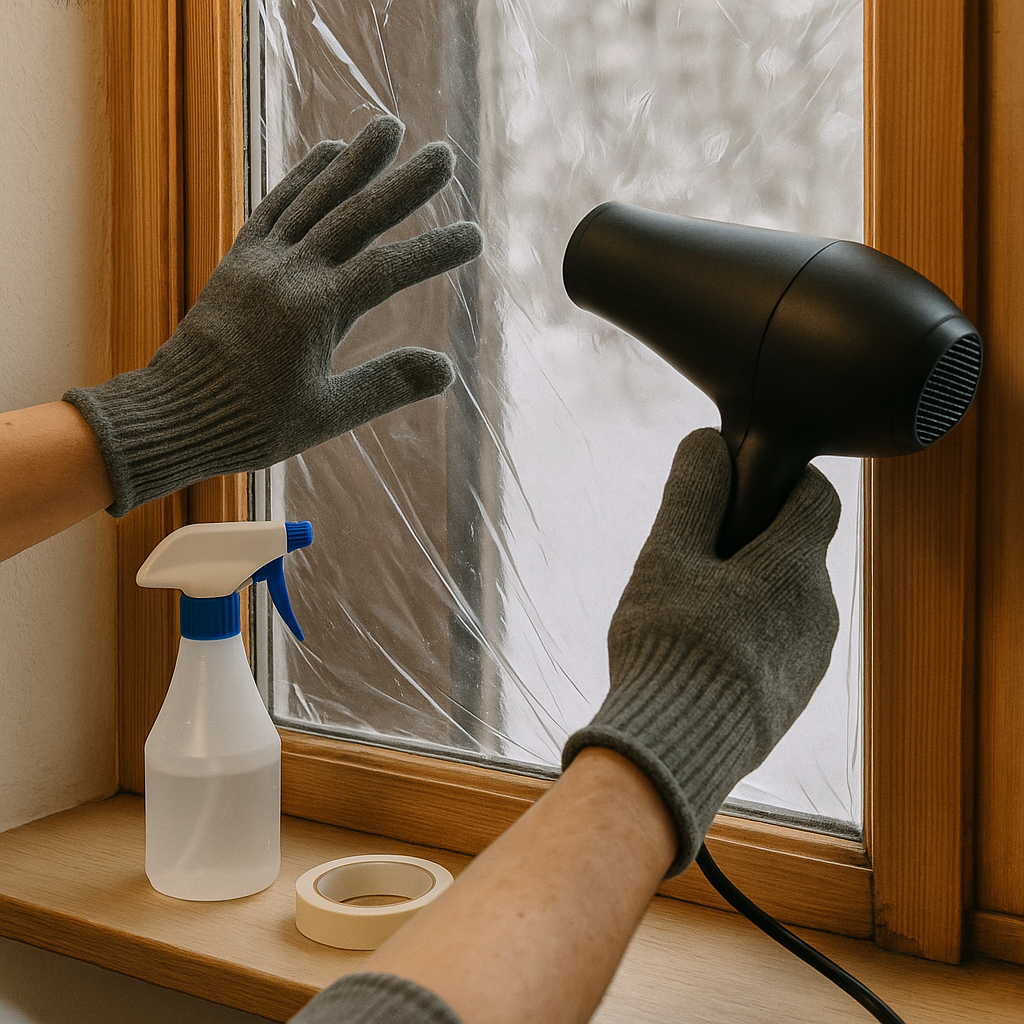
- Window insulation film (shrink film kits): Clear plastic film is attached to the inside frame with double-sided tape and tightened with heat, creating an air barrier against drafts. This affordable, temporary solution slightly blurs your view but is highly effective.
Technical clarity: It traps a layer of air, raising the window’s R-value from 0.9 to about 2.0.
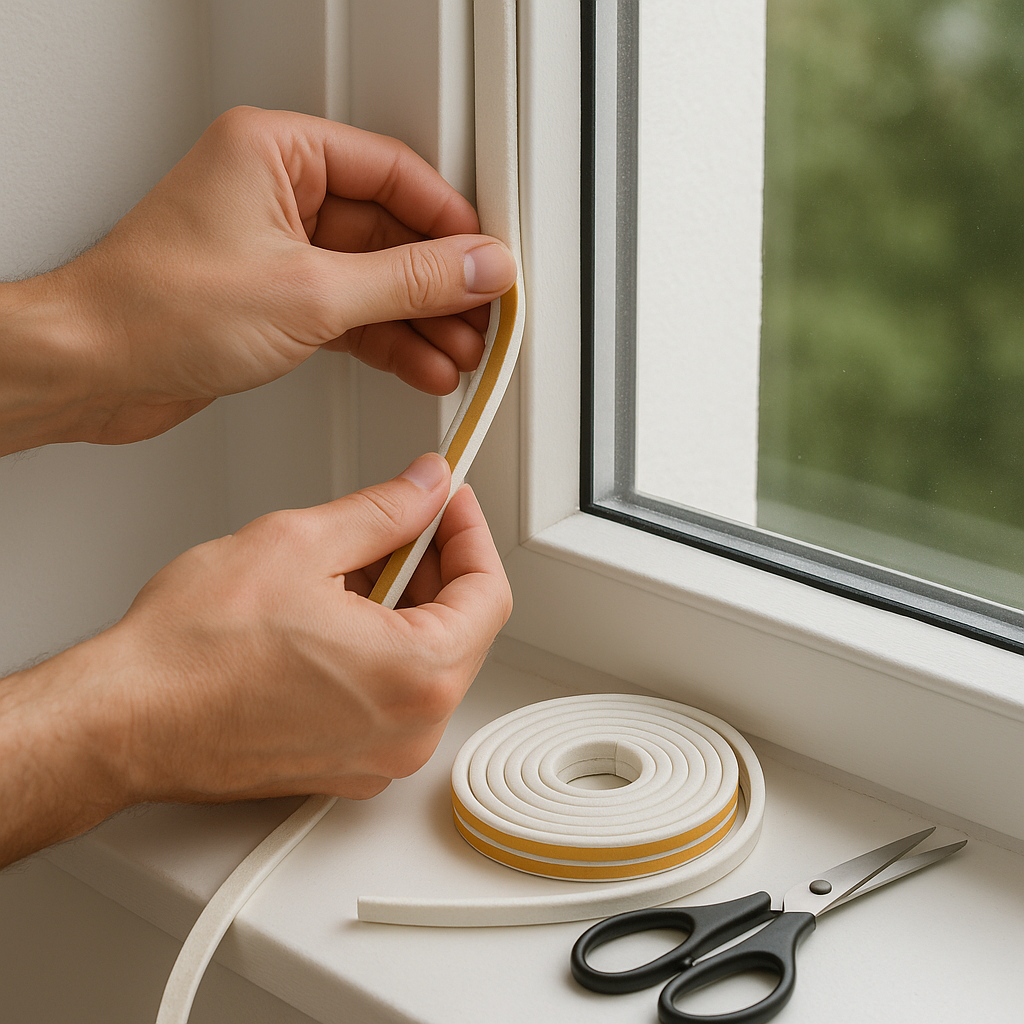
Installation tip: Use wide film, trim it precisely for detailed woodwork, and ensure full adhesion for optimal insulation. - Weatherstripping: Foam tape or V-strip seals the edges of movable windows to prevent drafts. Suitable for double-hung, slider, and casement windows.
Pro-level detail: V-strip (spring bronze or vinyl) is durable and paintable. Foam tape is DIY-friendly but less long-lasting.
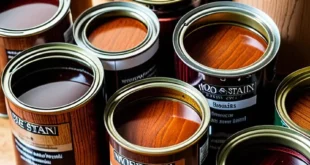
Example: Use V-strip for double-hung windows and foam tape for sliders or casements. - Caulking: Caulk seals stationary joints, trim, and sills—use silicone for exteriors, latex or paintable caulk for interiors.
Technical note: Elastomeric caulk is best for moving joints. Always remove old caulk before applying new product. - Thermal curtains or insulated cellular shades: Heavy curtains and cellular shades add insulation and block drafts when closed.
Pro detail: Cellular shades with side tracks can raise the R-value to 4.6 or higher. - Rope caulk and draft stoppers: Rope caulk fills uneven or awkward gaps, while fabric draft stoppers effectively block cold air at the sill.
Application note: Rope caulk remains flexible even in cold temperatures and is suitable for older or irregular window trim.
Choosing the Right Solution
- Pros and cons: Shrink film and weatherstripping provide extra insulation with minimal visual impact. Caulk is durable but requires careful application. Curtains block drafts and light. Layering these solutions can closely approach the performance of replacement windows.
- Cost breakdown: Film kits cost $10–$15 for several windows, weatherstripping about $5 per window, caulk $4–$8 per tube, and shades start at around $35. Budget for professional help if required.
- Durability: Film typically lasts one season; caulking and weatherstripping can remain effective for several years. Curtains and shades are long-term solutions.
Pro insight: Properly installed metal weatherstripping can last a decade or more and is common in quality restorations. - Aesthetics and reversibility: All these DIY insulation methods are removable and safe for historic homes and rentals.
Historic note: Use clear materials for historic properties and always test products in out-of-sight areas first. - Effectiveness: Expect noticeably less draft, greater comfort, and reduced heating costs. While not matching new windows, these methods can make rooms 3–6°F warmer near windows, with fewer heater cycles.
- Choosing factors: Evaluate the window’s condition, usage pattern, local climate, budget, and whether you rent or want to preserve historic features. Begin with quick, reversible fixes and add permanent solutions as needed.

Materials and Tools Needed
Checklist
- Clear window insulation (shrink) film kit
Choose film sized for your largest window. - Double-sided tape for film
Usually included in kits; opt for high-quality tape for best adhesion.
- Weatherstripping: foam tape, V-strip, or spring bronze
Select the thickness that matches window gaps. - Caulk—silicone (exterior), latex (interior)
Painter’s latex works best indoors; 100% silicone is ideal outdoors. - Caulking gun
Use manual for small jobs; dripless type for multiple windows. - Scissors or utility knife
Sharp tools ensure neat film edges and accurate trimming of weatherstripping. - Tape measure
Measure glass and frame dimensions precisely. - Hair dryer (for shrink film installation)
A hair dryer is safest for shrinking film around delicate woodwork. - Thermal curtains or cellular shades (optional)
Multi-layer or blackout designs offer best insulation; side channels improve performance. - Draft stoppers or door snakes (optional)
Custom fabric tubes are great for old, uneven sills. - Rope caulk (optional, for small or unusual gaps)
Ideal for quick, temporary fixes on curved moldings. - Cleaning supplies: glass cleaner, lint-free cloths
Always clean thoroughly for best adhesion and visibility. - Level (optional, for mounting curtain or shade hardware)
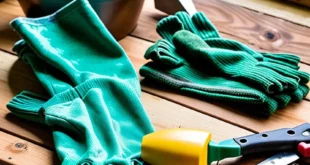
Ensures straight, professional installations. - Gloves and protective eyewear
Wear when handling old putty or pre-1978 painted surfaces. - Screwdriver (for hardware installation)
Use Phillips or slotted, depending on the hardware. - Painters tape (optional, for marking hardware positions)
Helps guide drilling or screwing without damaging finishes.
Step-by-Step DIY: Insulating Single Pane Windows
- Remove window treatments and clean:
Take down all curtains, blinds, or shades. Clean glass, frame, and sill thoroughly to ensure proper adhesion for insulation. Remove any dust and debris.
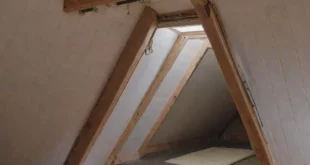
Pro tip: Use a brush vacuum to clean sash channels and weight pockets, especially on double-hung windows. - Inspect and repair frames, glazing, and putty:
Check for rotted wood, cracked glass, or mold. Remove damaged putty and make necessary repairs. Do not insulate over wet or rotted wood.
Example: Replace deteriorated glazing putty and allow it to cure fully before continuing. - Measure for materials:
Measure the width and height of glass and frame, allowing an extra inch for overlap when using insulation film. Match gap sizes for weatherstripping.
Advanced tip: Make a quick sketch with exact measurements for complex frames. - Apply window shrink film:
Attach double-sided tape to the frame, cut film with extra margin, and press film onto the tape. Tighten the film with a hair dryer until taut.
Pro-level detail: Apply film on warm, dry days and allow it to slightly overlap painted trim for a better seal. - Install weatherstripping:
Select the appropriate weatherstripping. Apply strips to the sides and top of movable sashes and check that the windows operate smoothly.
Pro tip: Prepare and clean surfaces thoroughly before installation. Remove old weatherstripping for best results. - Seal cracks and gaps with caulk:
Use latex indoors, silicone outdoors, or elastomeric for joints that move. Apply evenly, smooth the bead, and let dry before adding more insulation.
Pro insight: For large gaps, use foam backer rod before caulking. - Hang thermal curtains or cellular shades:
Mount hardware to allow full frame overlap, extending curtains or shades to the sill or floor. This blocks drafts and minimizes heat loss.
Technical detail: Side tracks or magnetized curtain edges maximize insulation value.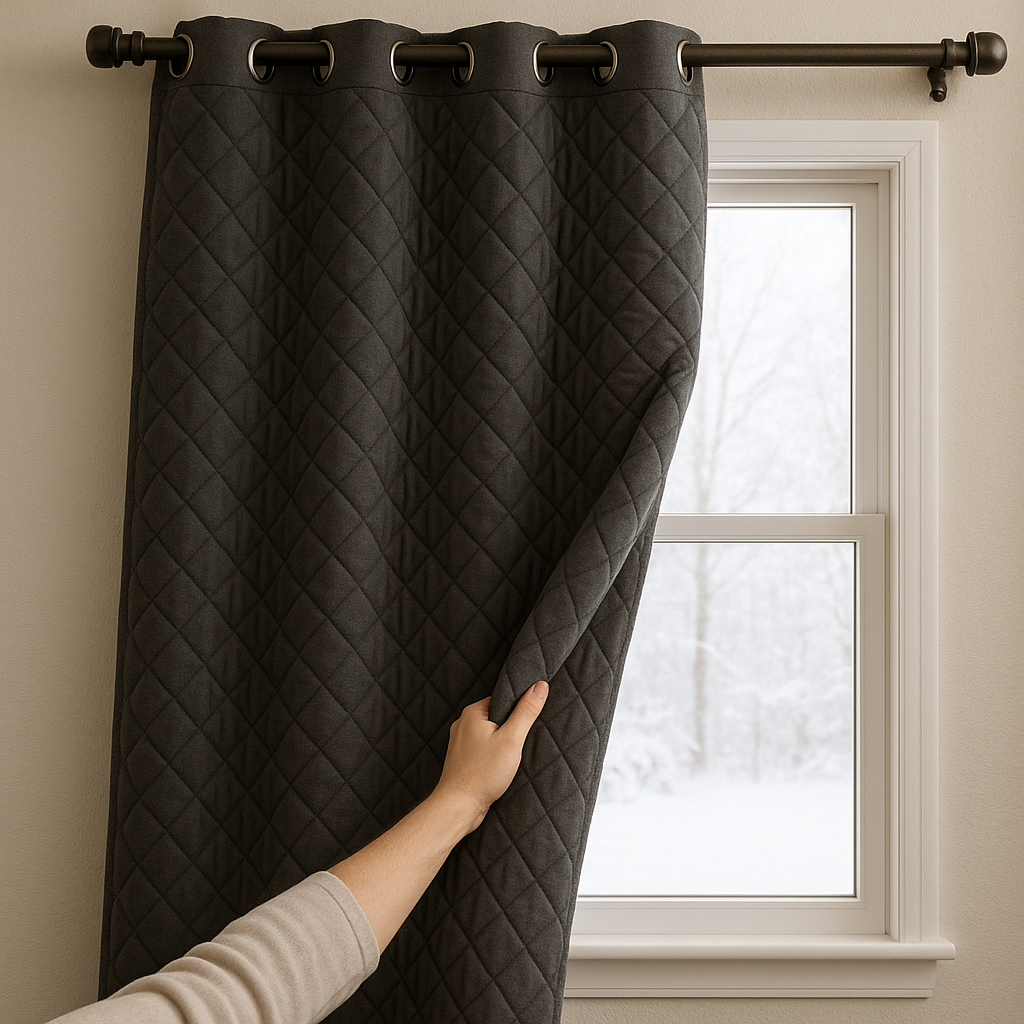
- Optionally, use rope caulk or draft stoppers:
Press rope caulk into small or irregular gaps and place draft stoppers along especially drafty sills.
Expert note: Rope caulk is for seasonal use—remove it in spring to avoid residue. - Inspect, test, and adjust:
Check for remaining drafts around window edges, ensure windows operate smoothly, and reapply materials as needed.
Professional check: Use an infrared thermometer or smoke pen to find hidden leaks.
Ongoing Maintenance and Seasonal Upkeep
- Check insulation effectiveness: Feel for cold air and examine all materials for wear.
Advanced tip: Use a thermal camera or phone attachment to identify hard-to-find leaks. - Replace or upgrade as needed: Refresh film and weatherstripping yearly; recaulk if you find cracks or new drafts.
Pro tip: Keep records of repairs for historic windows to simplify long-term maintenance. - Seasonal checks: After winter, remove temporary materials and allow frames and sills to dry before hot weather.
Key point: Seasonal removal lets you detect hidden moisture or rot early. - Monitor for moisture and frame issues: Watch for mold or rot, especially in window corners and sills.
Pro insight: Persistent mold suggests high home humidity—consider a dehumidifier or better ventilation. - Safe removal and reinstallation: Carefully remove insulation and weatherstripping each spring. Clean off any adhesive residue and store reusable covers for next season.
Technical note: Always test cleaners in inconspicuous areas to protect finishes.
FAQs: DIY Window Insulation for Single Pane Glass
- Will insulating windows cause condensation or moisture damage?
With proper ventilation, insulation should not increase condensation. Avoid blocking airflow entirely.
Technical note: Too many layers without venting may trap moisture. If condensation forms between film and glass, improve ventilation. - How much energy and cost can I save?
Savings vary, but many households save 10–20% on heating costs with window insulation. Most DIY products pay for themselves in a season.
Example: On a $1,500 heating bill, you could save $150–$300 per year. - How long do insulation products last?
Film typically lasts one winter. Caulk and weatherstripping last several years. Curtains and shades offer many years of service.
Best practice: Inspect insulation materials annually, especially after harsh winters or intense sun. - When is replacement necessary?
If frames are badly rotted, glass is broken, or drafts persist, consult a professional for repair or replacement.
Warning: Persistent air leaks could signal deeper structural or wall problems. - Are these methods reversible and suitable for historic or rental homes?
Yes—these insulation approaches are easy to remove and do not harm windows, making them ideal for renters or those preserving architectural character.
Pro tip: Photograph historic windows before applying temporary insulation to aid future restoration. - Will insulation block light or interfere with window use?
Shrink film is clear and discreet. Closing curtains or shades blocks light; weatherstripping and caulk do not affect visibility or function.
Clarification: Choose light-filtering or blackout cellular shades based on your needs. - When to consult a professional?
For serious rot, structural issues, or historic windows, hire a restoration or preservation specialist.
Restoration tip: Properly restored old-growth wood windows may last even longer than many replacements.
Important Safety Warnings
- Use the hair dryer on a low setting to avoid damaging film or window frames.
- Provide adequate ventilation when using caulk or adhesives to avoid inhaling fumes.
- Do not block emergency exits or use permanent insulation or heavy curtains that restrict escape routes.
- Handle sharp tools, scissors, or knives with care.
- Use ladders safely for high or hard-to-reach windows.
-
For homes built before 1978, check for lead paint and use lead-safe practices.
Pro note: Lead safety includes containment, HEPA vacuuming, and avoiding dry sanding. Follow EPA lead regulations for older buildings. - Always follow manufacturer instructions for installation and use of products and tools.
{}